Electronics Assembly
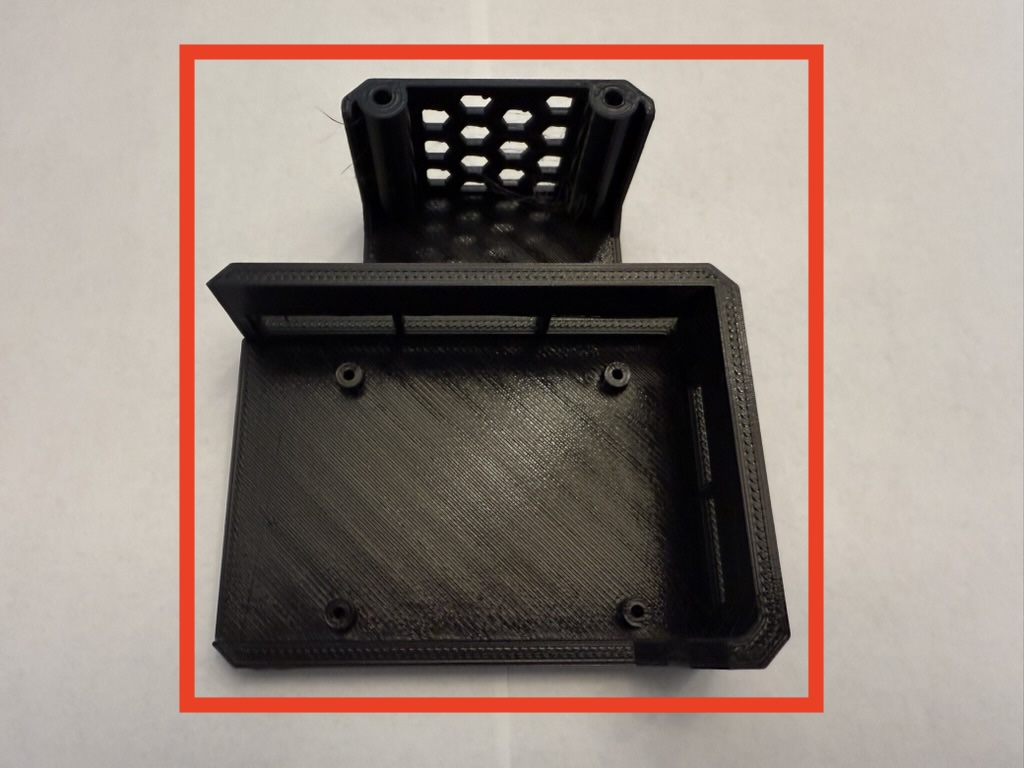
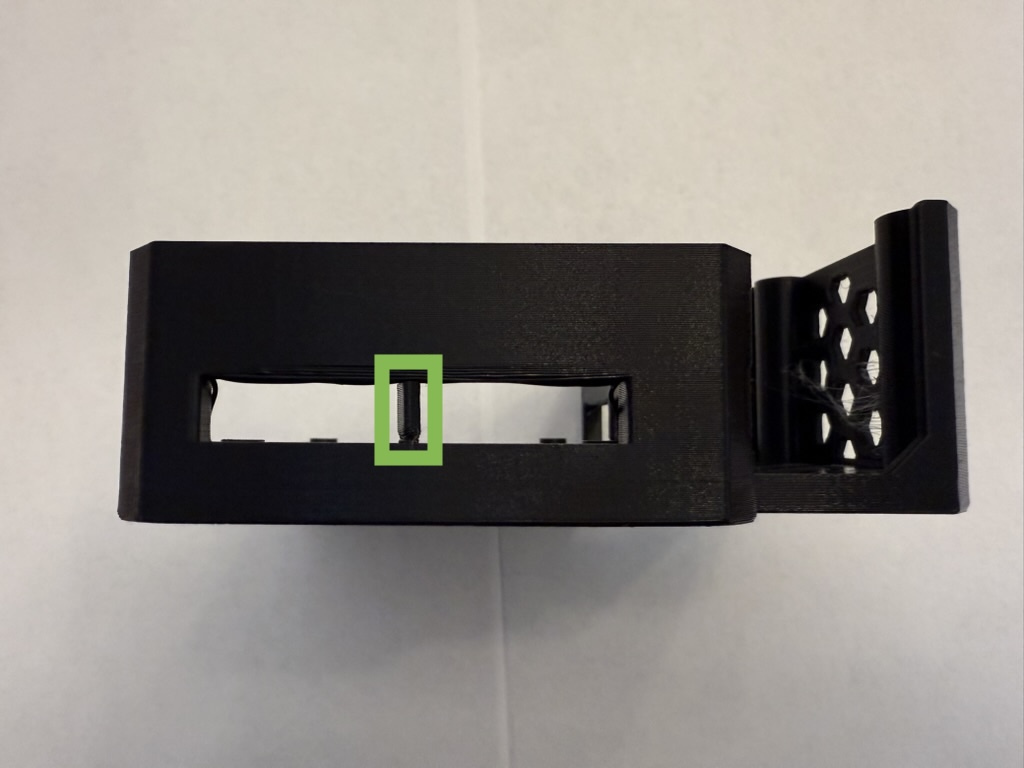
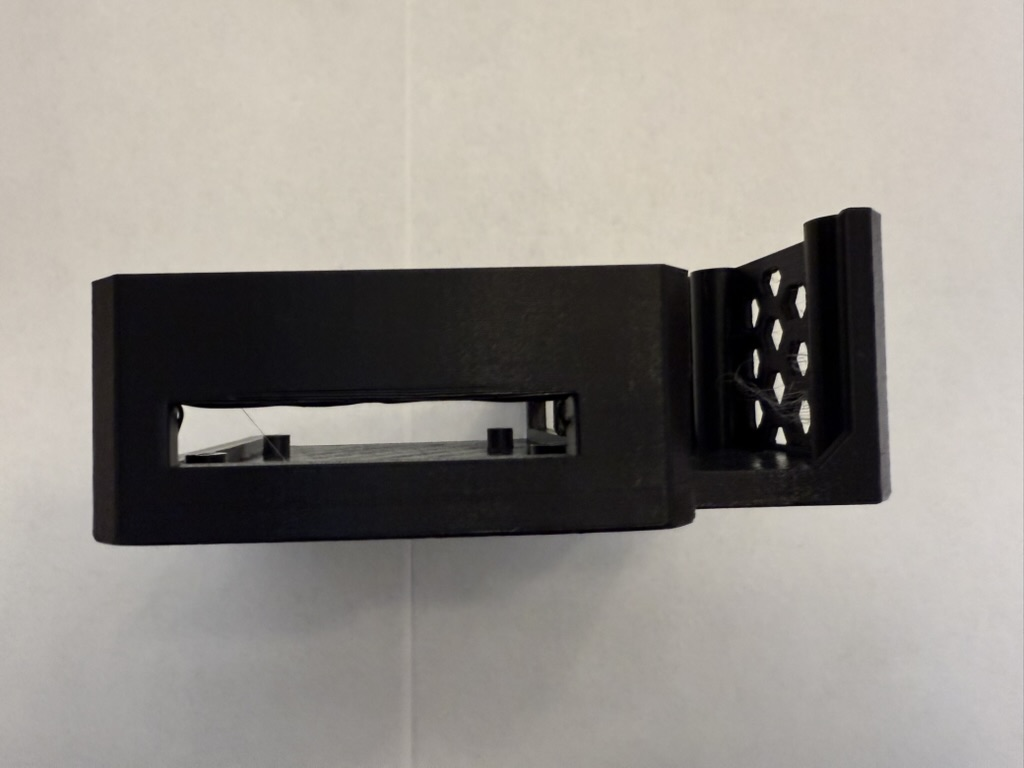
Step 1 Removing Supports: Part 1
-
-
Remove the built-in supports from the SKR Pico case.
 Prepare either
 SKR Pico Bottom.stlorSKR Pico Bottom (small).stl(shown) Remove the indicated built-in support.
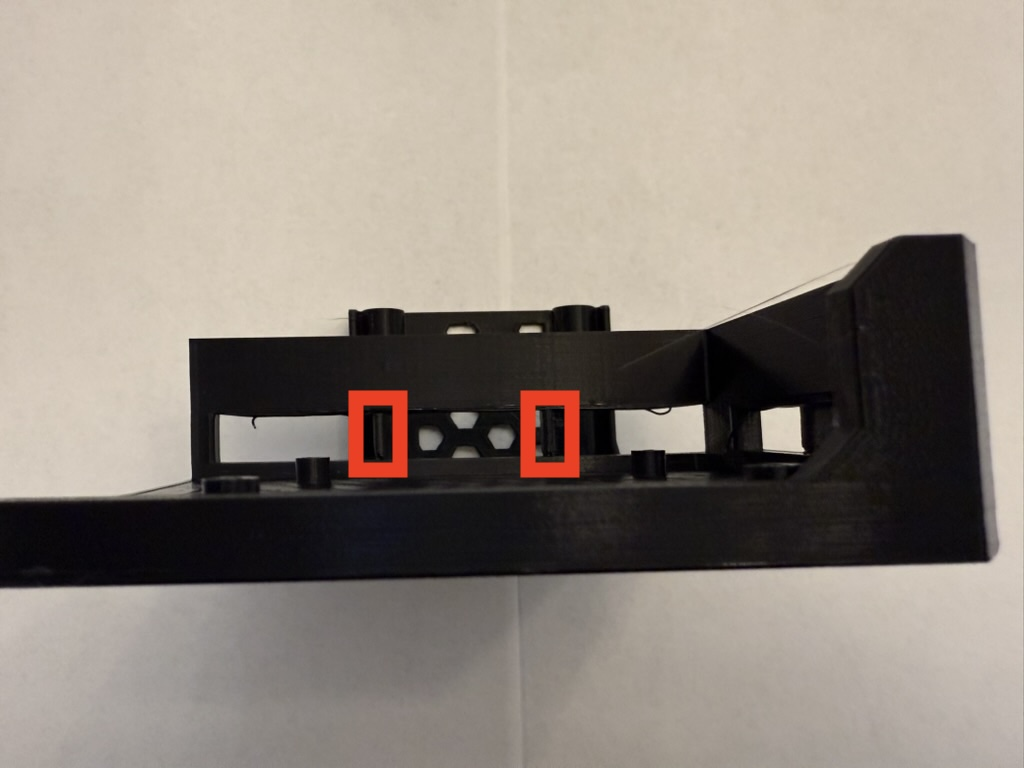
Step 2 Removing Supports: Part 2
-
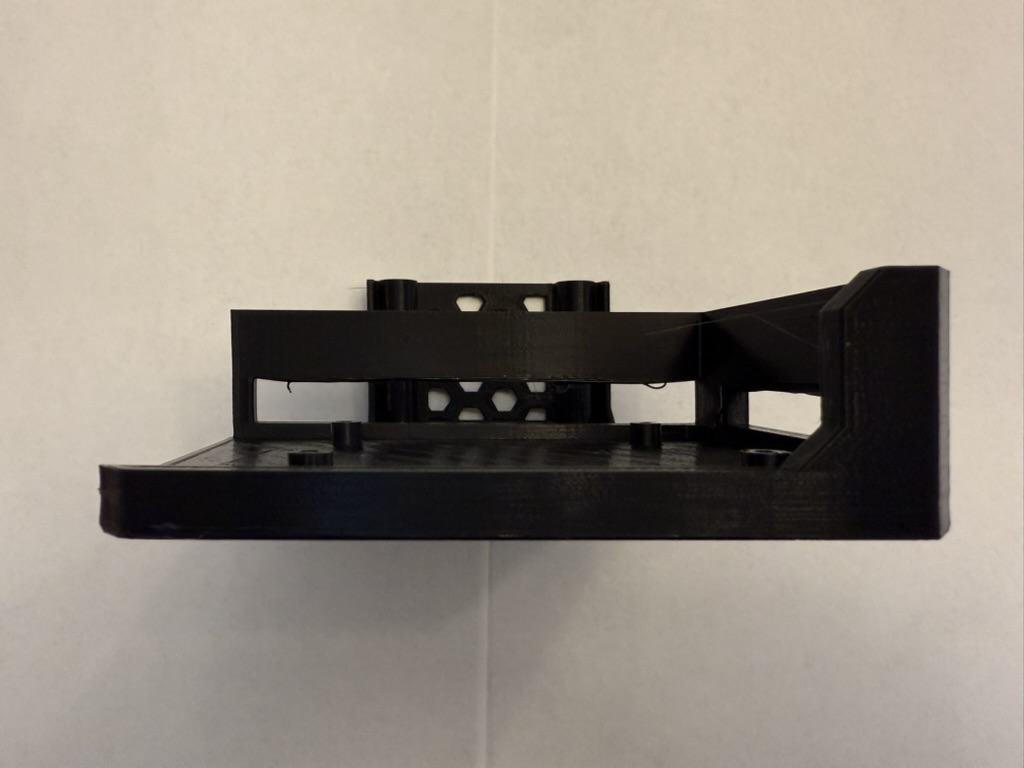
-
Remove the built-in supports from the case.
Remove the indicated supports from the case.
Step 3 Installing the Board
-
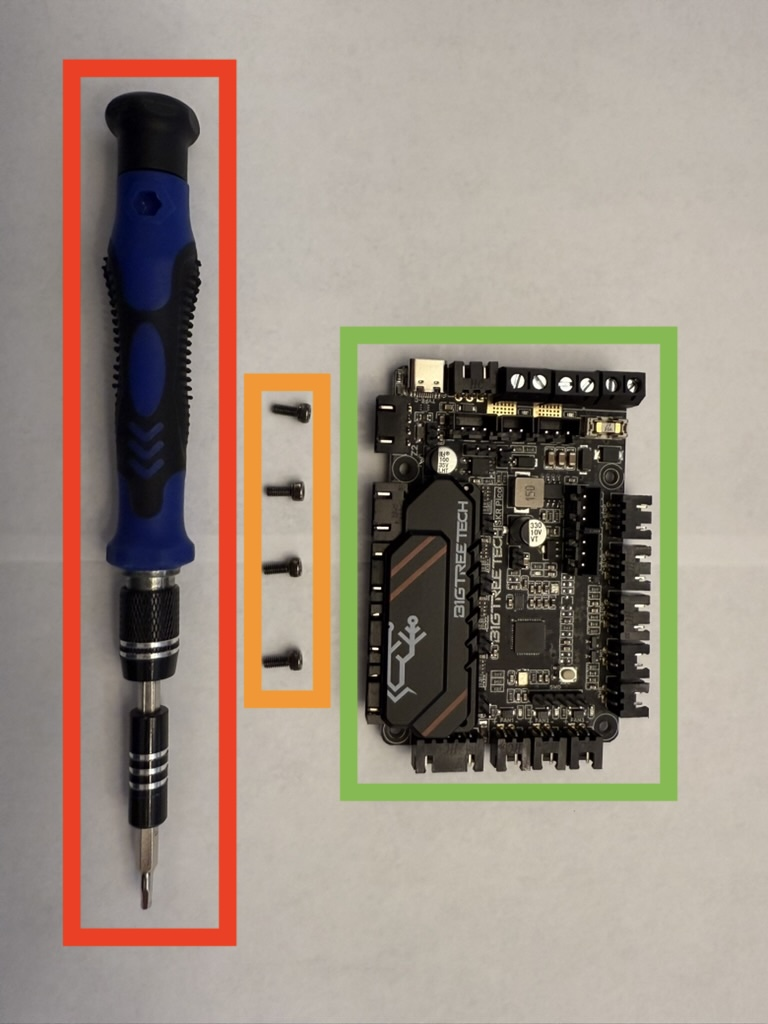
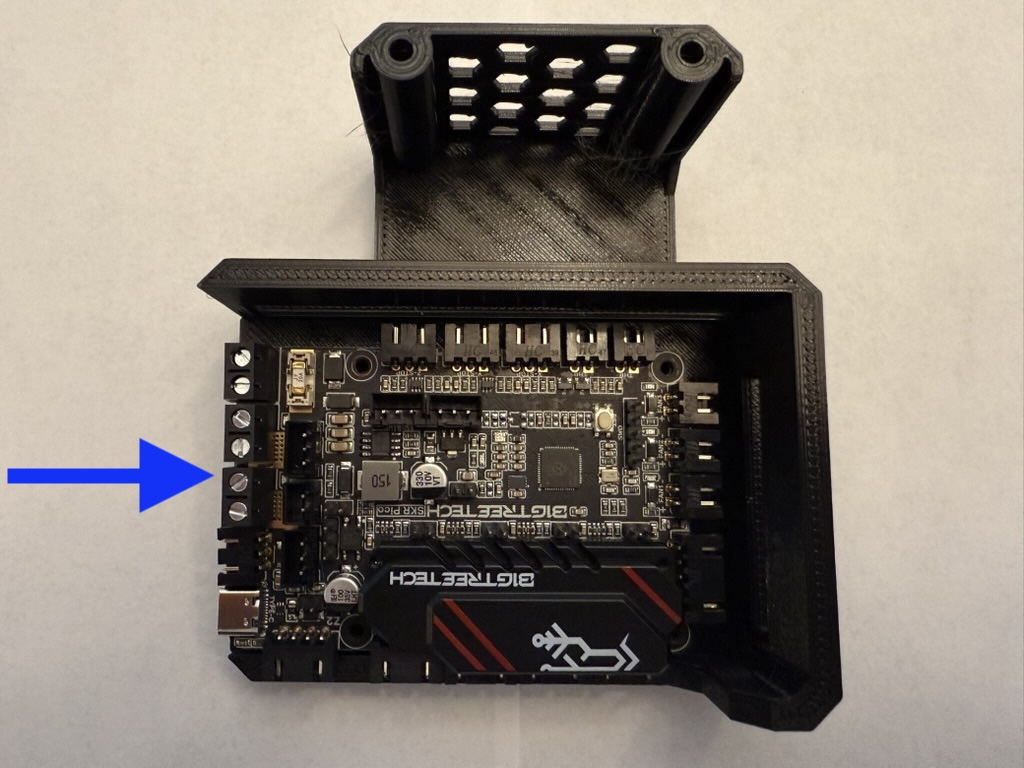
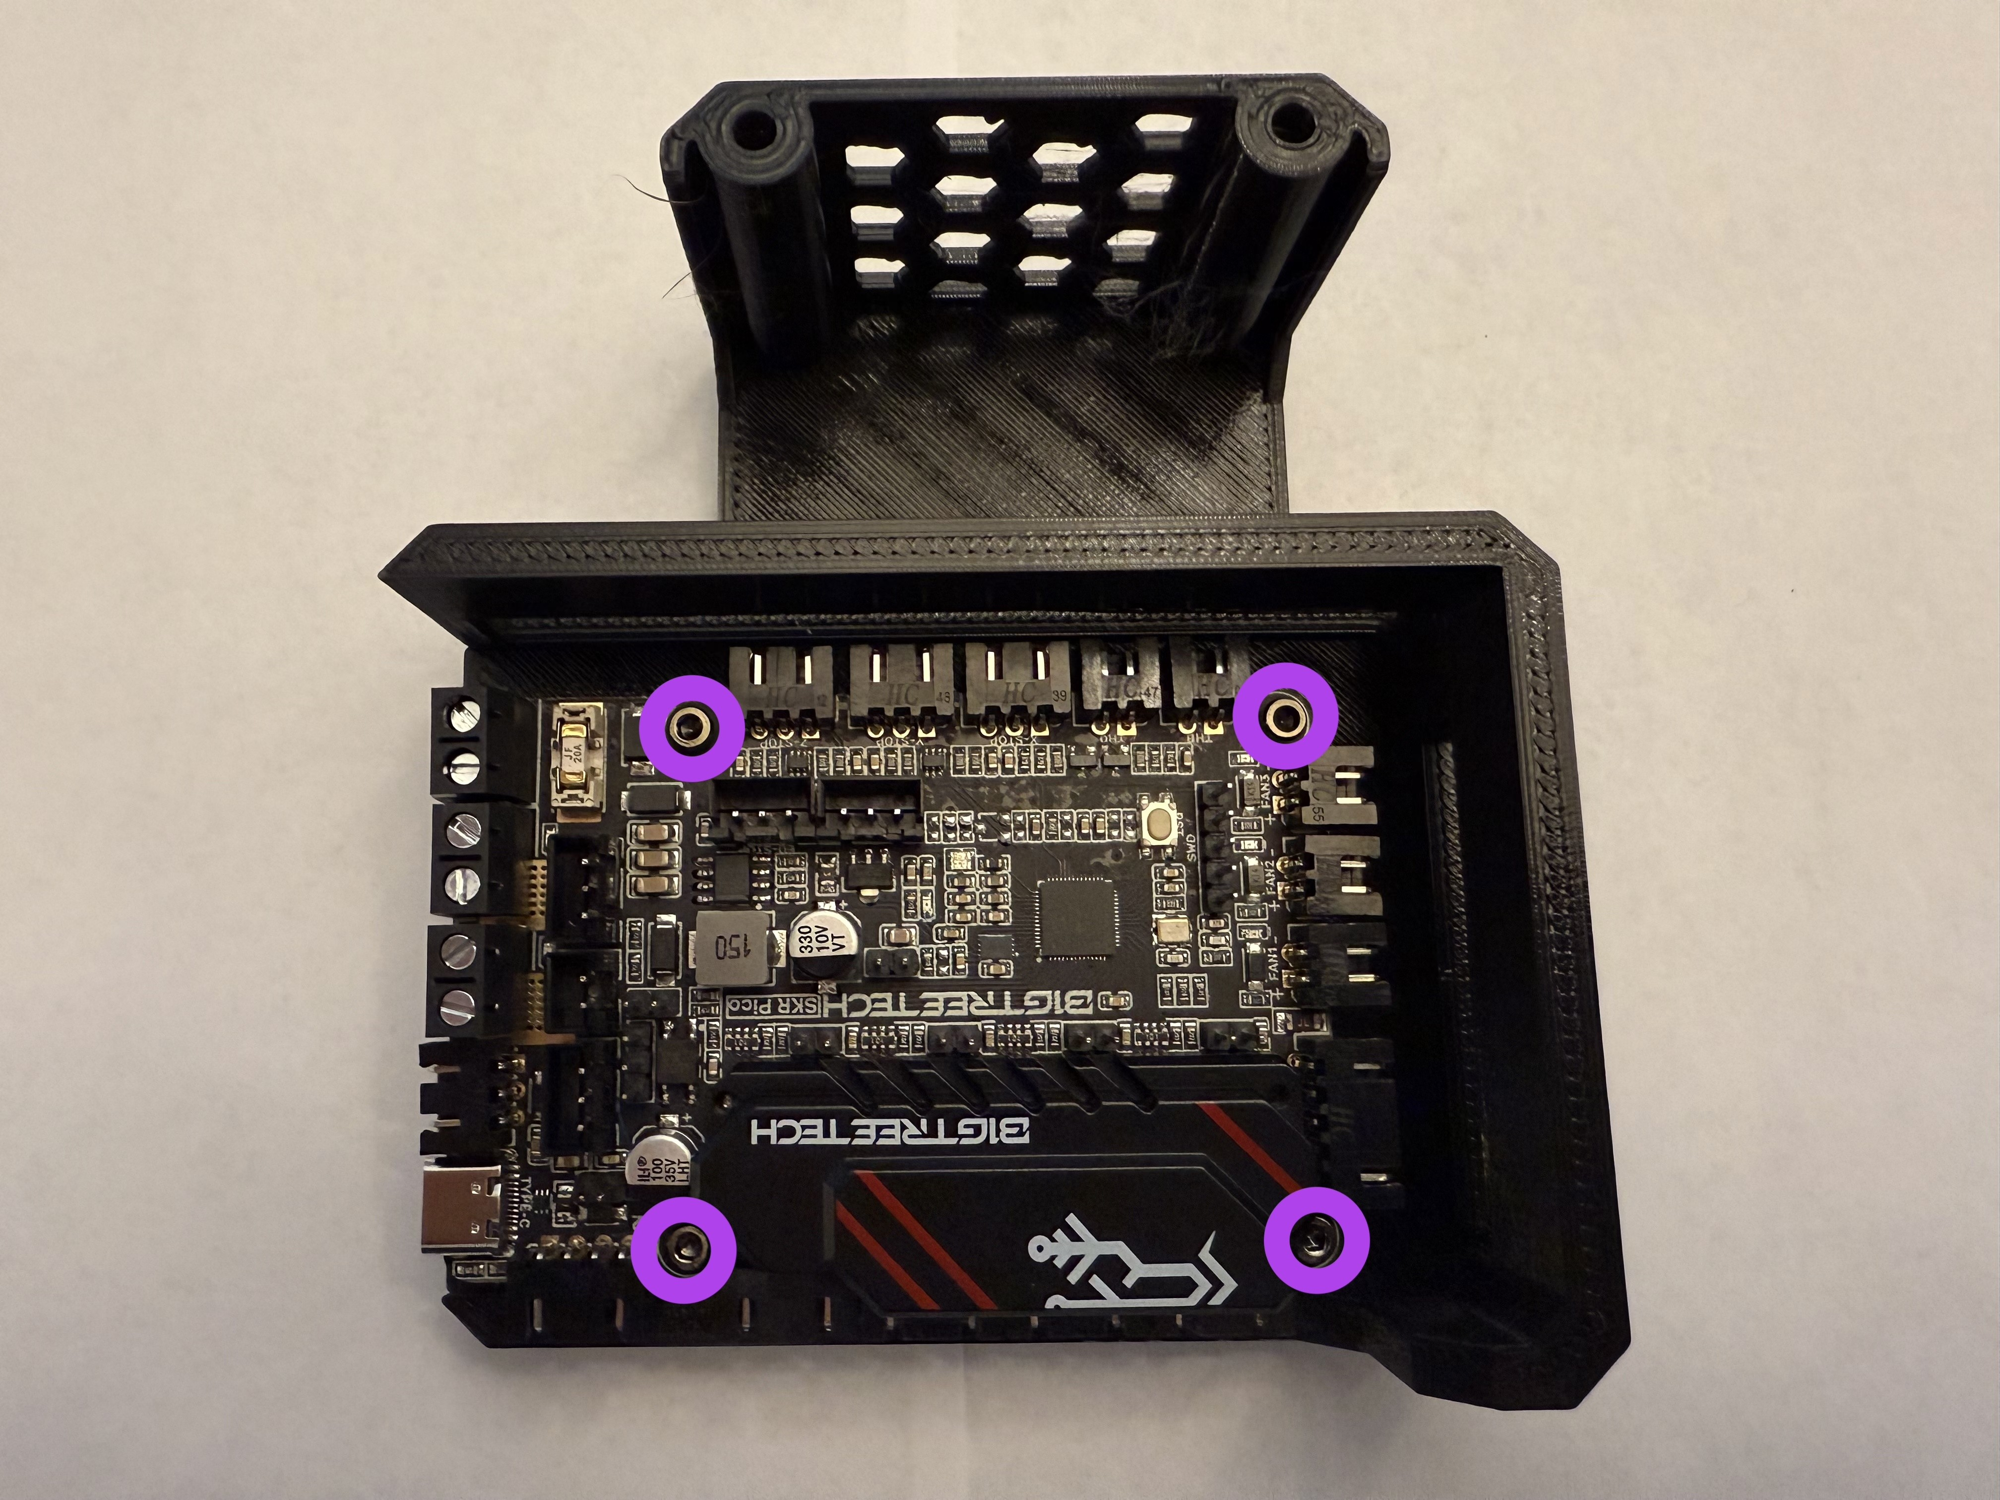
-
Install the SKR Pico board into the case.
Prepare the following for this step:
2mm Hex key 4x mounting bolts (included with the SKR Pico) SKR Pico board
 Place the SKR Pico board onto the previously prepared case.
 Using the four mounting bolts and the hex key, fasten the SKR Pico onto the case.
Step 4 Preparing the Power Cables
-
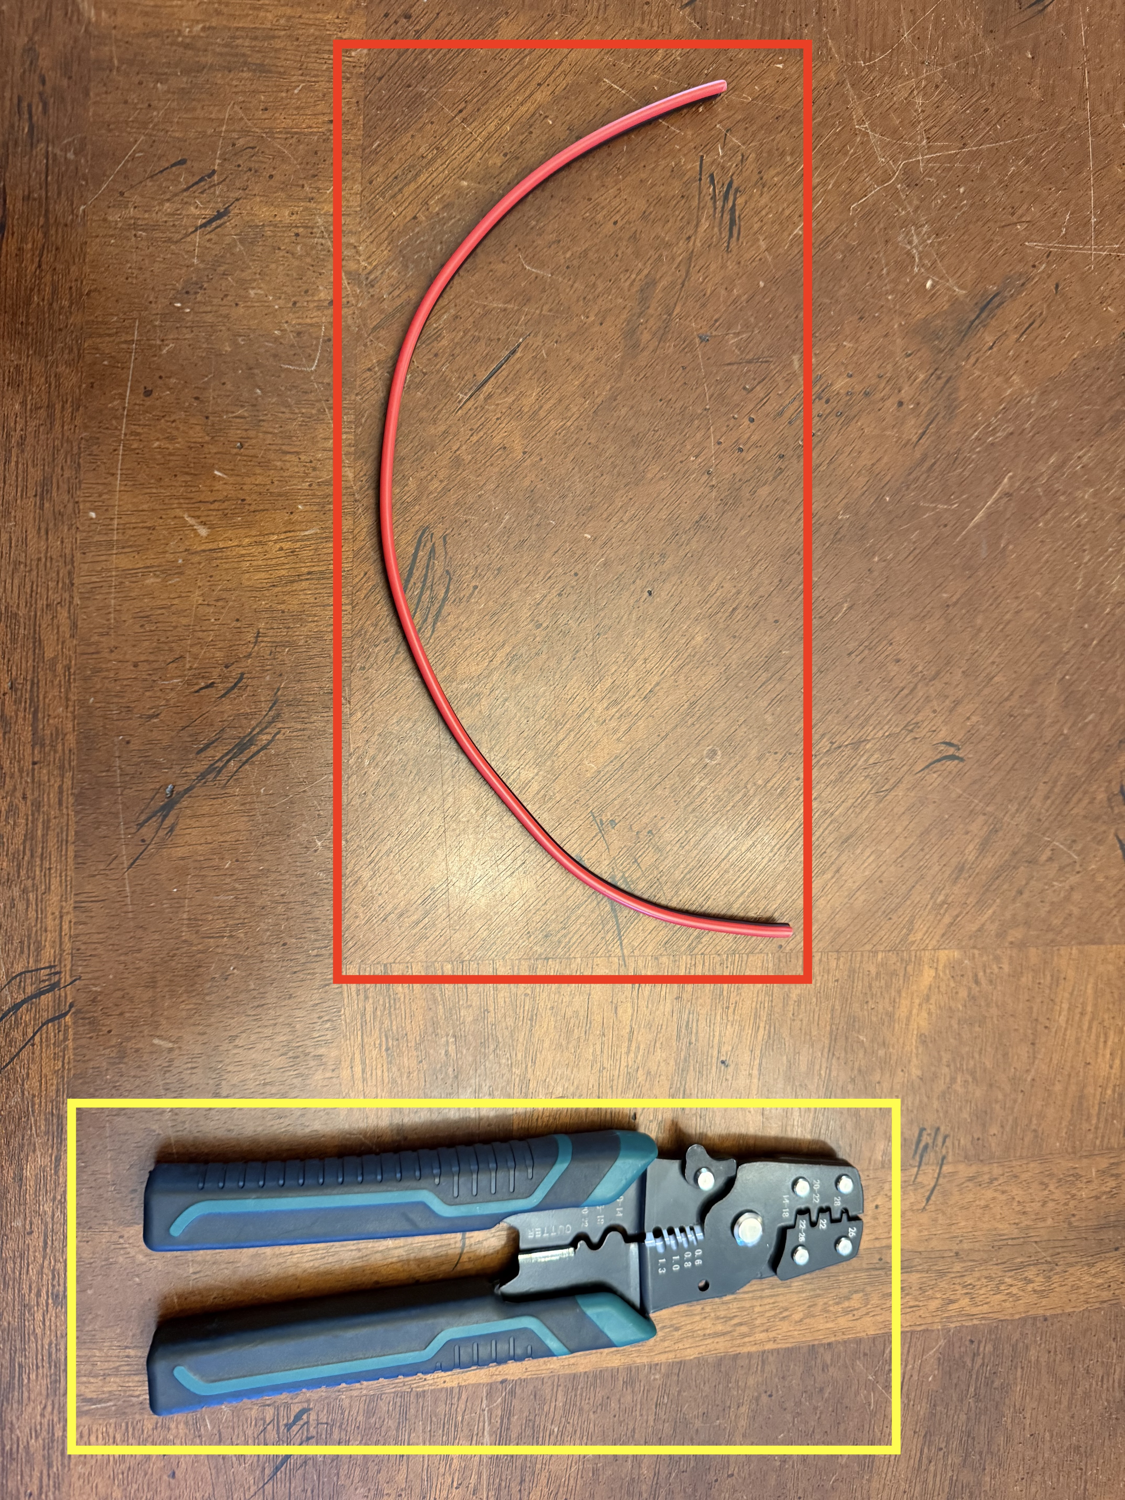
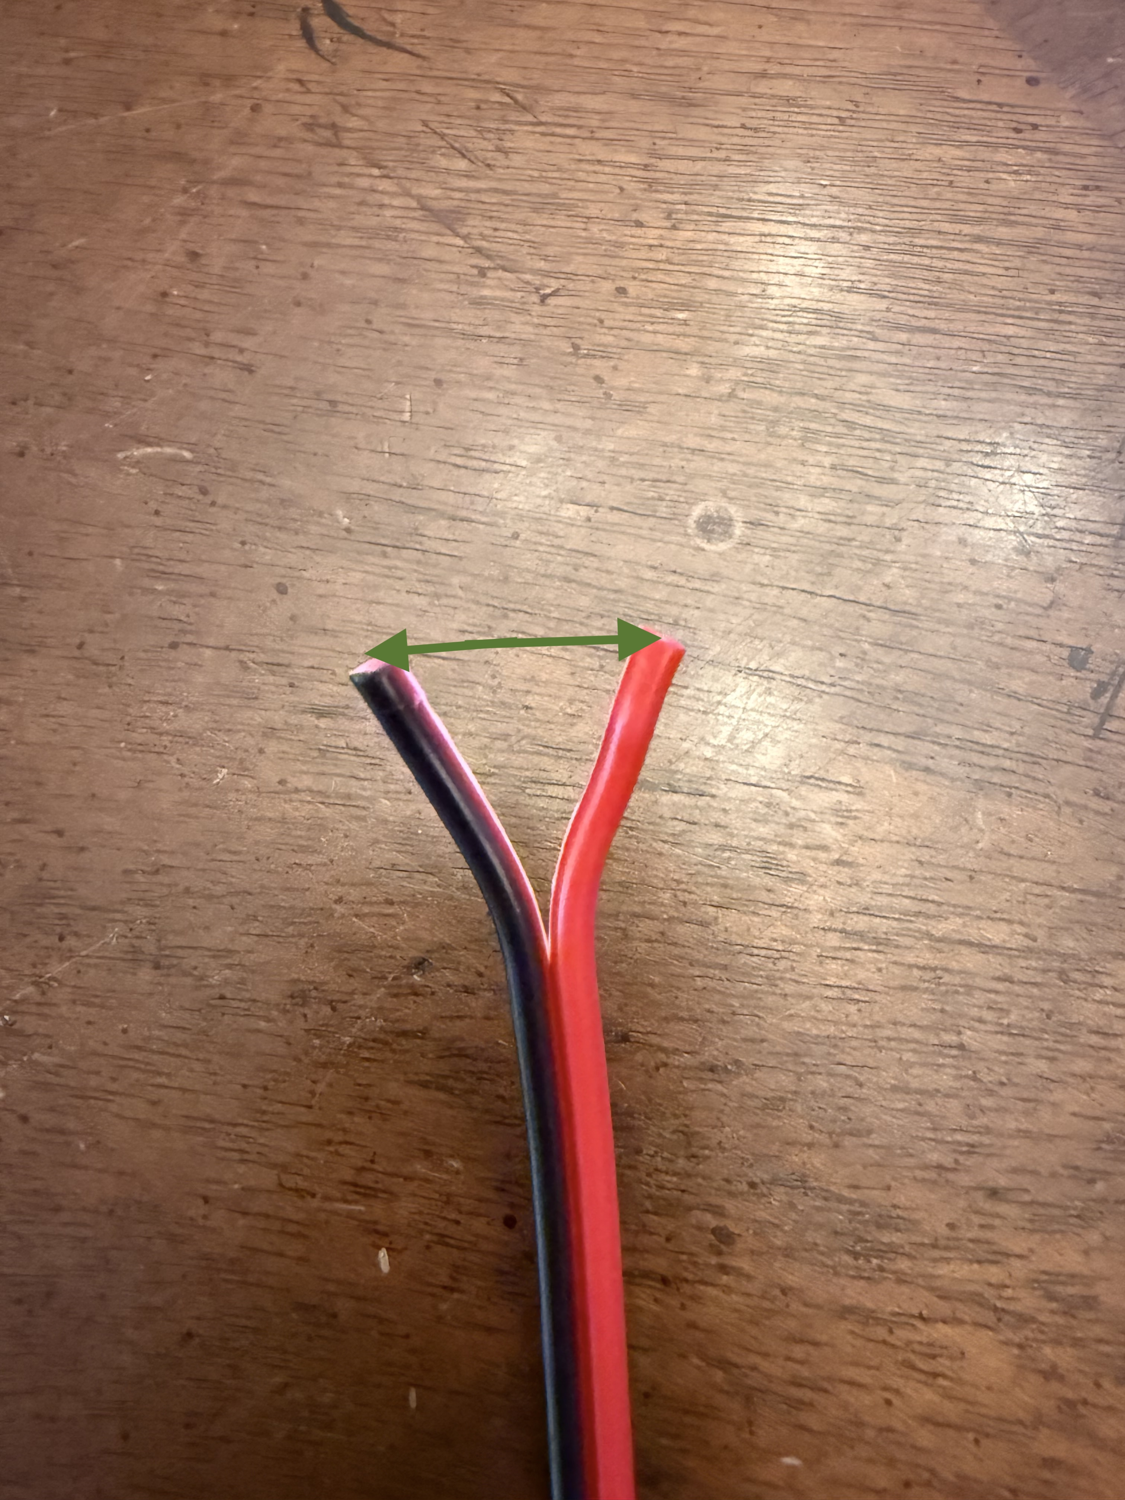
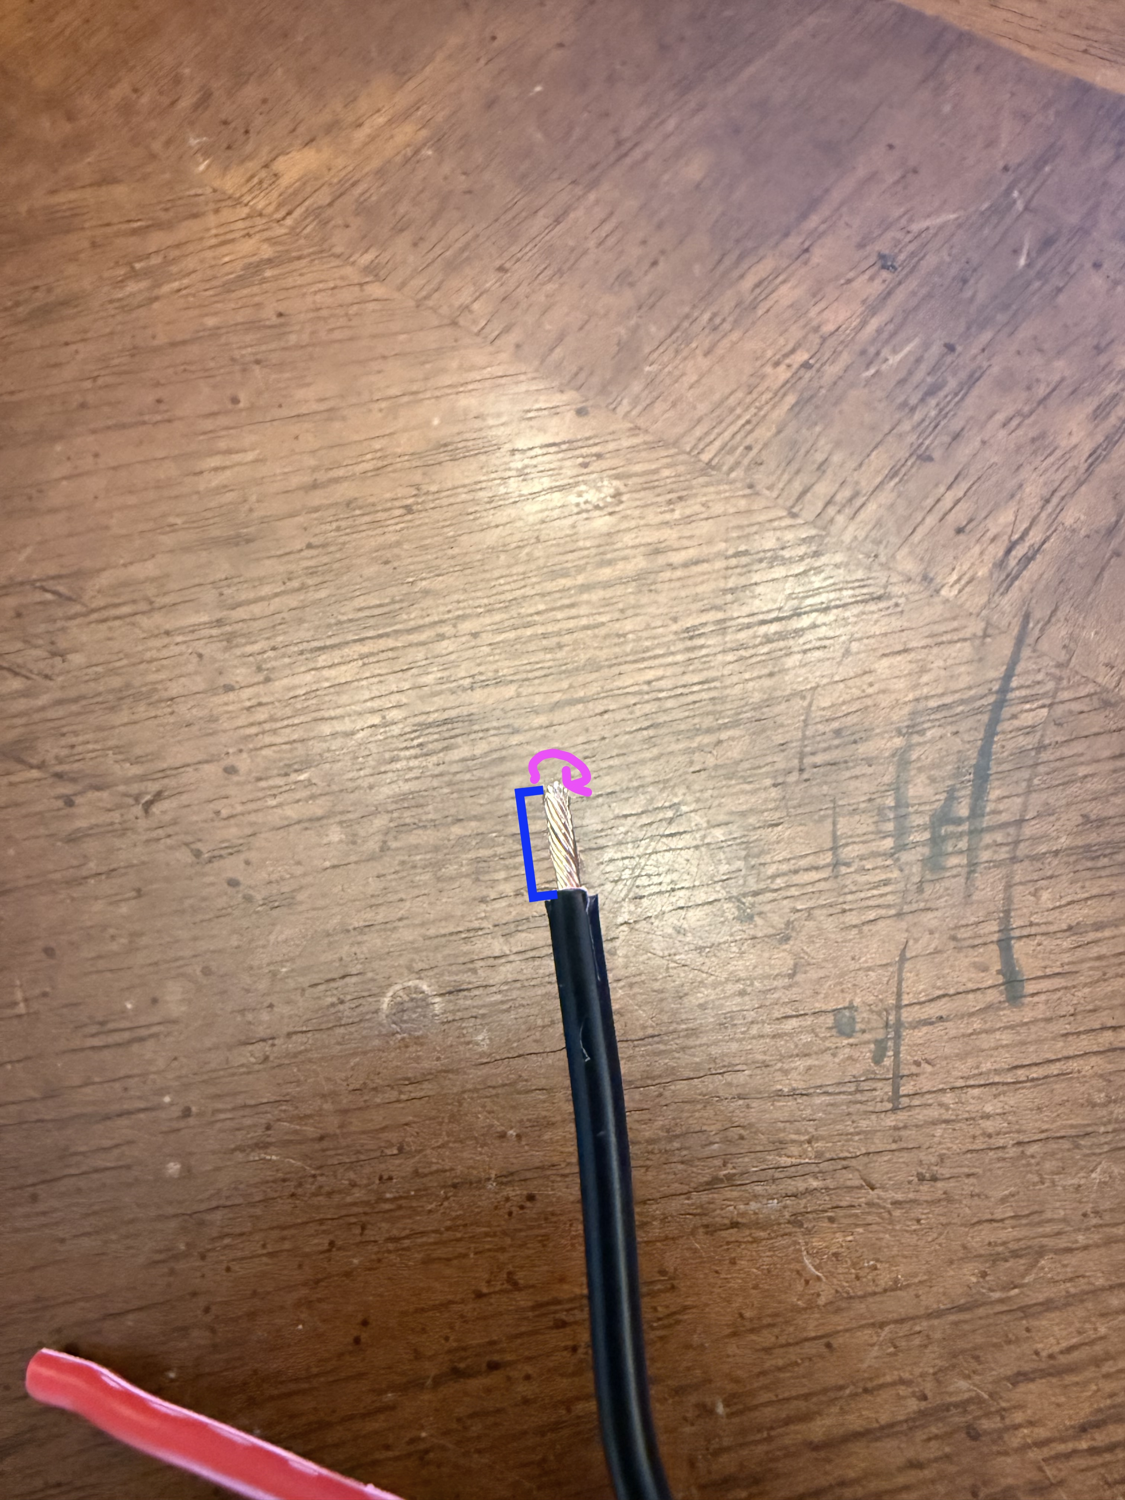
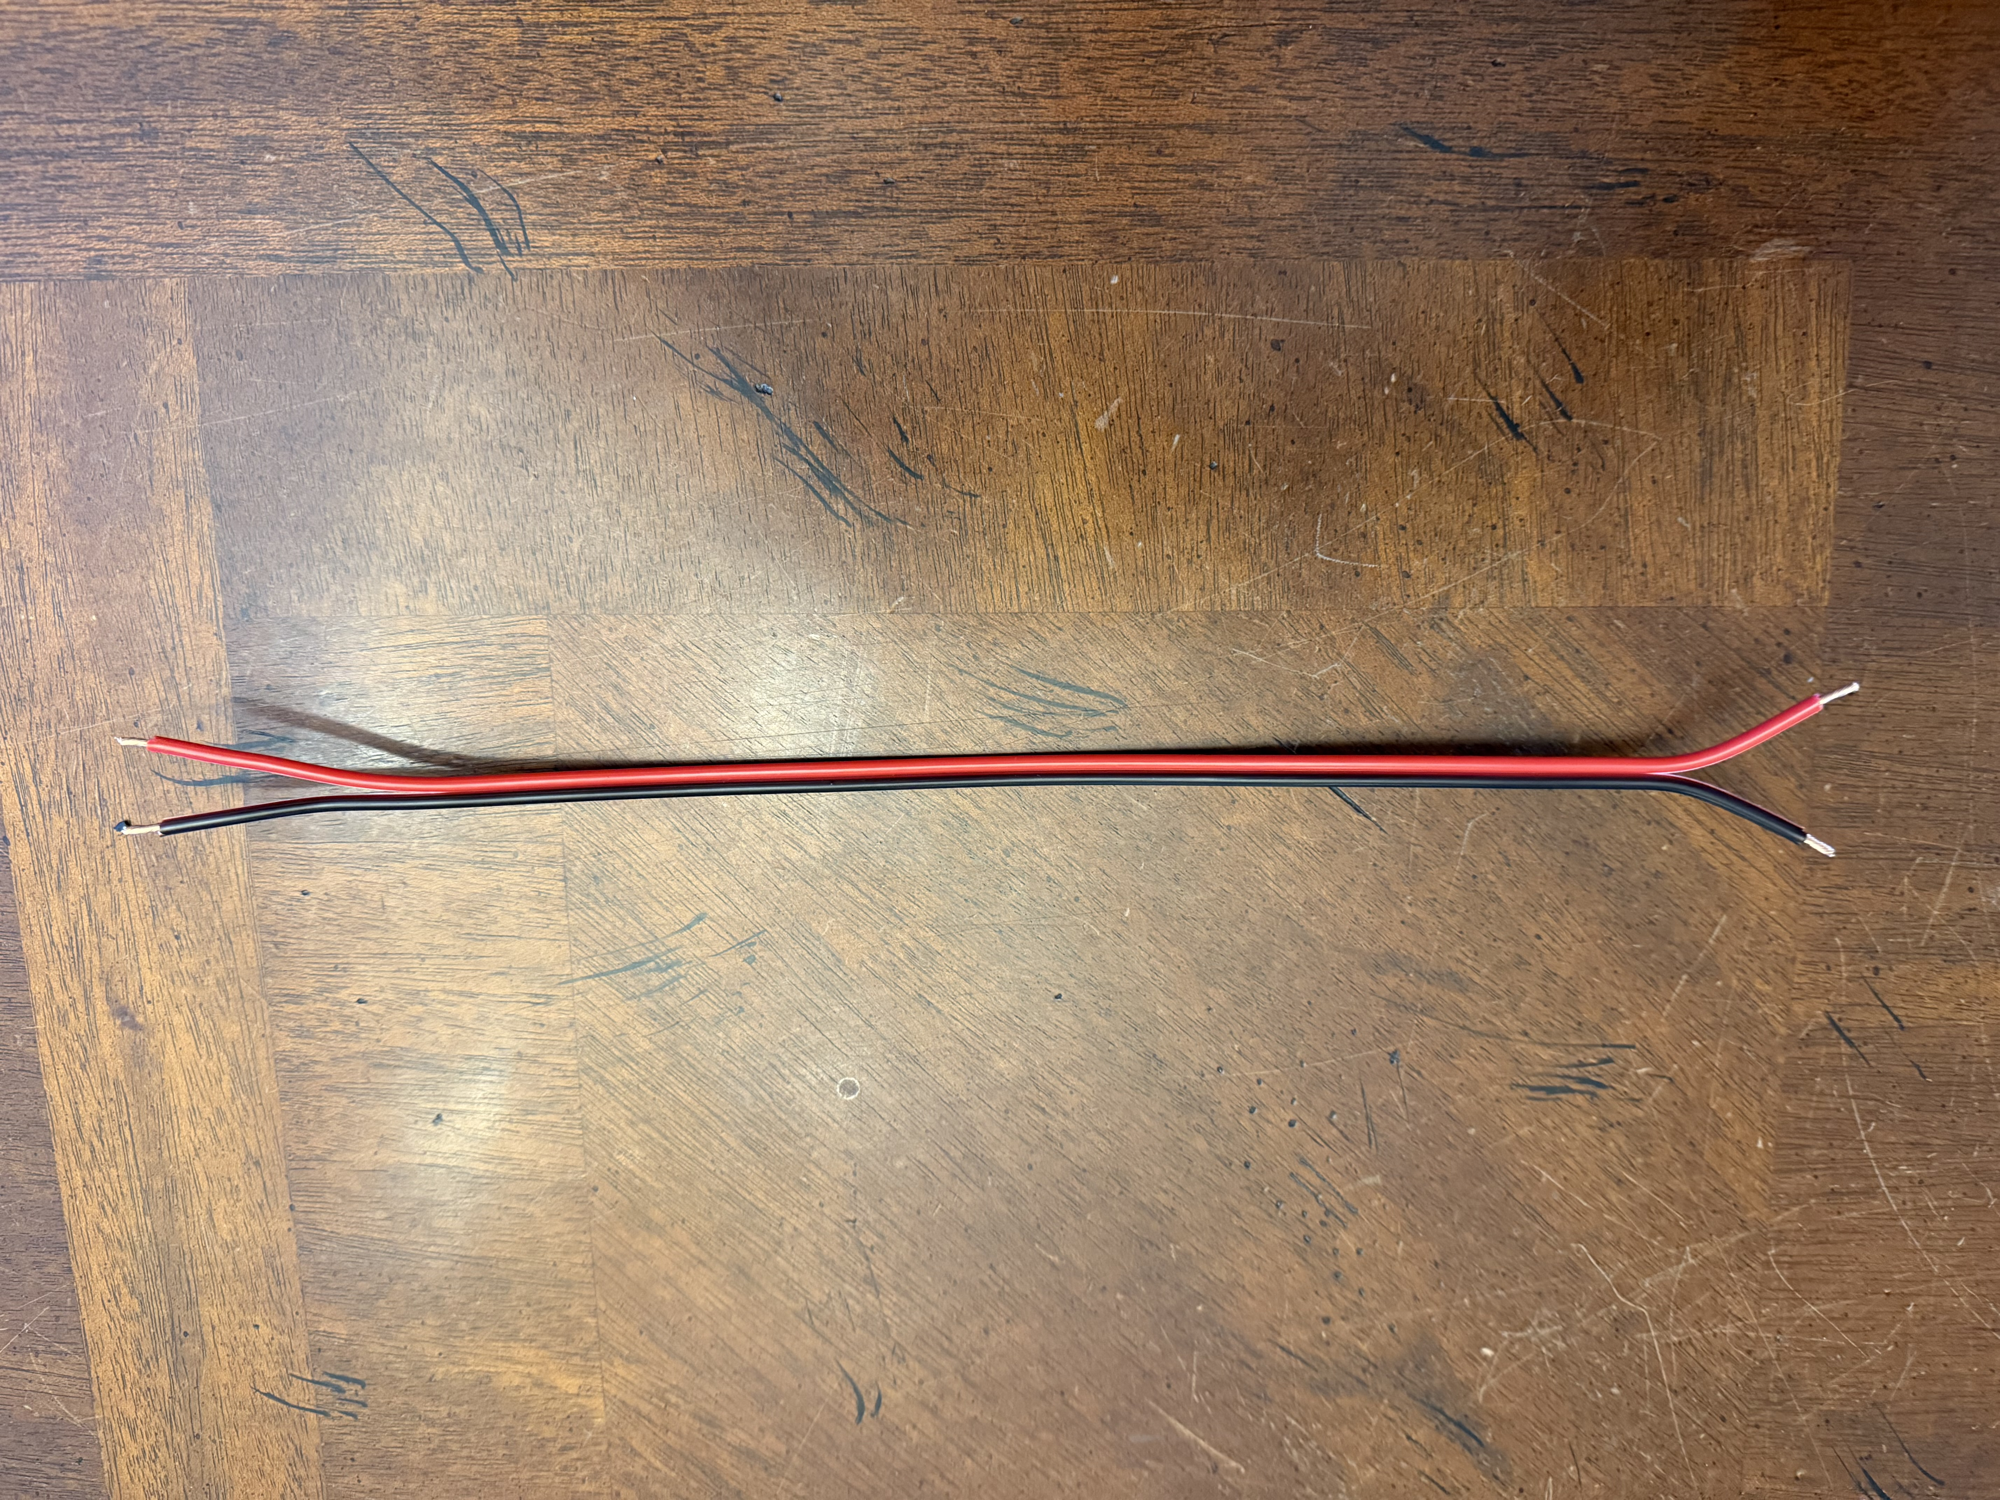
-
Strip the power cables and prepare for the next steps.
Prepare the following for this step:
Power cables Wire strippers Split both ends of the wires as shown. Strip a short length off of all four ends of the wires. Twist the ends of the wires.
Step 5 Connecting the PSU
Connect the power cables to the PSU
Prepare the following for this step:
- Power cables
- PSU
- Phillips-head screwdriver
To connect:
- Loosen both power terminals on the PSU.
- Plug the red wire into the positive terminal on the PSU.
- Plug the black wire into the negative terminal on the PSU.
- Tighten both power terminals on the PSU.
Step 6 Connecting the Power Cables
-
-
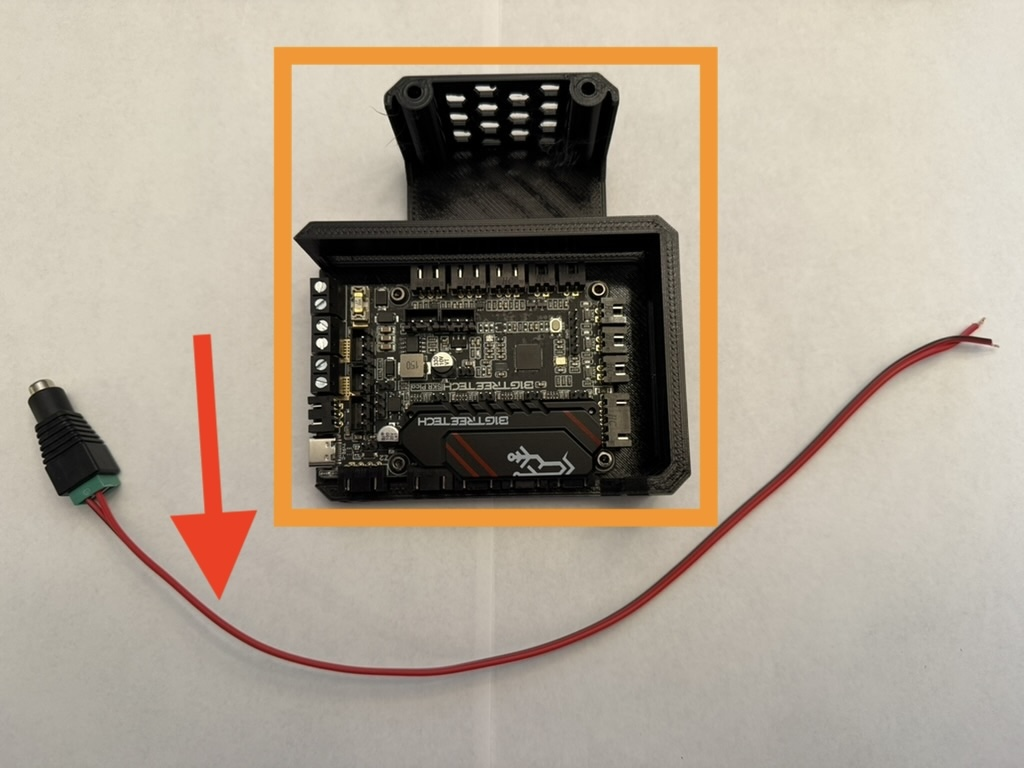
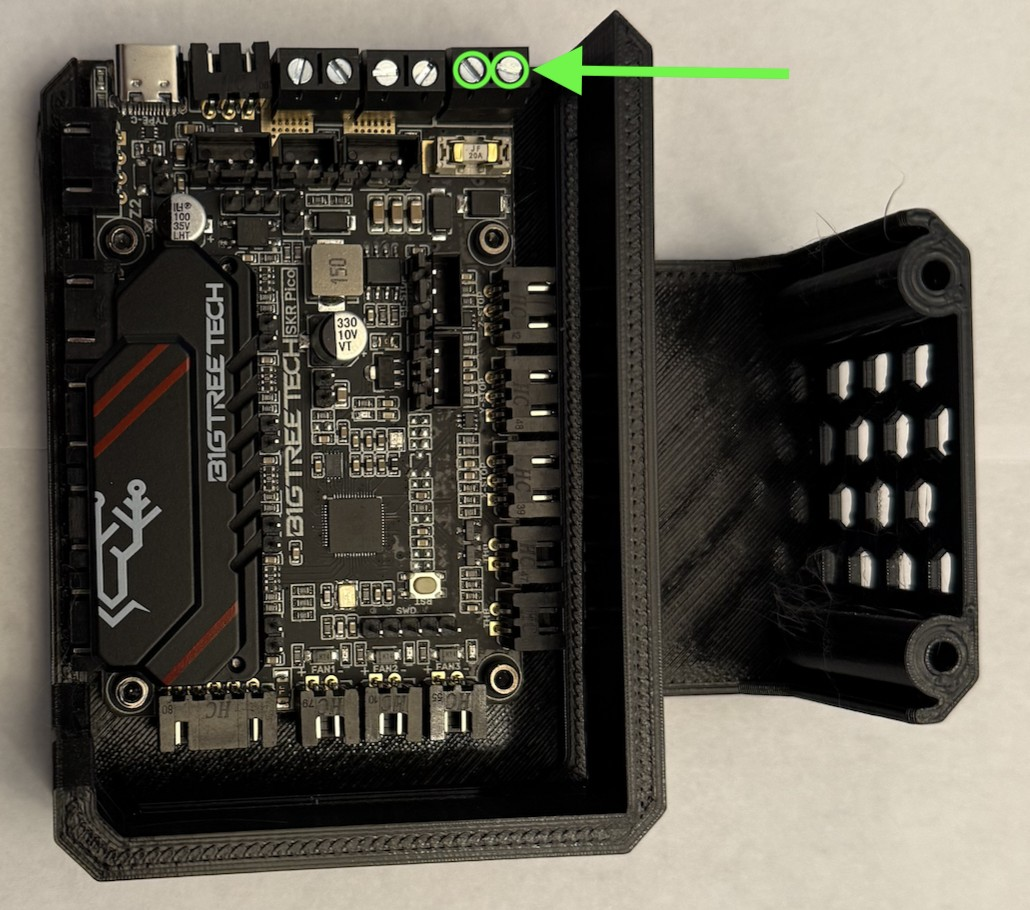
Connect the power cables from the PSU to the SKR Pico.
Prepare the following for this step:
Power cables and PSU SKR Pico with caseFlat-head screwdriver
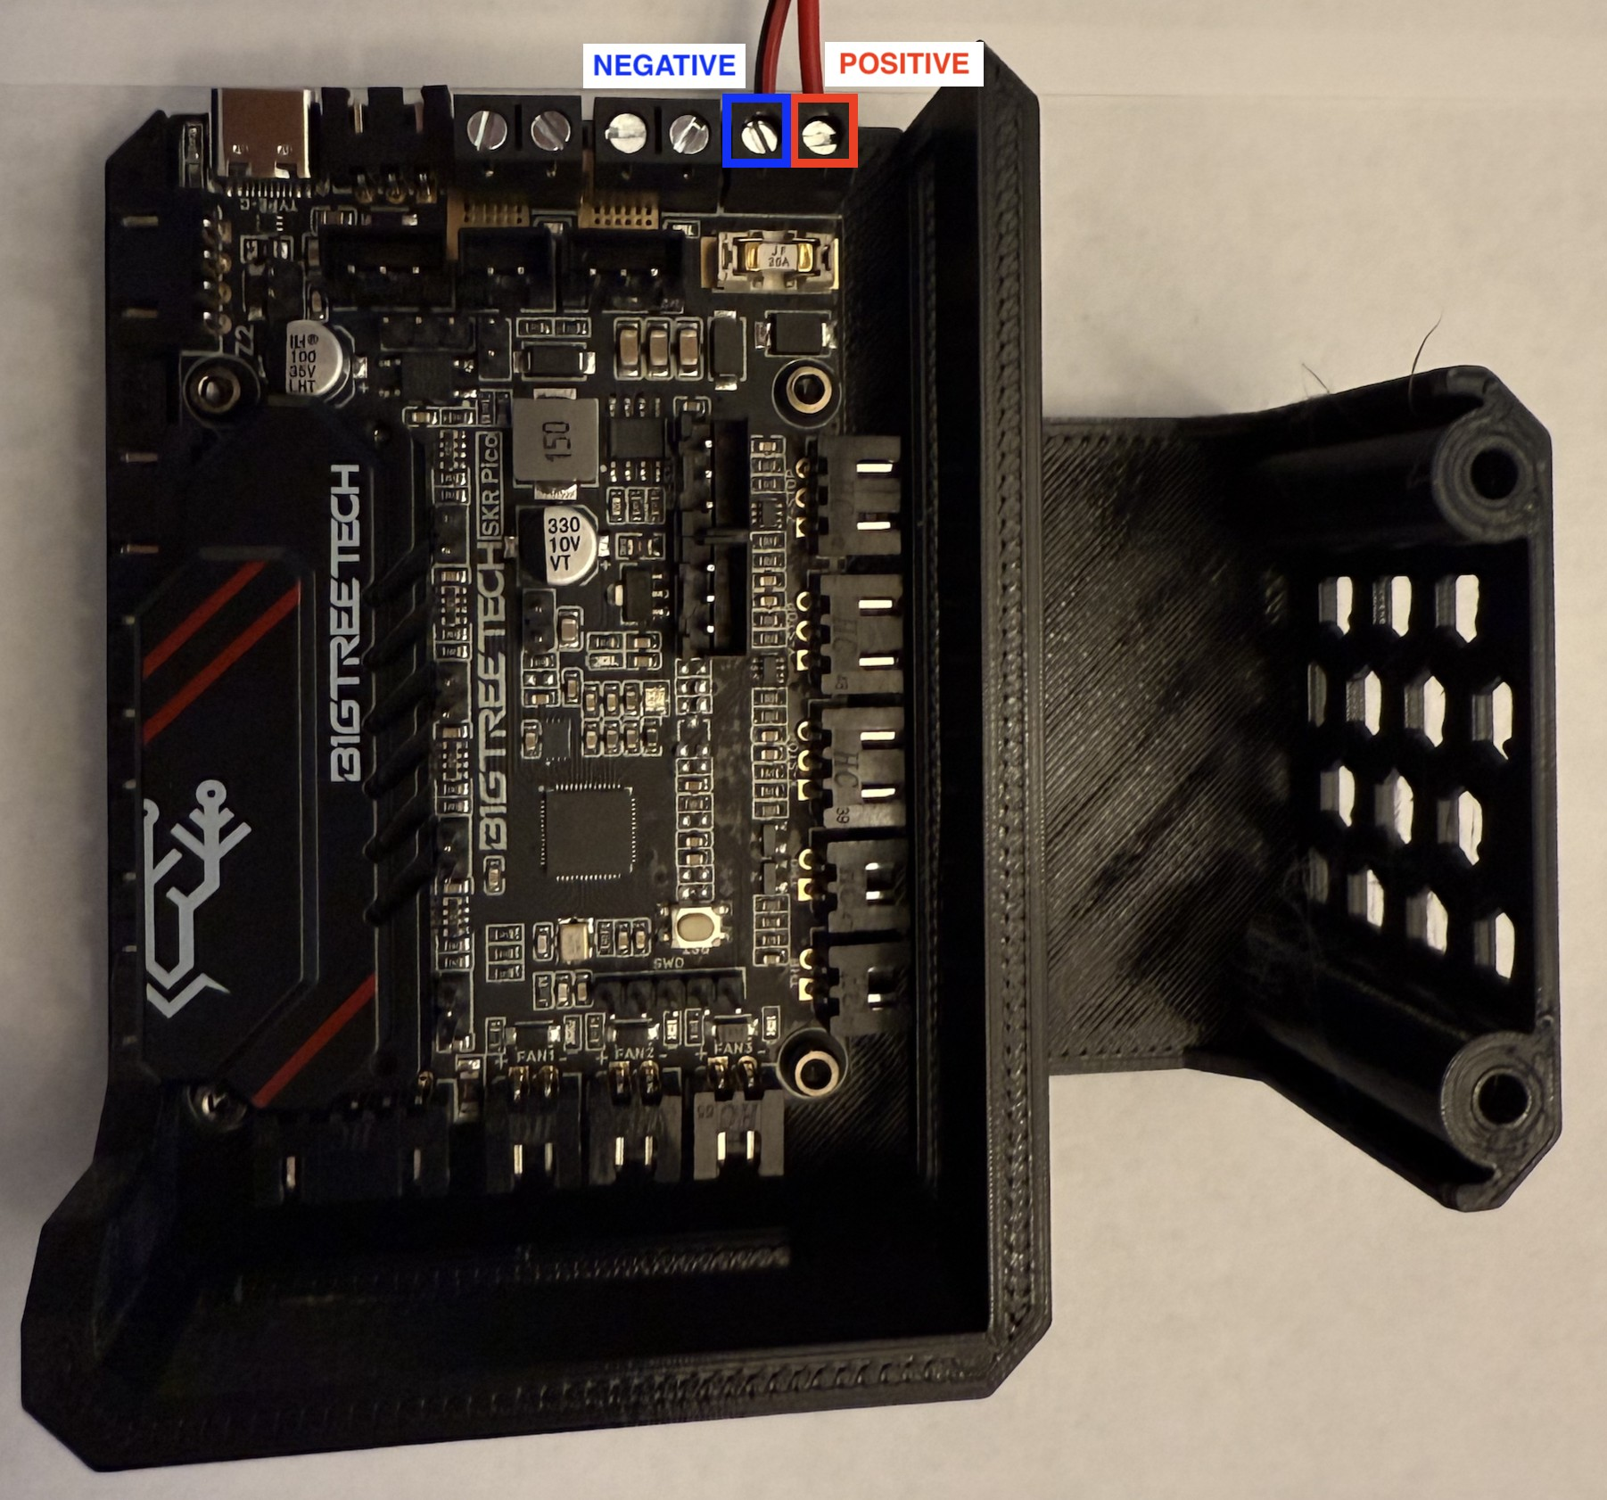
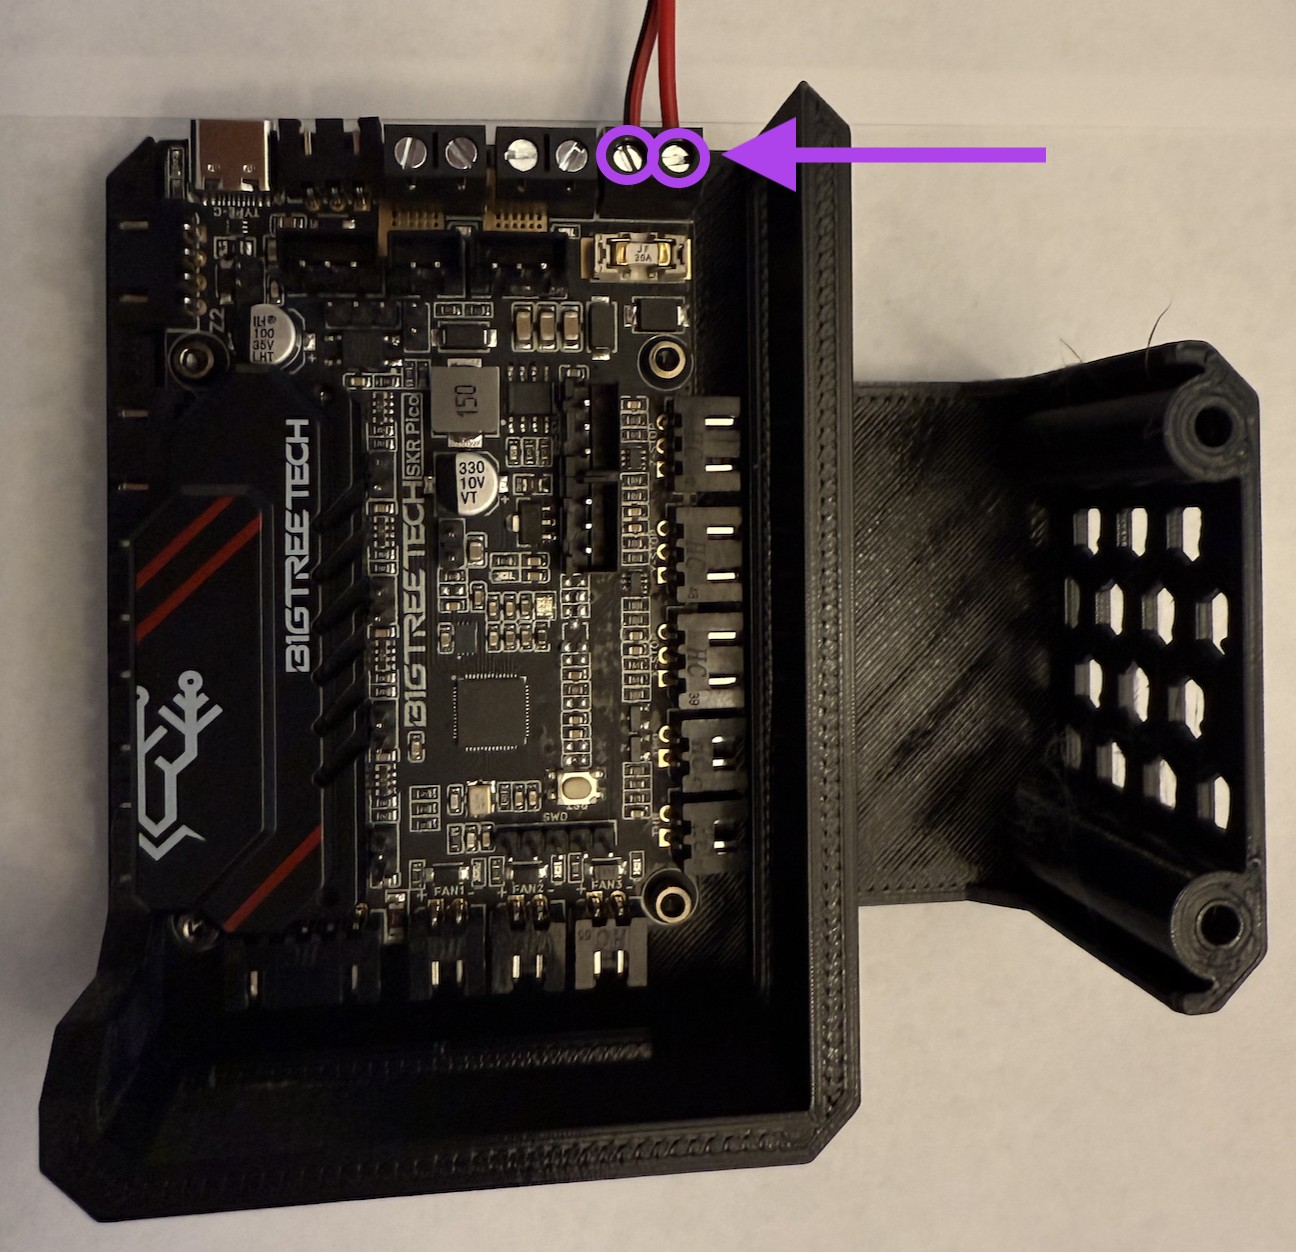
Loosen both power terminals on the SKR. Plug the red wire into the positive terminal on the SKR. Plug the black wire into the negative terminal on the SKR. Firmly tighten both power terminals on the SKR.
Step 7 Preparing the 3HOME
-
-
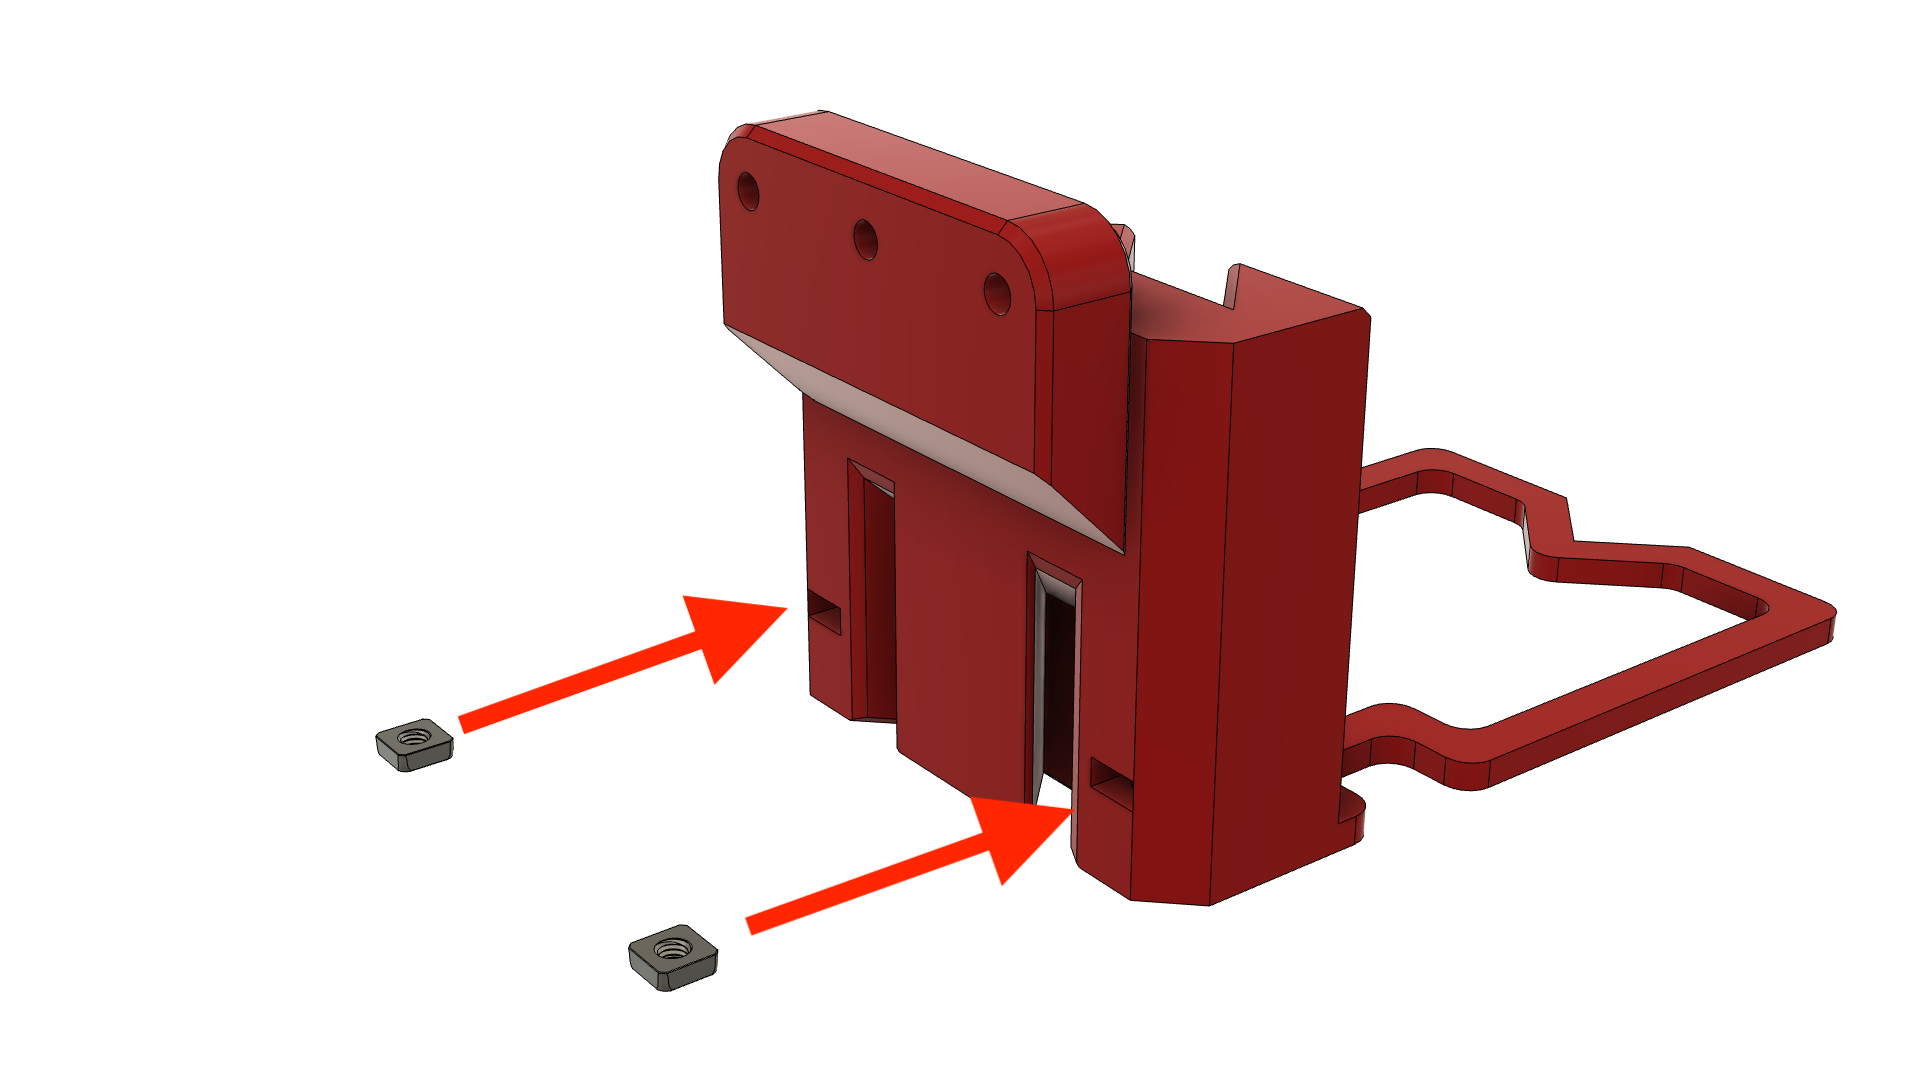
Add M3 square nuts to the 3HOME.
Prepare the following for this step:
-
3HOME
-
2x M3nS Square nuts
Insert the two square nuts into any joiner of the 3HOME -
Step 8 Attaching to the 3HOME
-
-
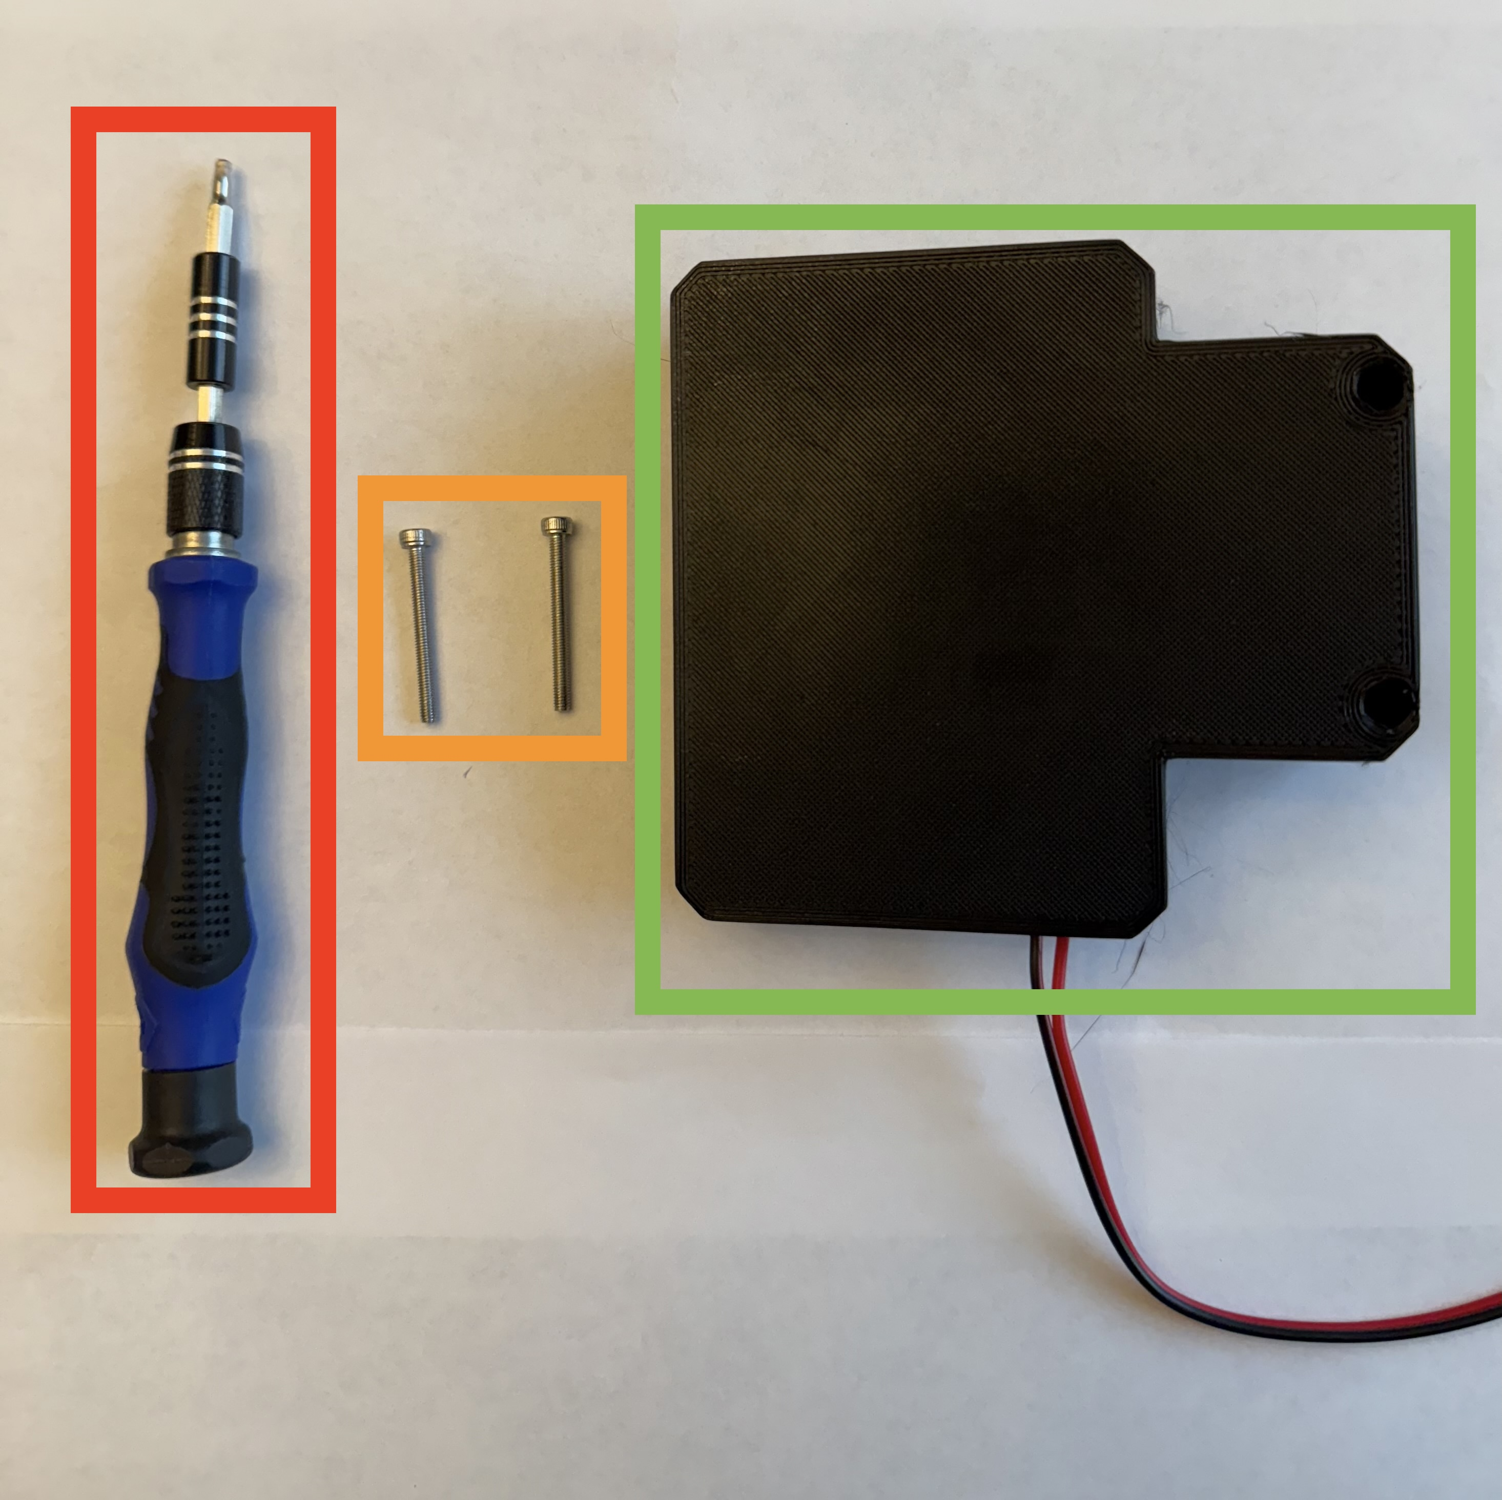
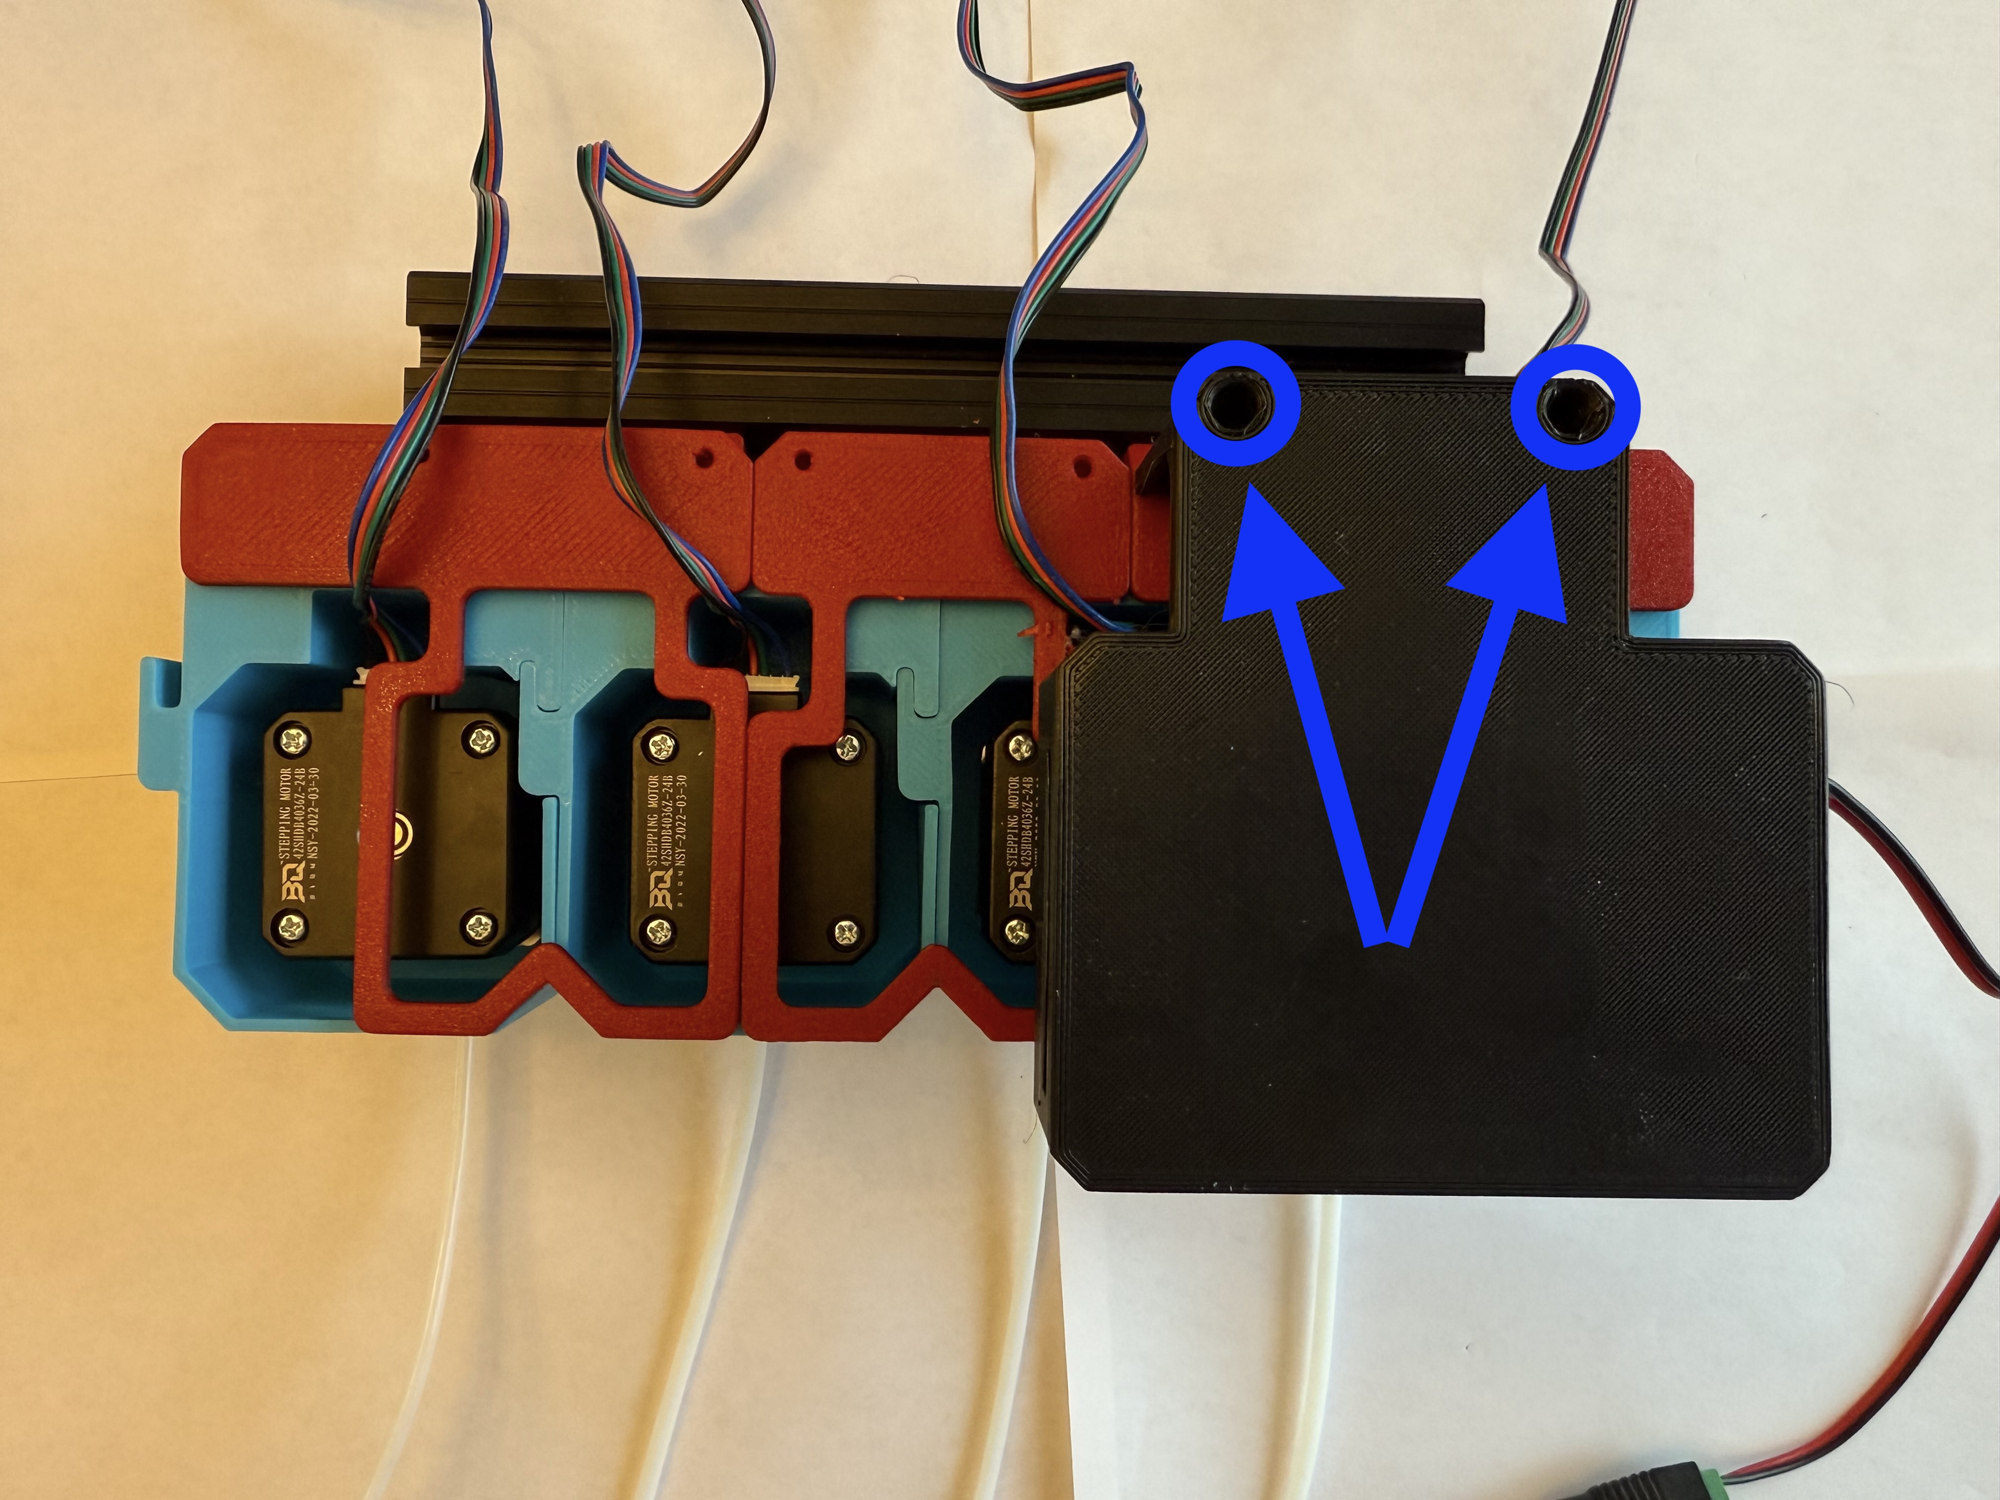
Attach the SKR Pico case to the 3HOME.
Prepare the following for this step:
2.5mm Hex key 2x M3x30 SHCS SKR Pico case (prepared previously) Fasten the SKR Pico to the 3HOME with the two M3x30 SHCS using the 2.5mm hex key.
Step 9 Wire Management
Begin by stretching out each stepper motor wire away from the 3HOME as shown.
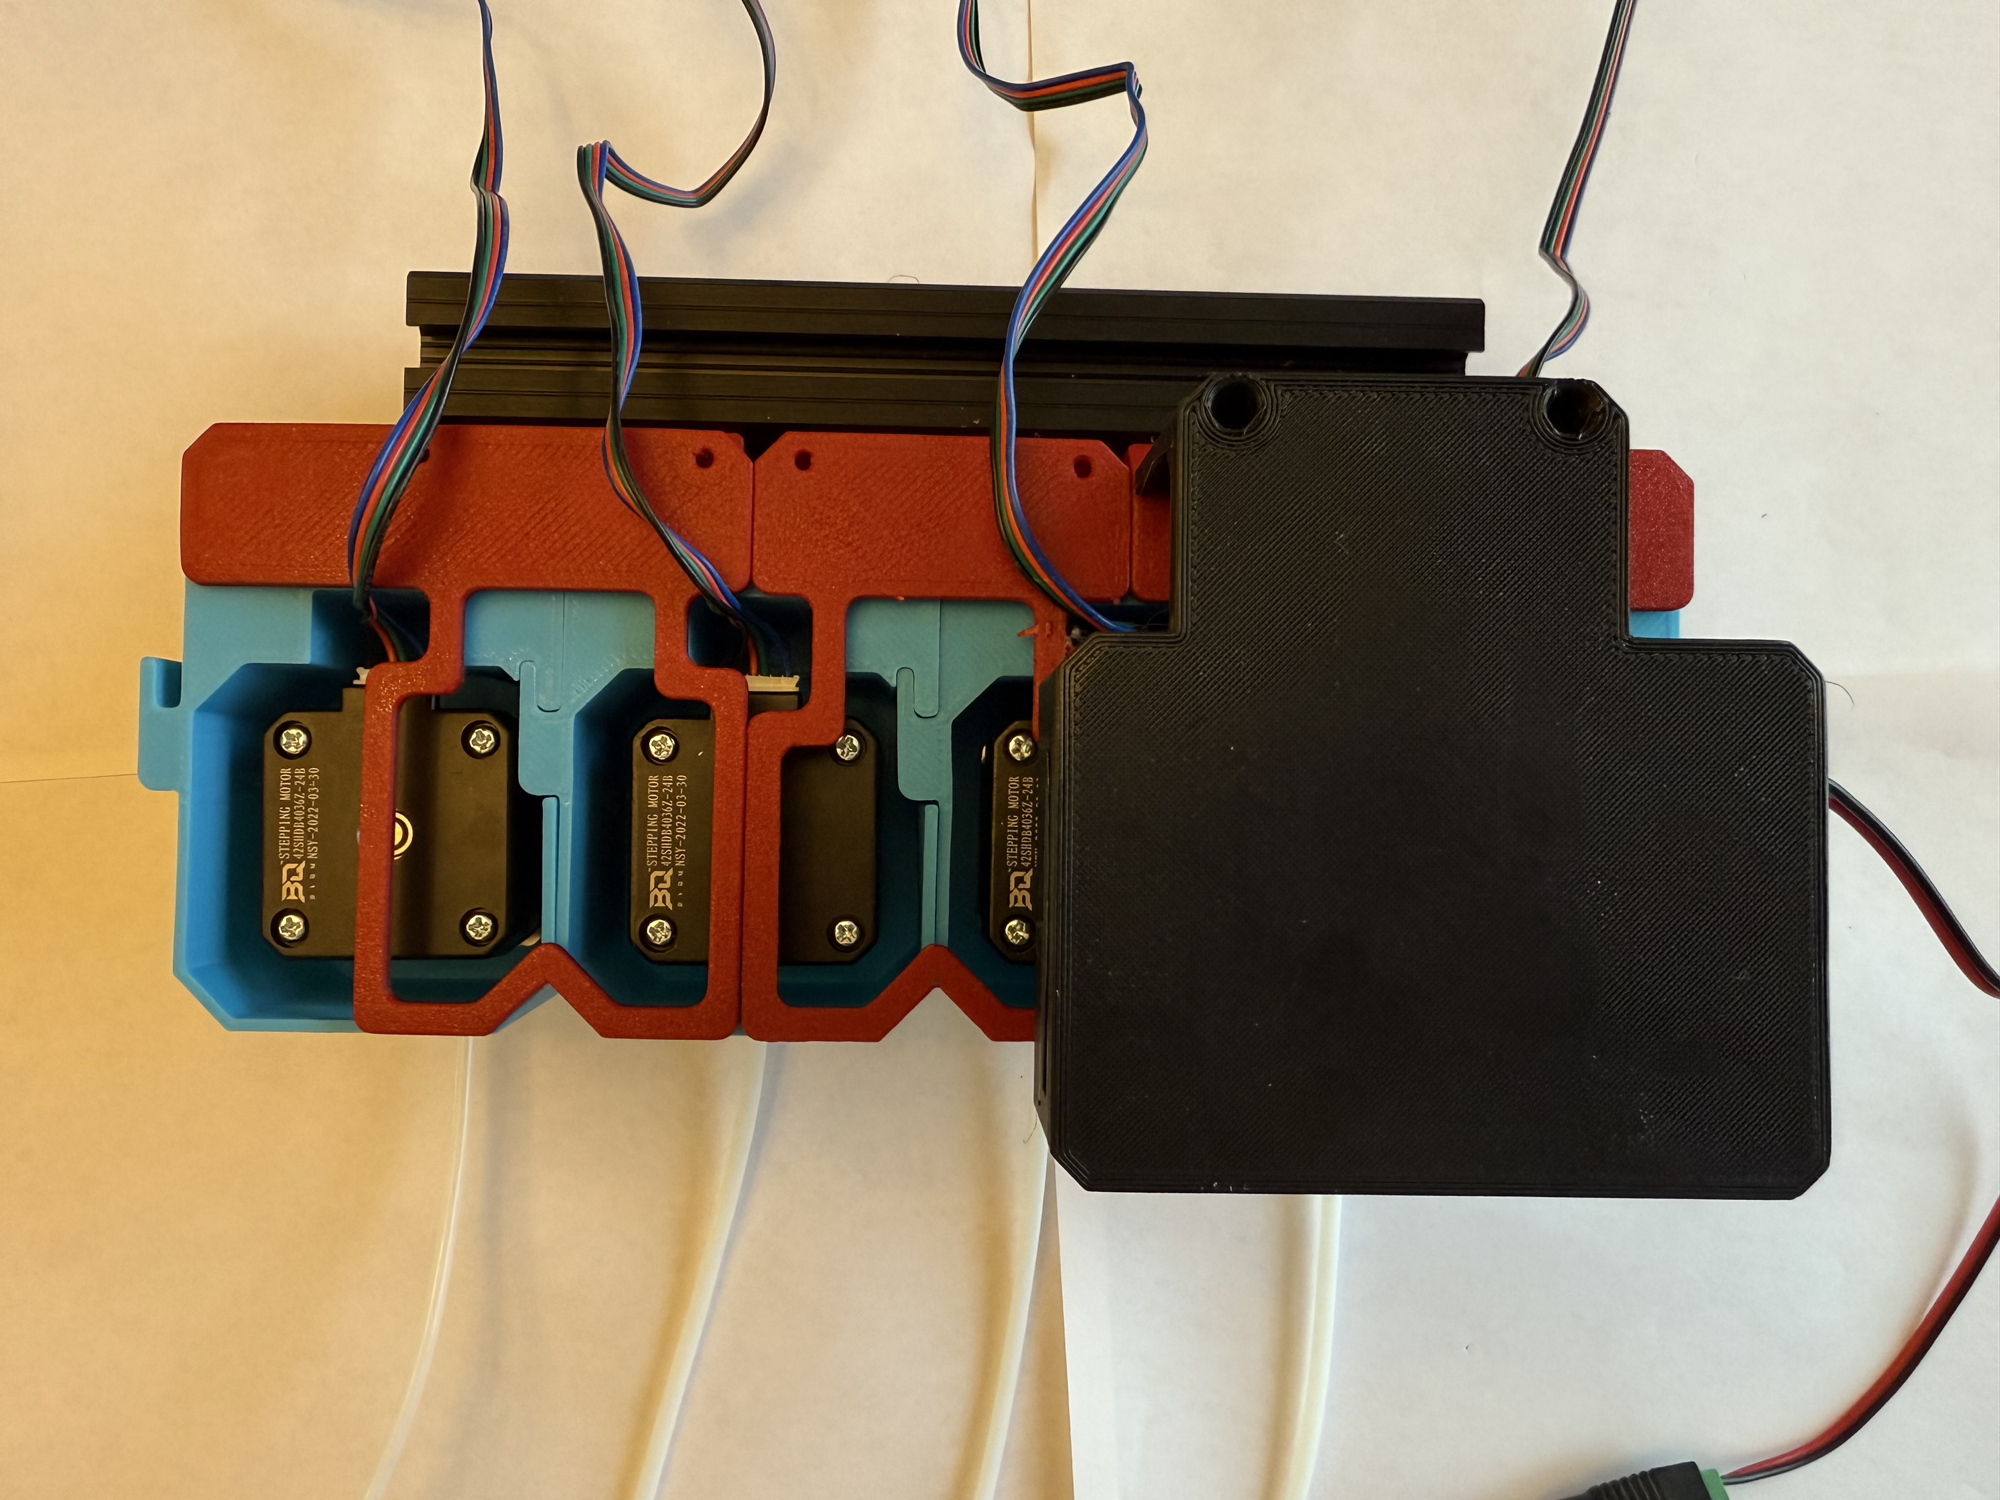
Next, take the rightmost wire (T0) and form it into the shape shown.
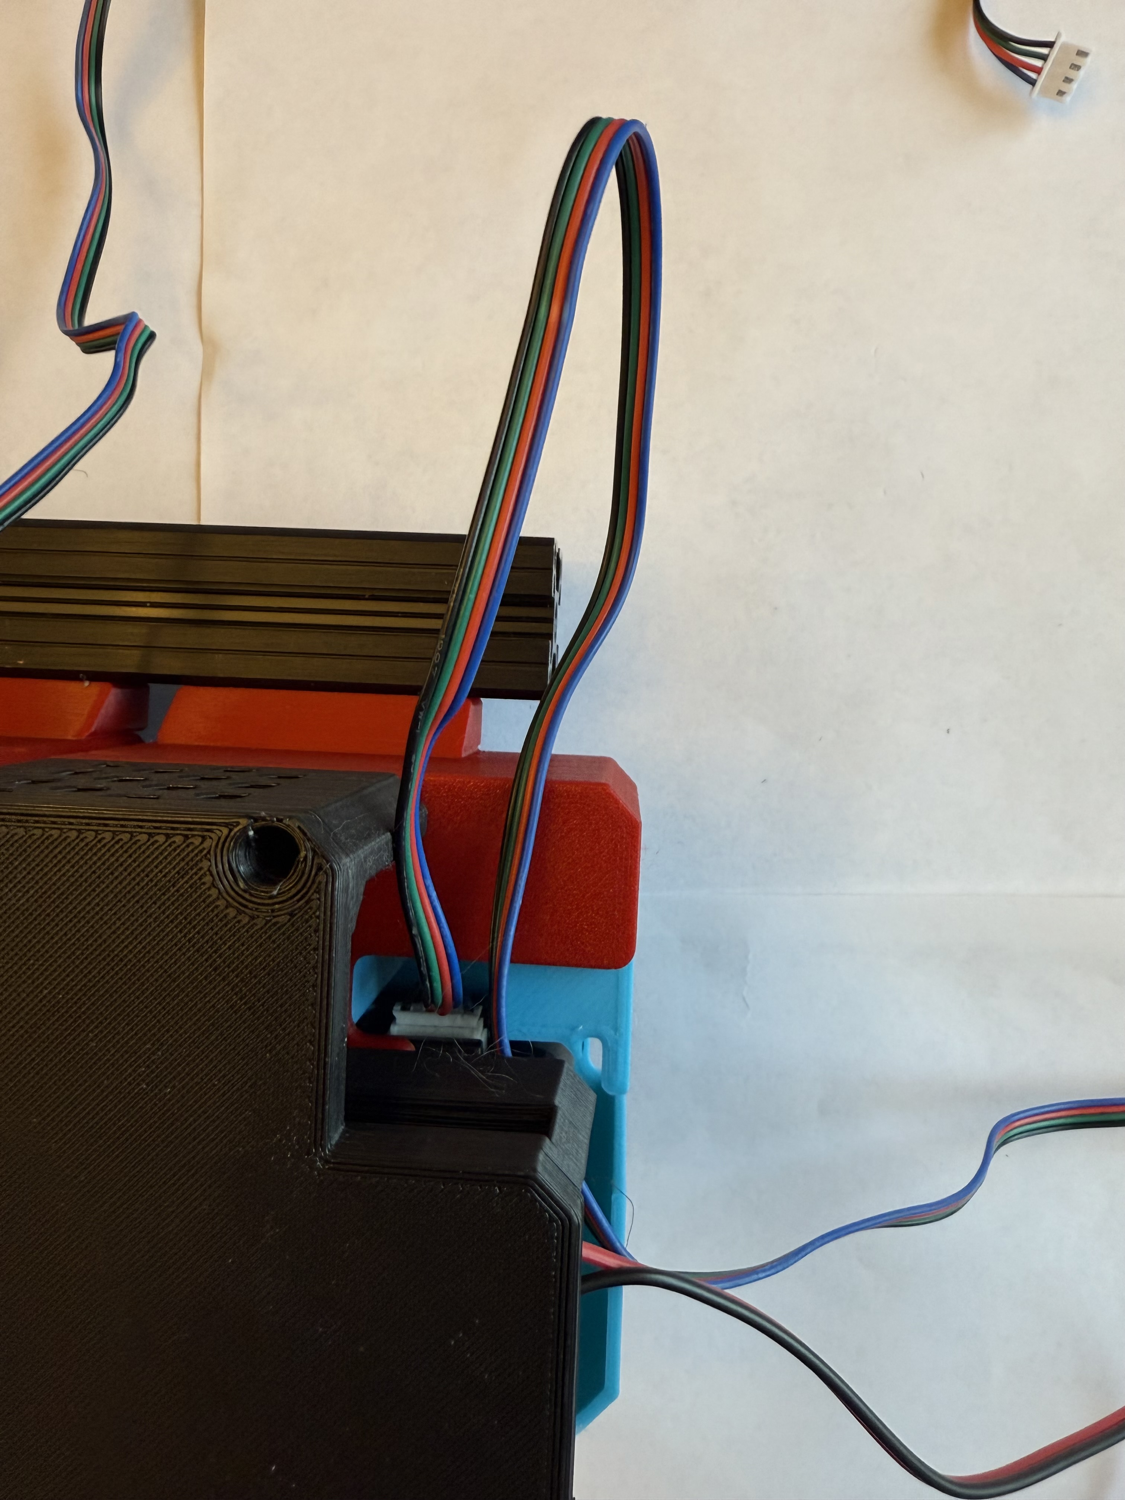
Fold it back over itself several times until a short length is remaining. Use a zip tie to secure and cut off the excess from the zip tie.
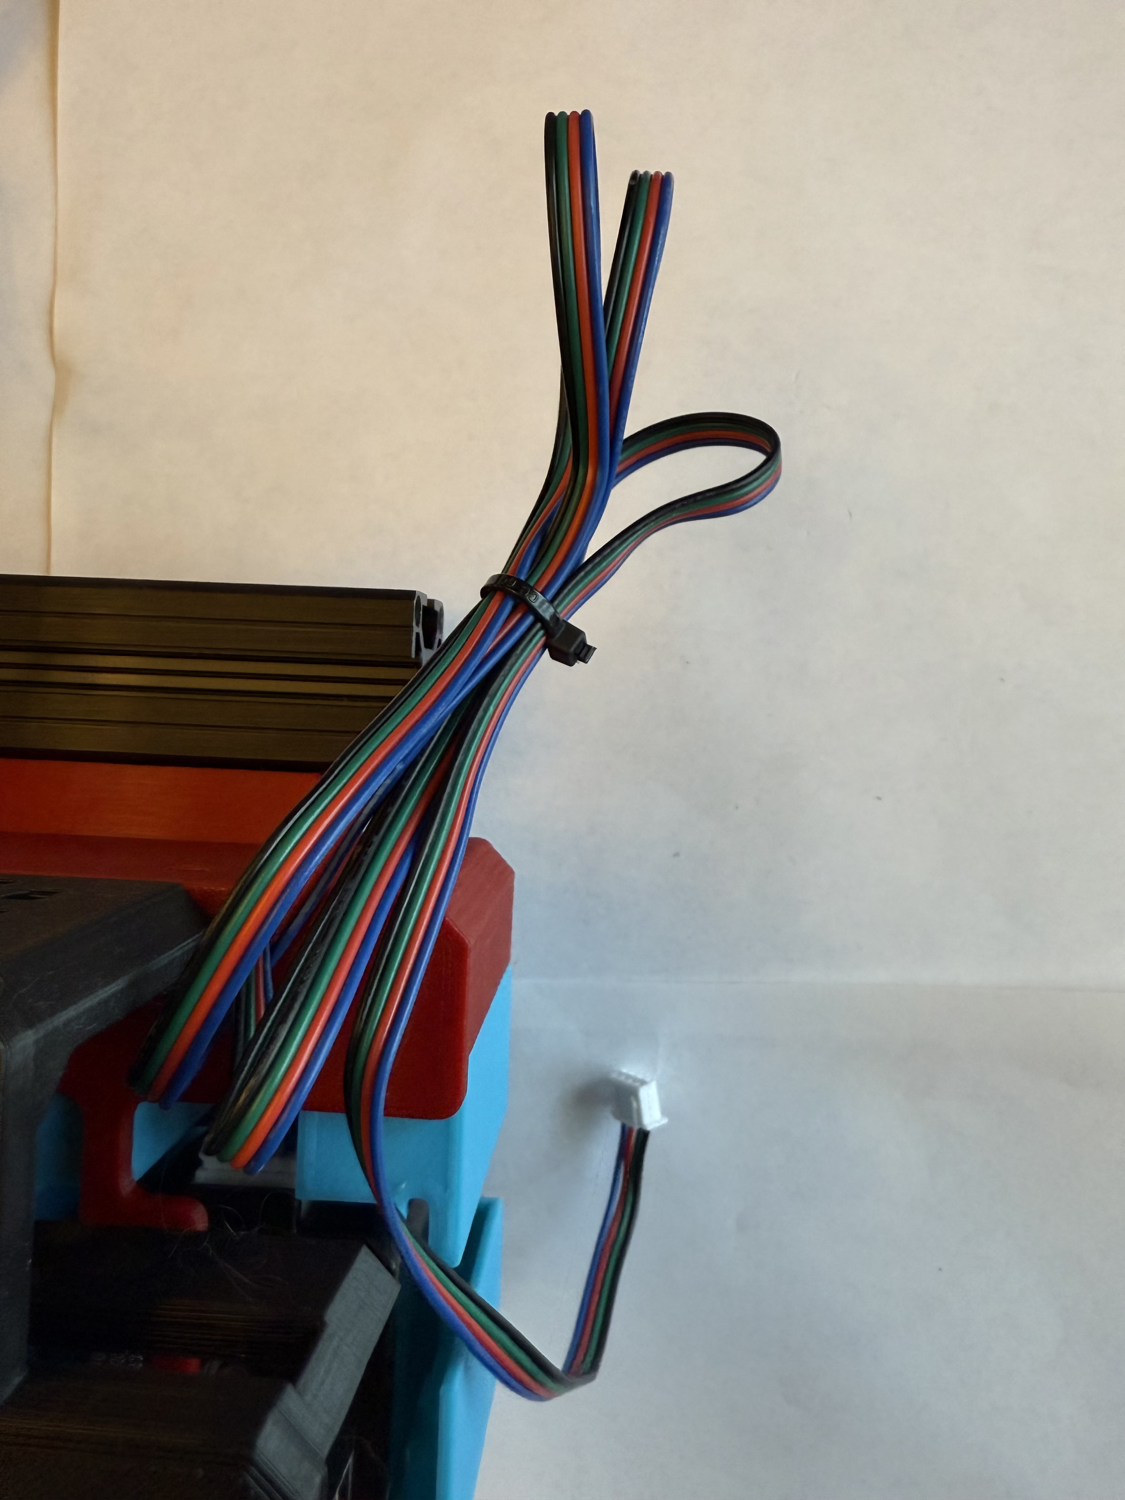
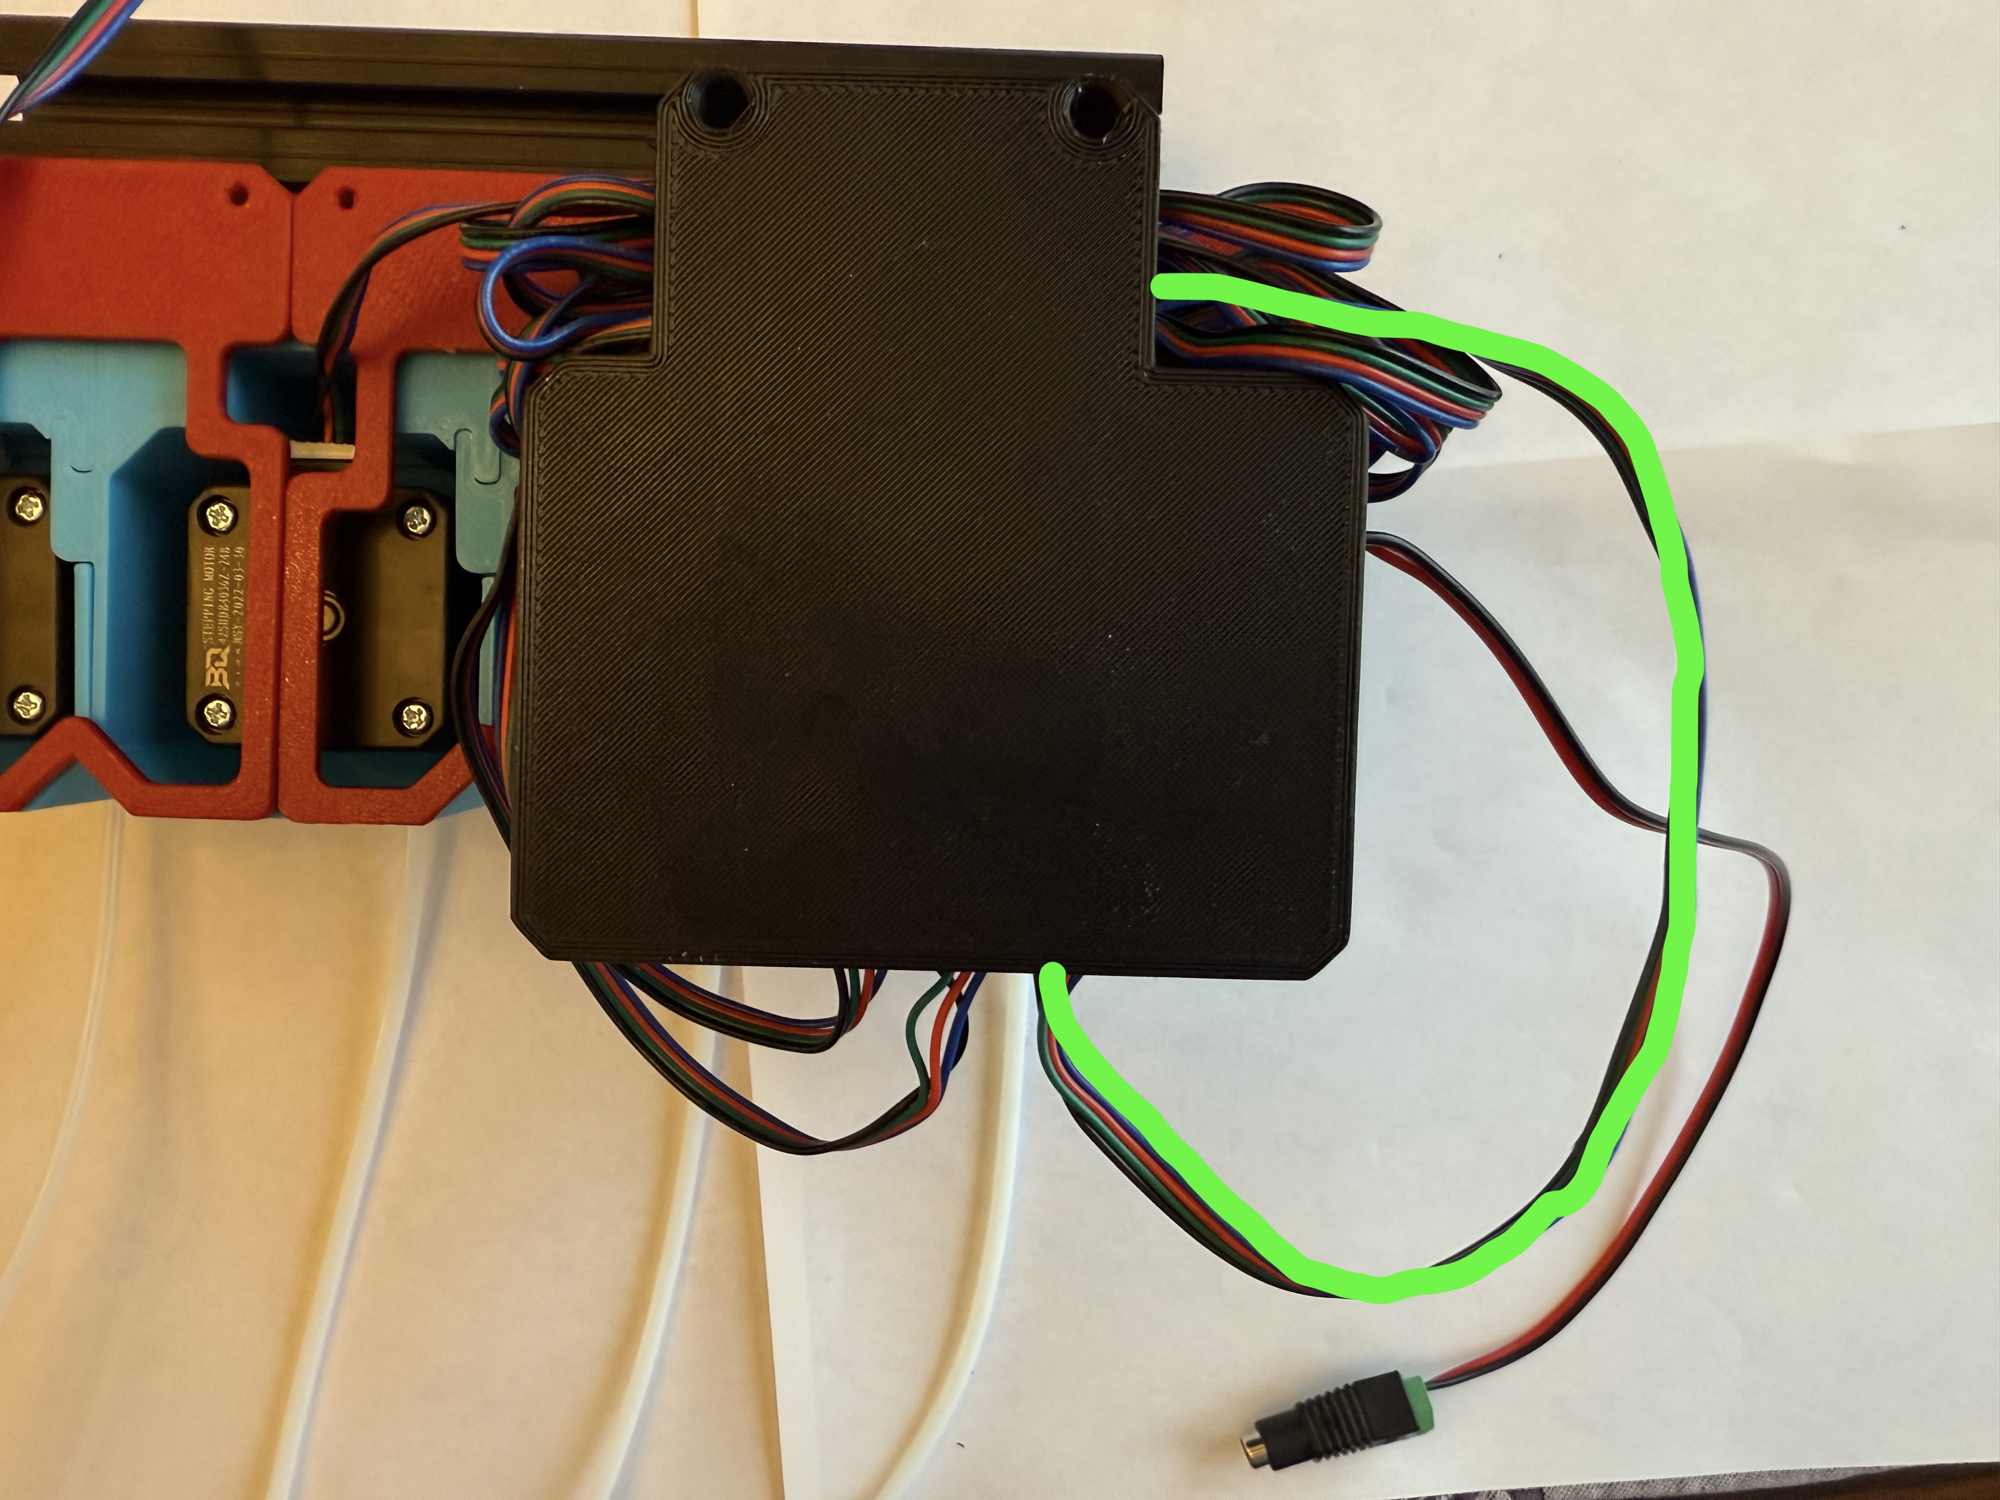
Push the cable bundle into the SKR case and route the wire as shown with the green line.
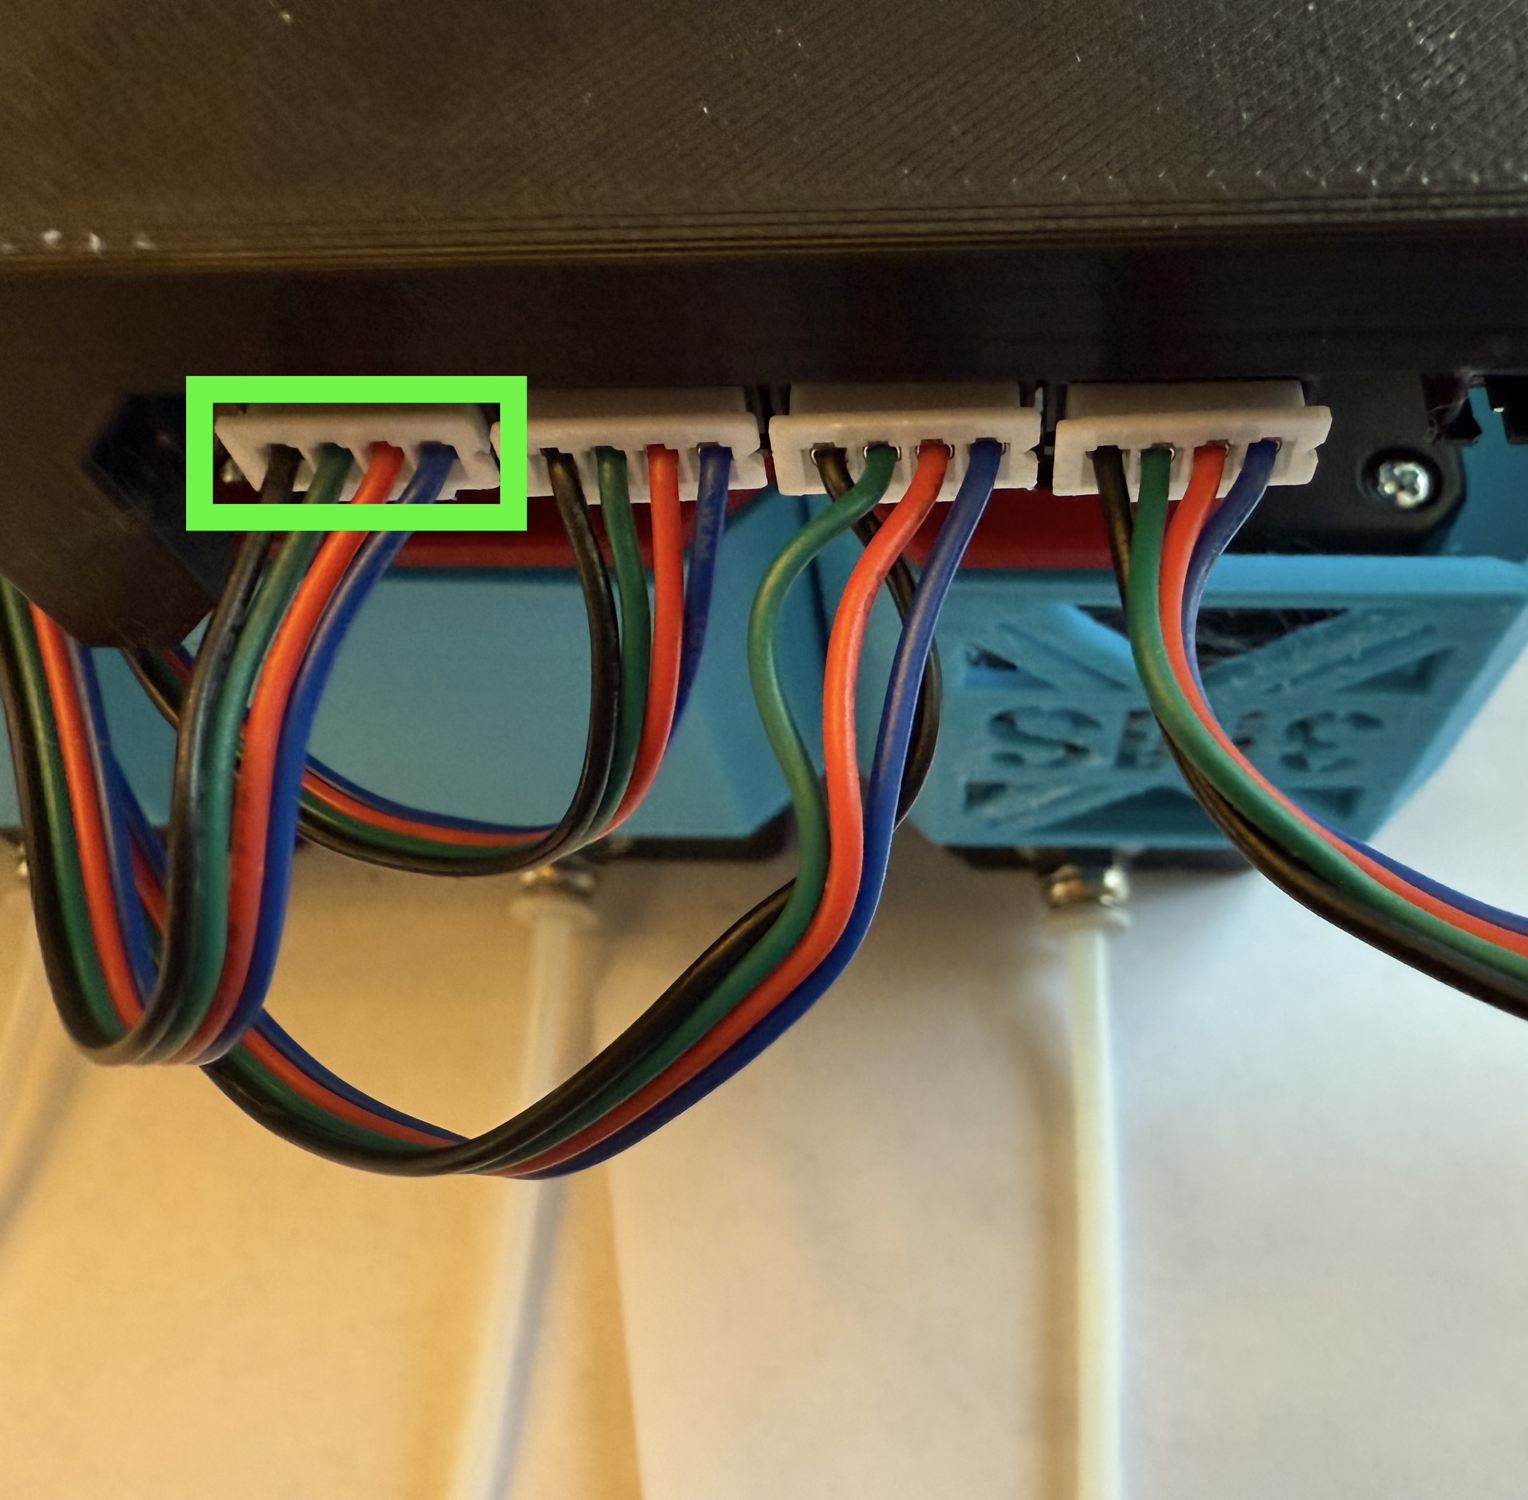
Plug the stepper cable into the second-to-left port on the SKR (when viewed upside down as shown)
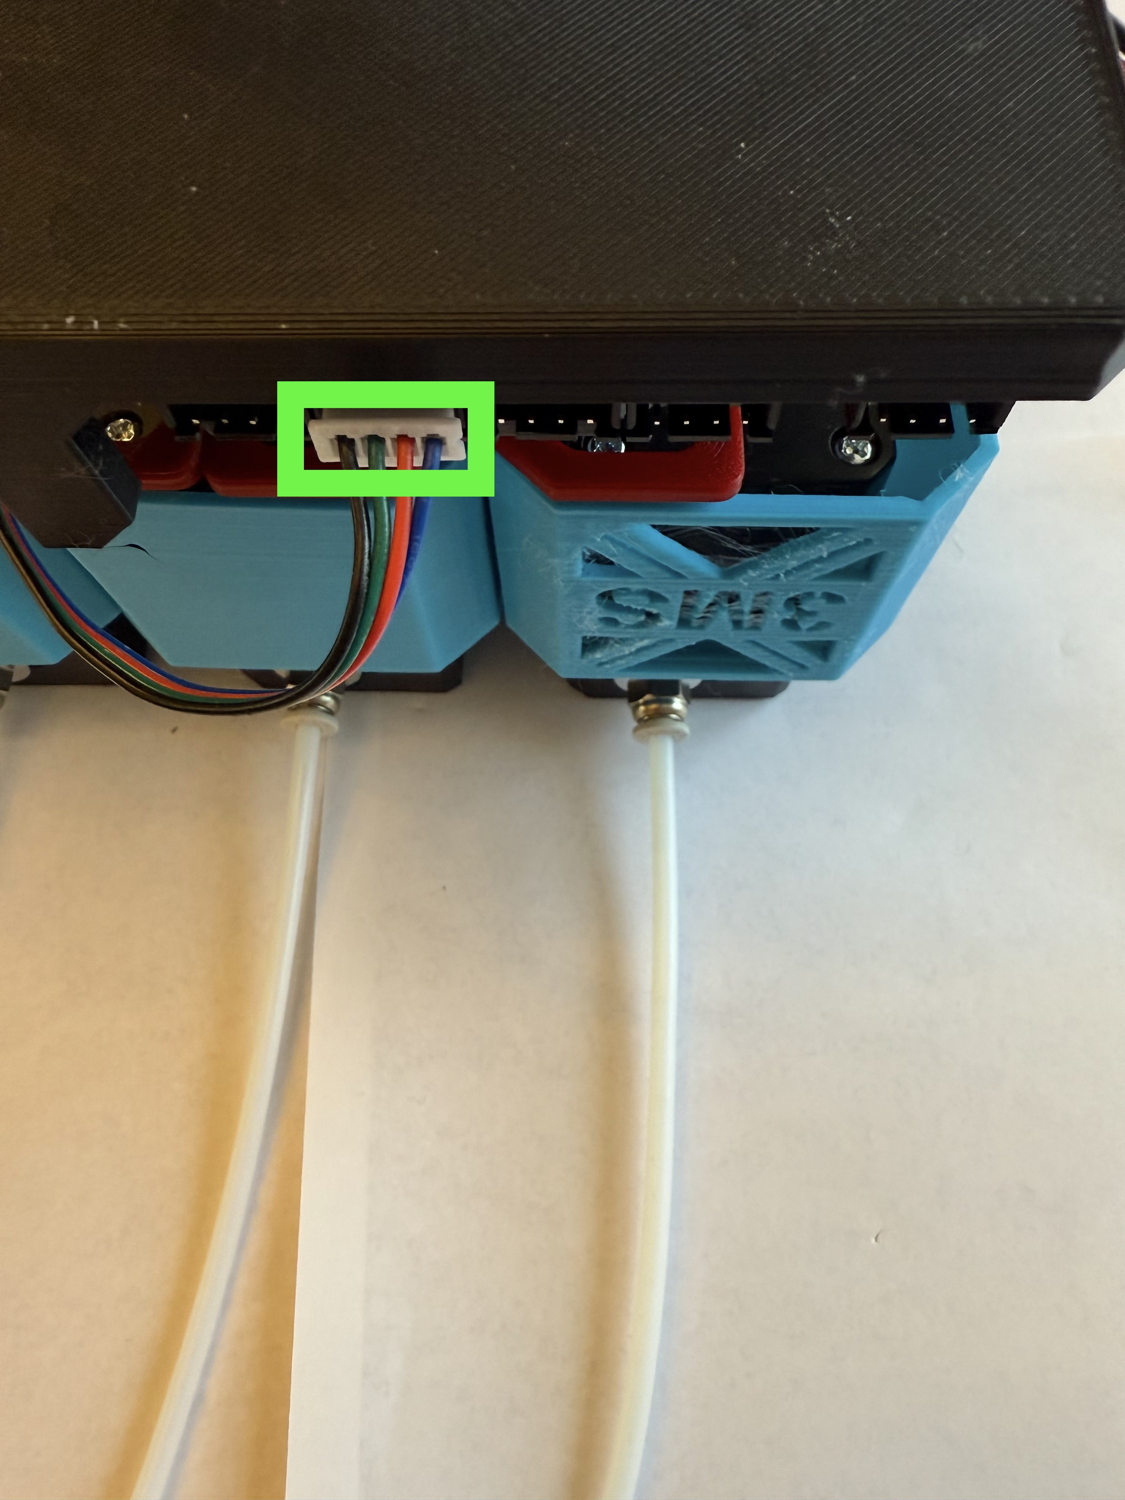
Repeat the same process for the stepper motor to the left of the previous one. Plug it into the port to the right of the first one.
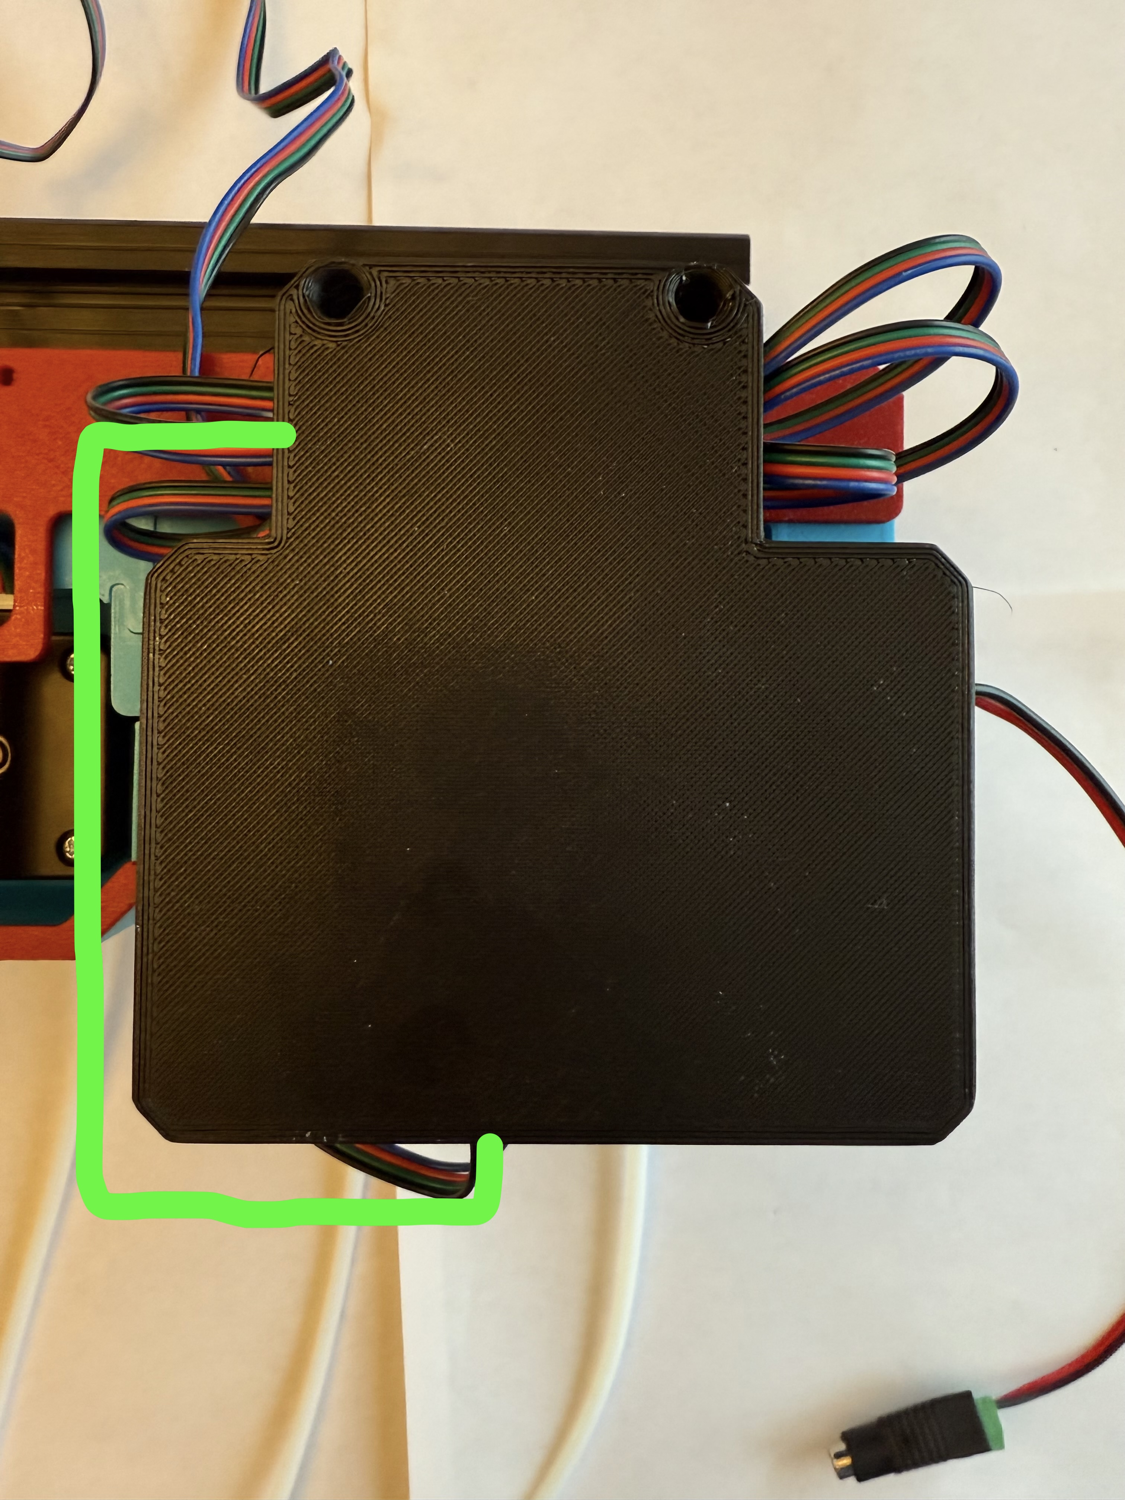
Repeat the process for the next stepper motor in line, routing the wire as shown with the green line.
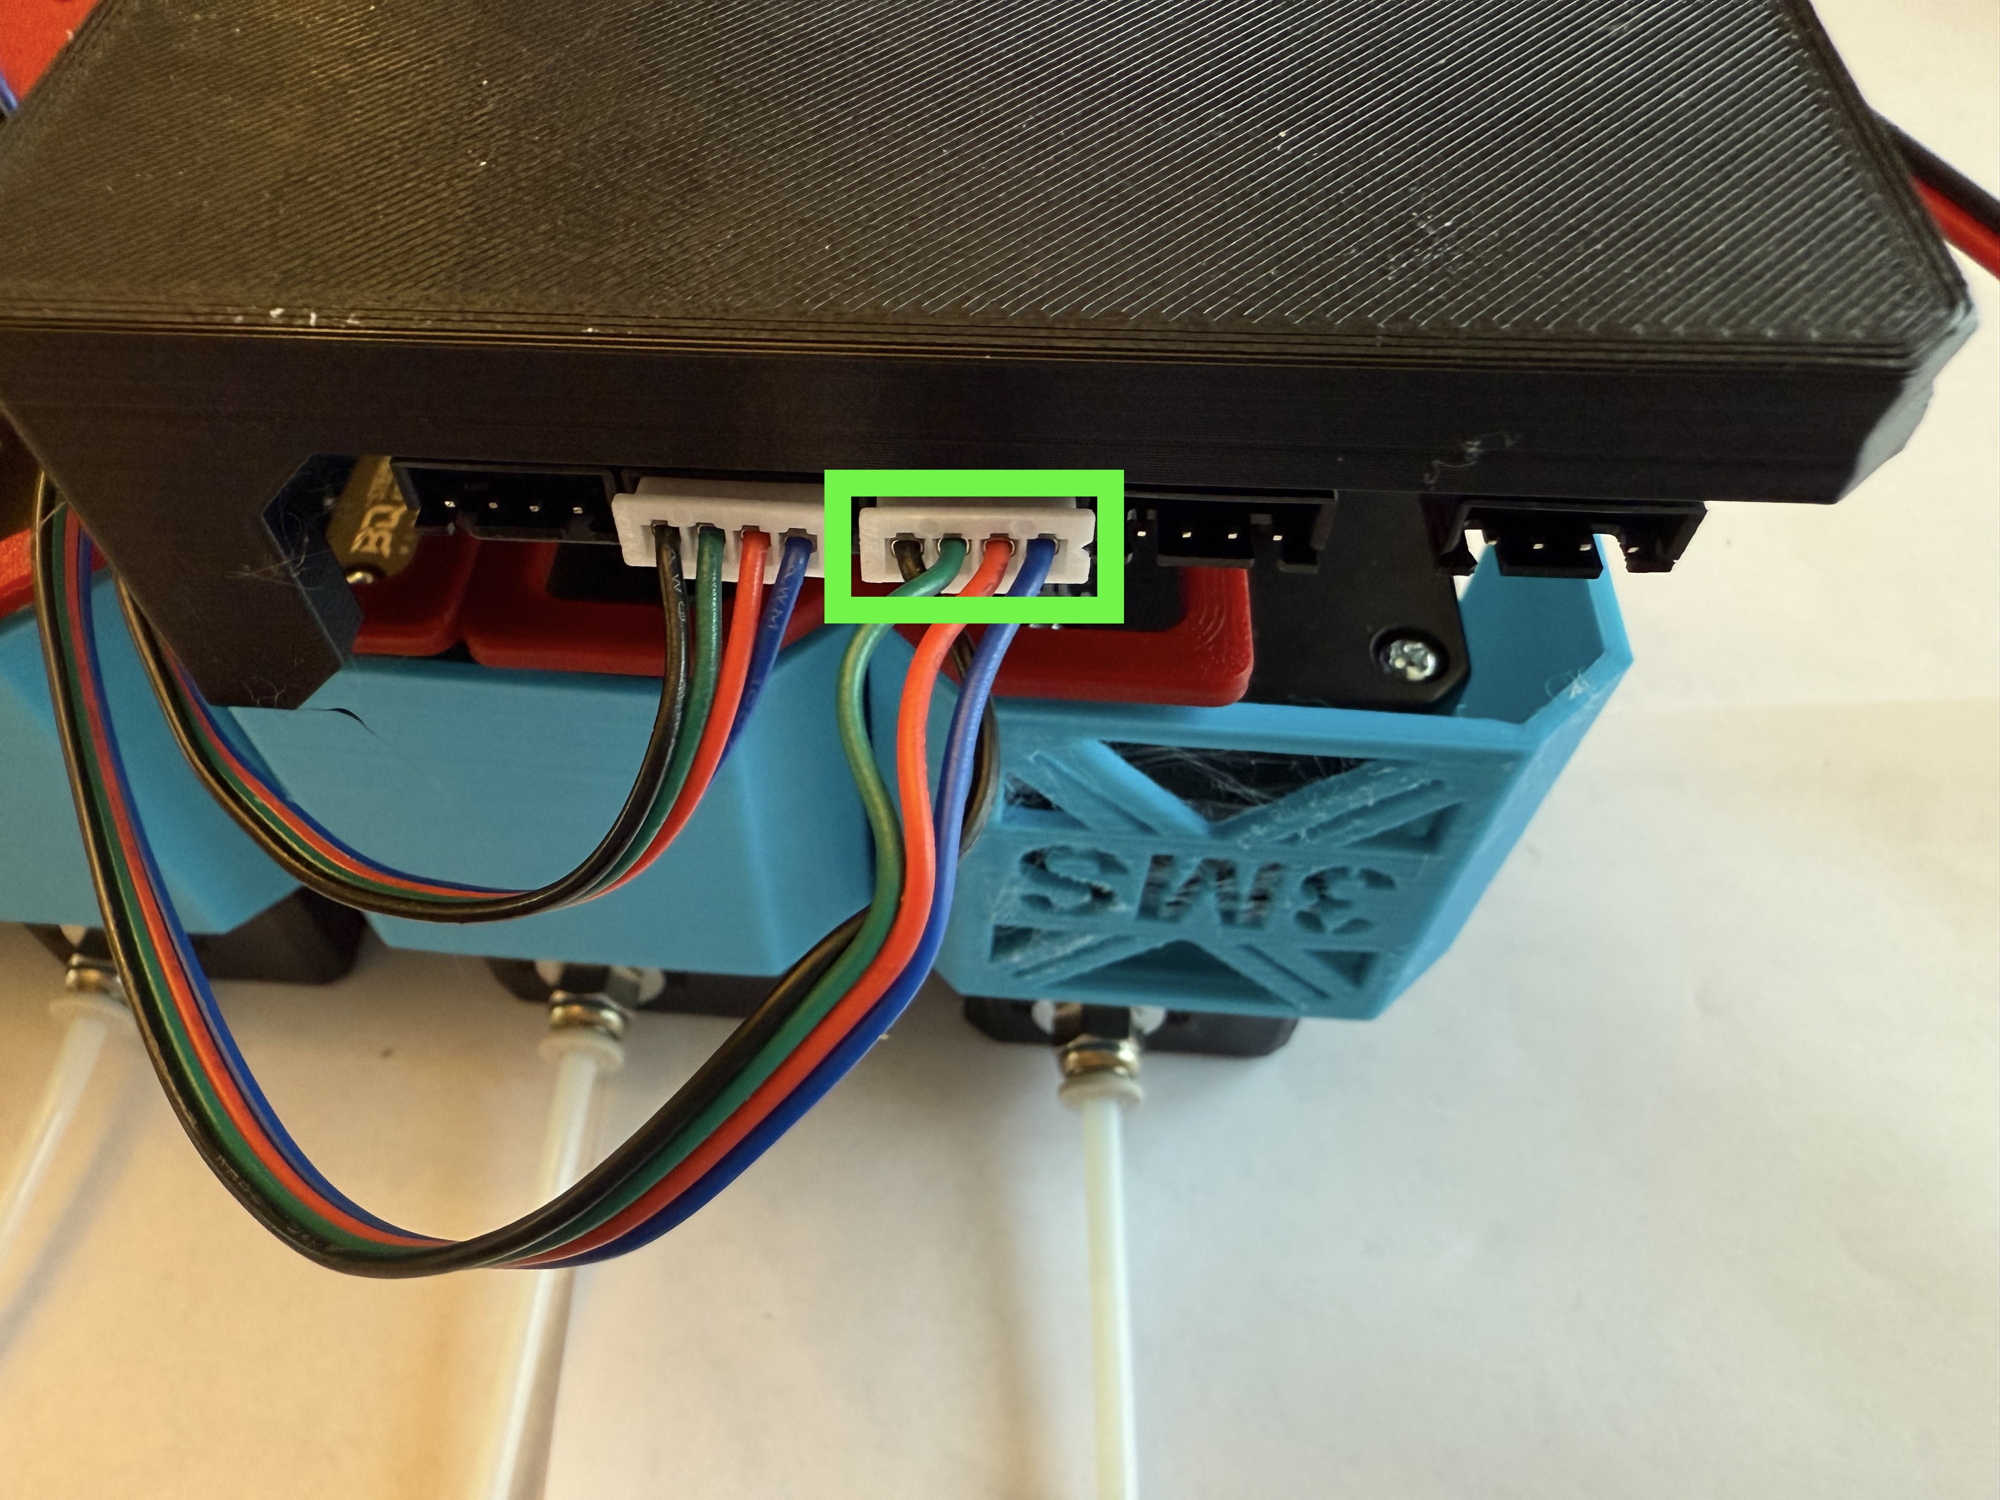
Plug the stepper into the port to the right of the previous one.
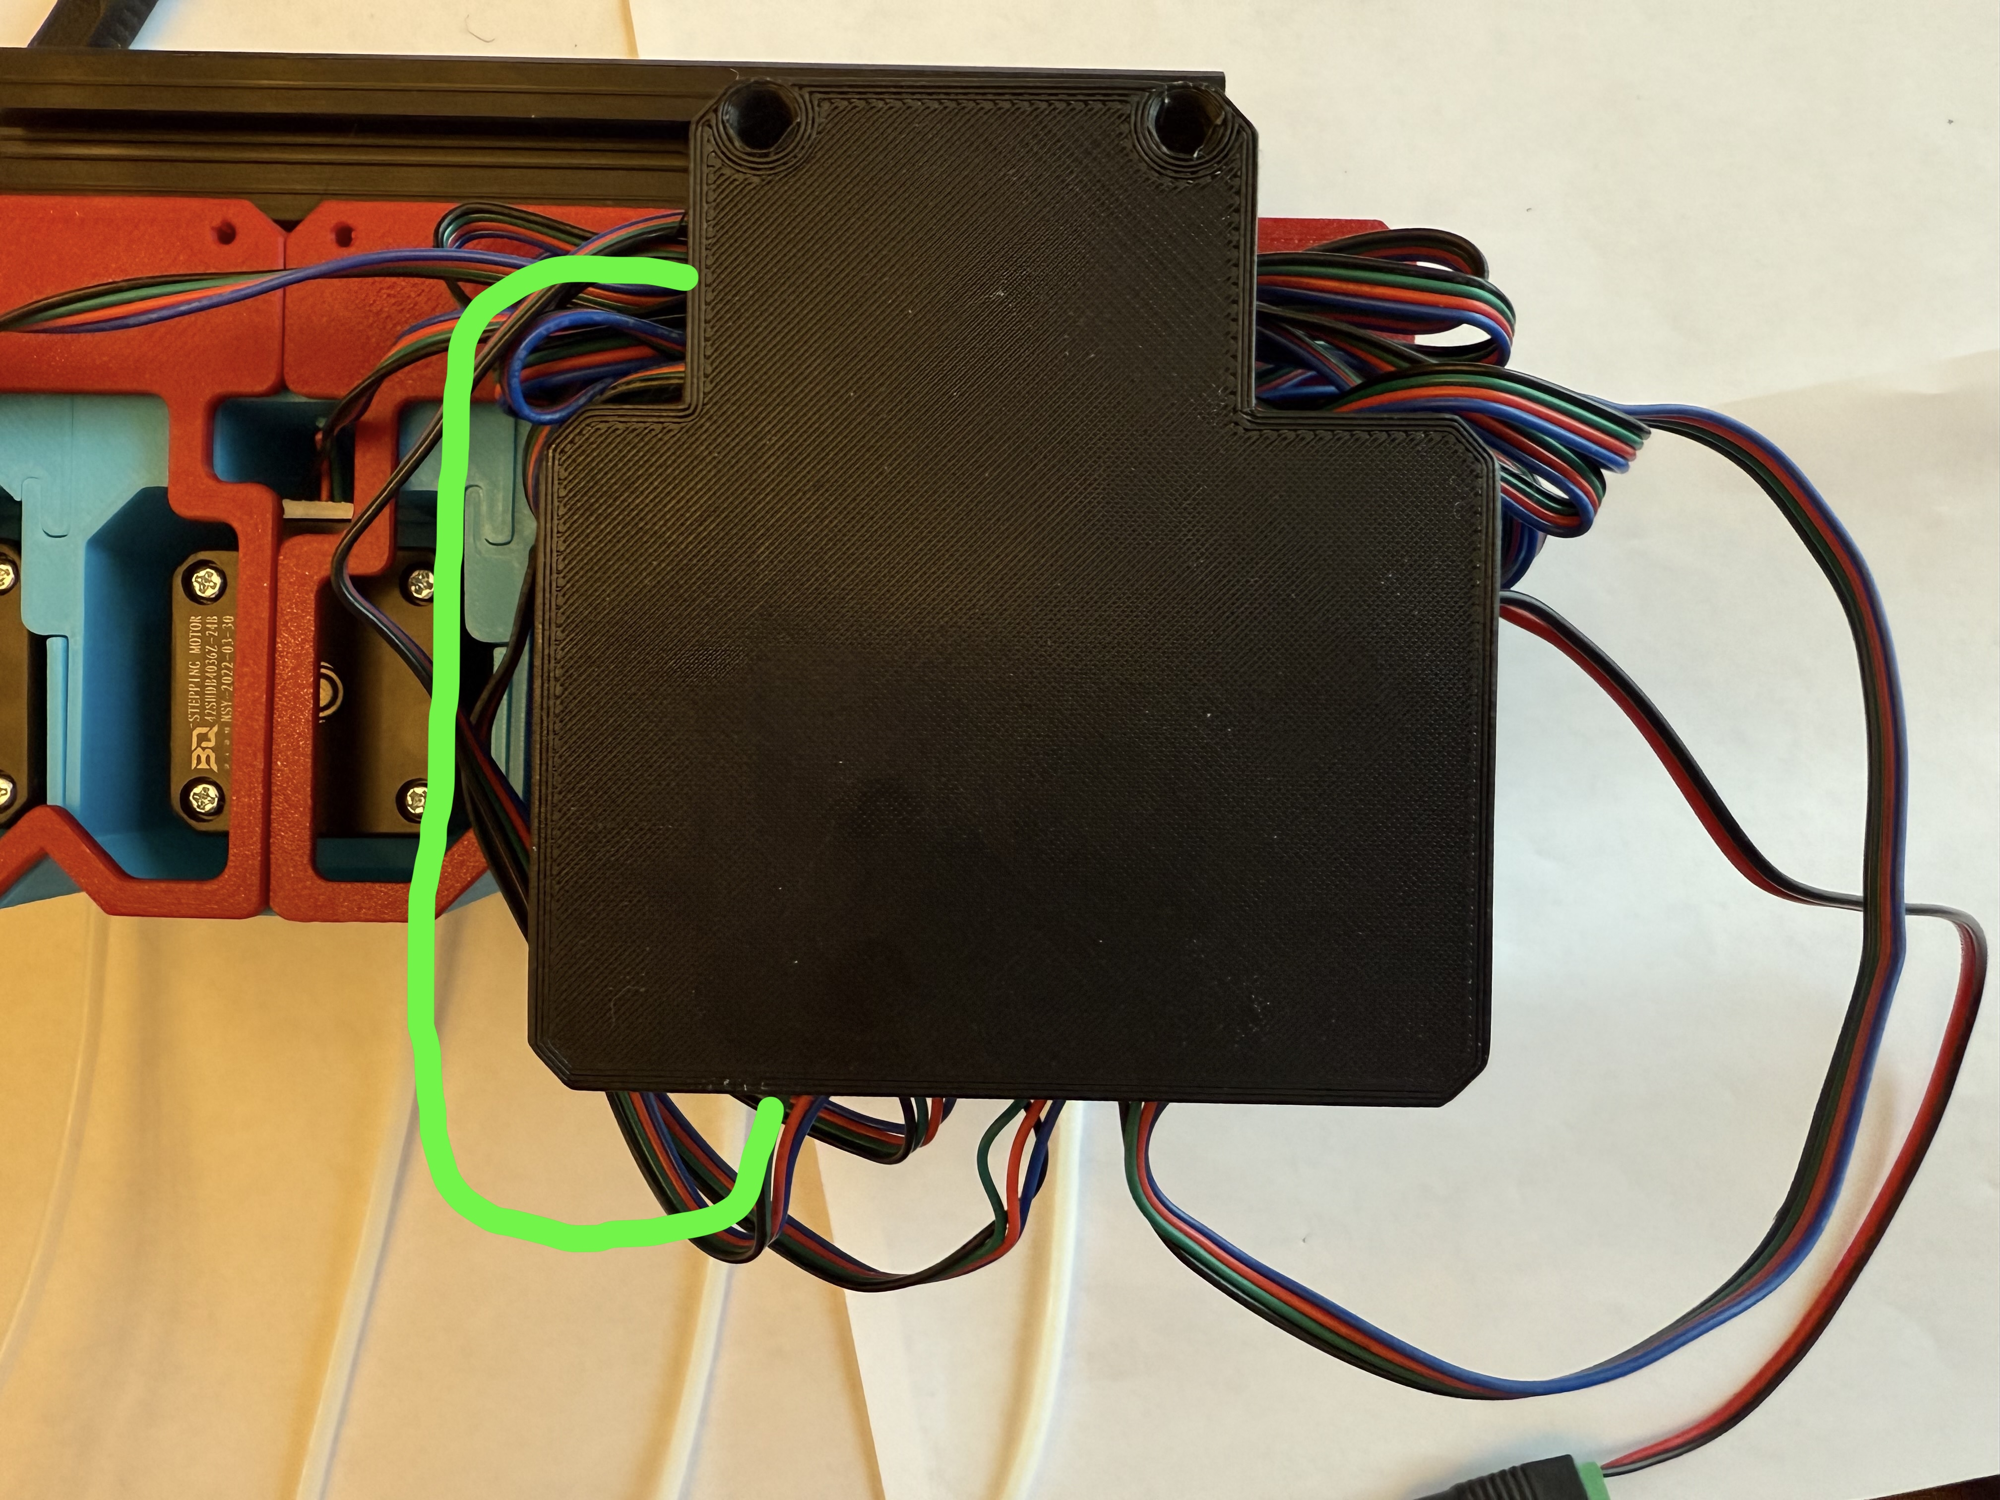
Repeat the process for the final stepper, routing the wire as shown with the green line.
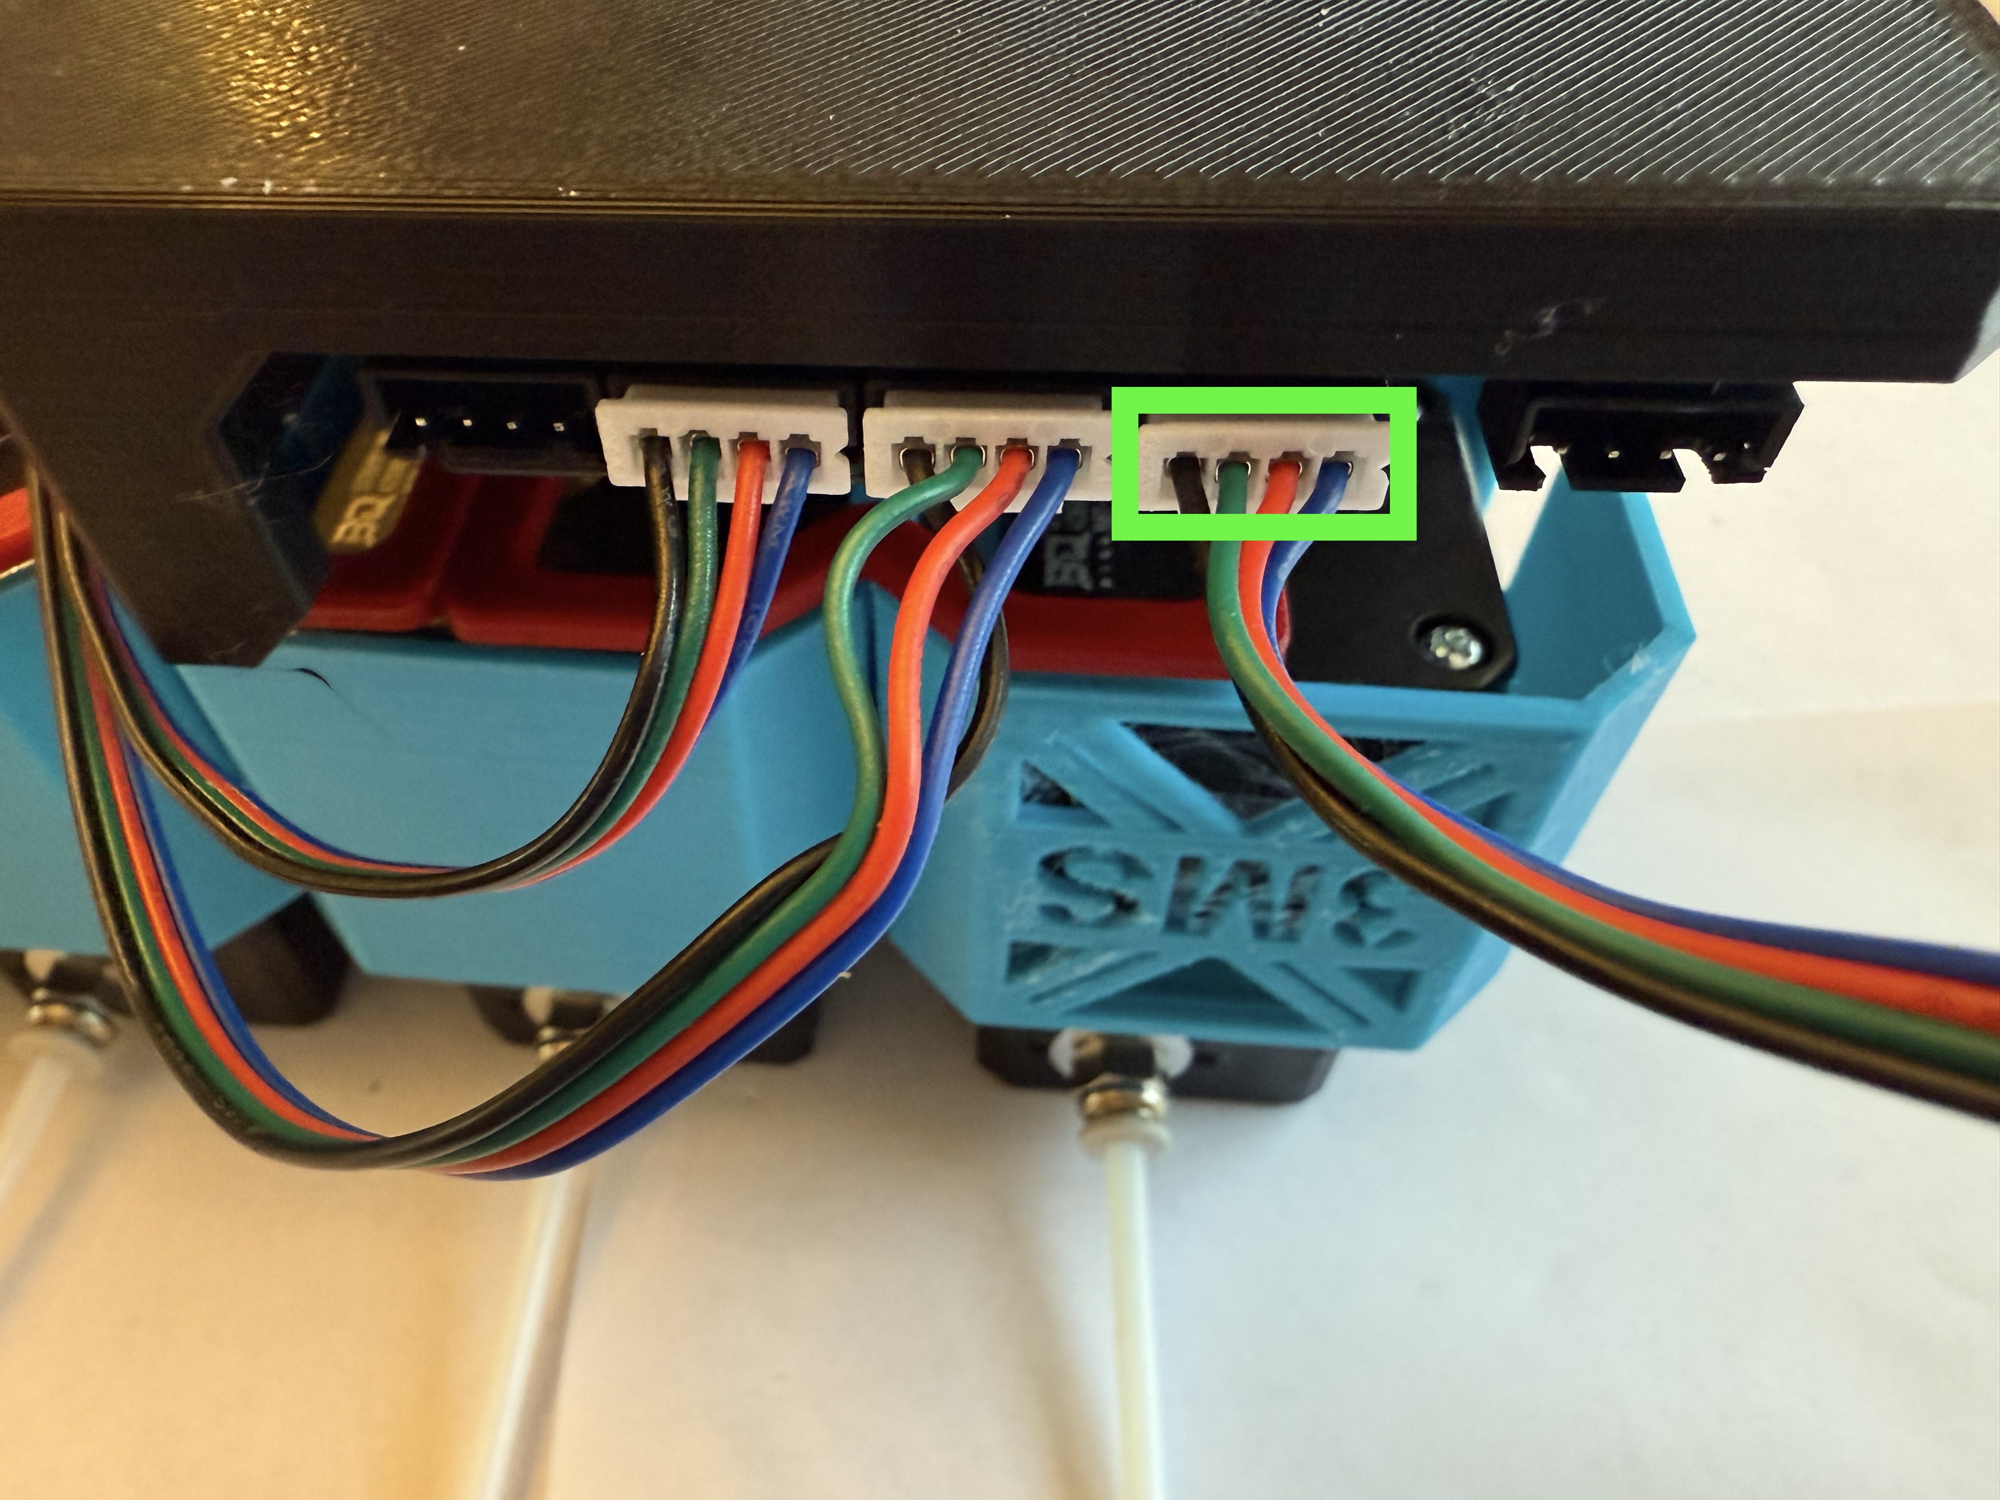
Plug this stepper into the leftmost plug on the SKR.
 You're done with electronics assembly!