Hardware Assembly
Important
Please note that you must repeat this page four times to assemble all four extruders for your 3MS.
Step 1 Locating the Extruders Internals
-
-
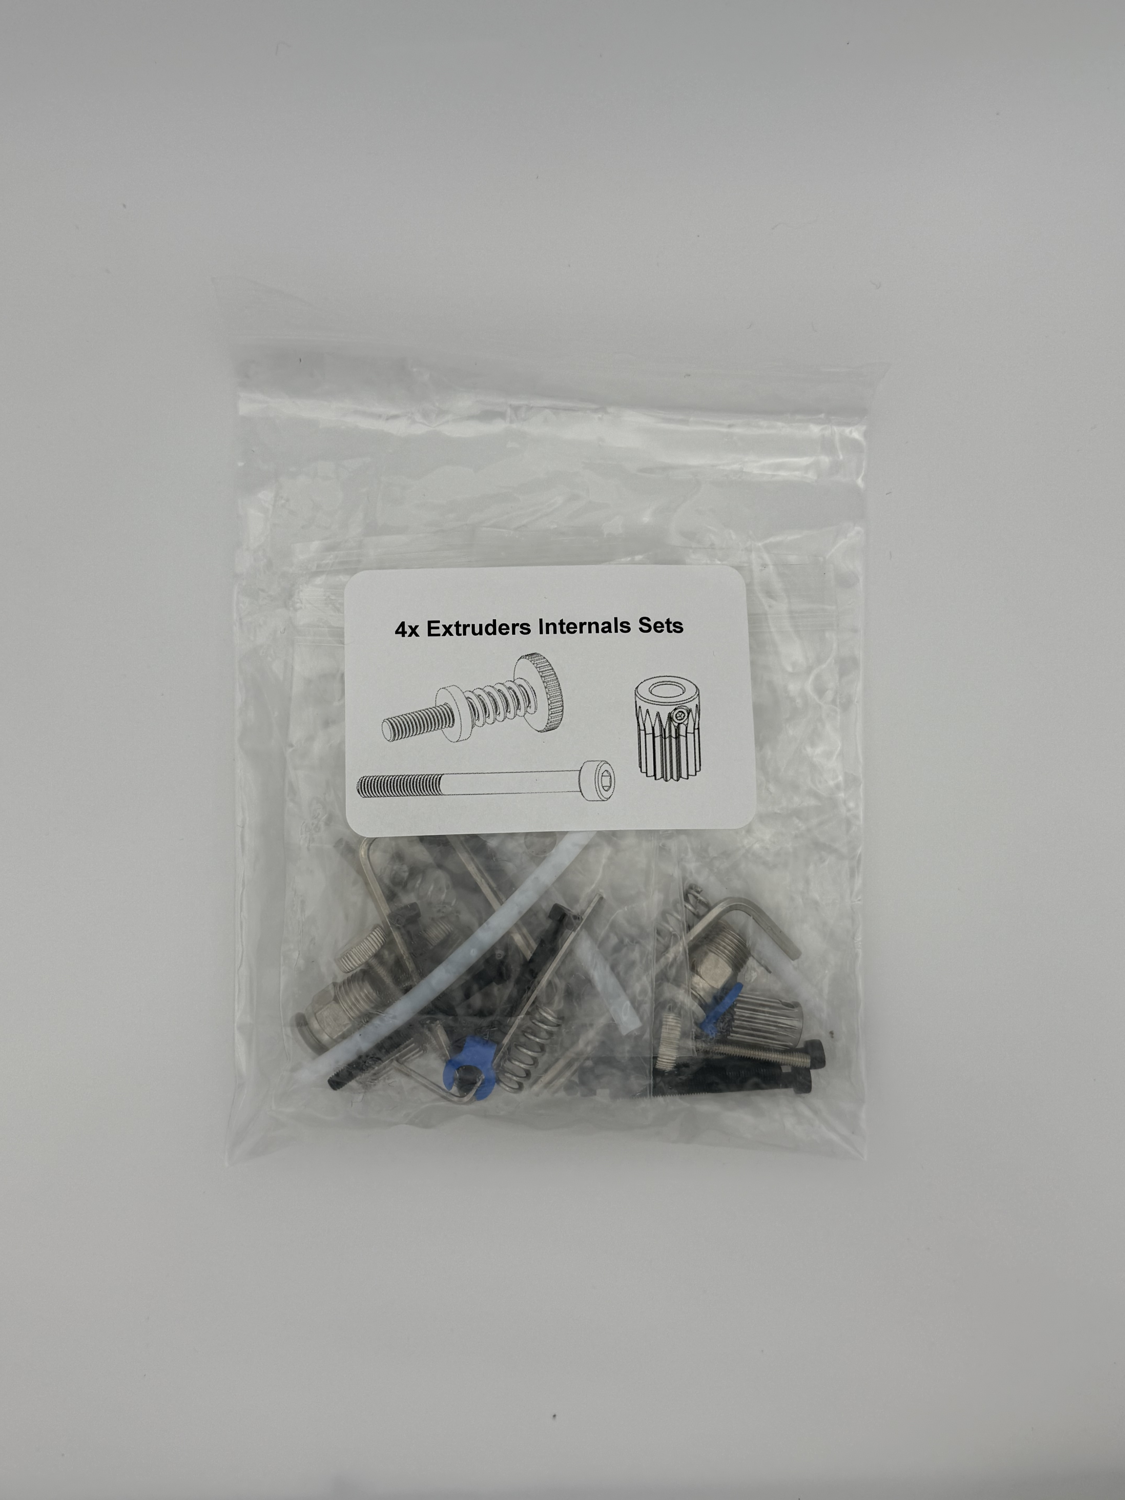
Begin by locating the extruders internals set in your 3MS kit.
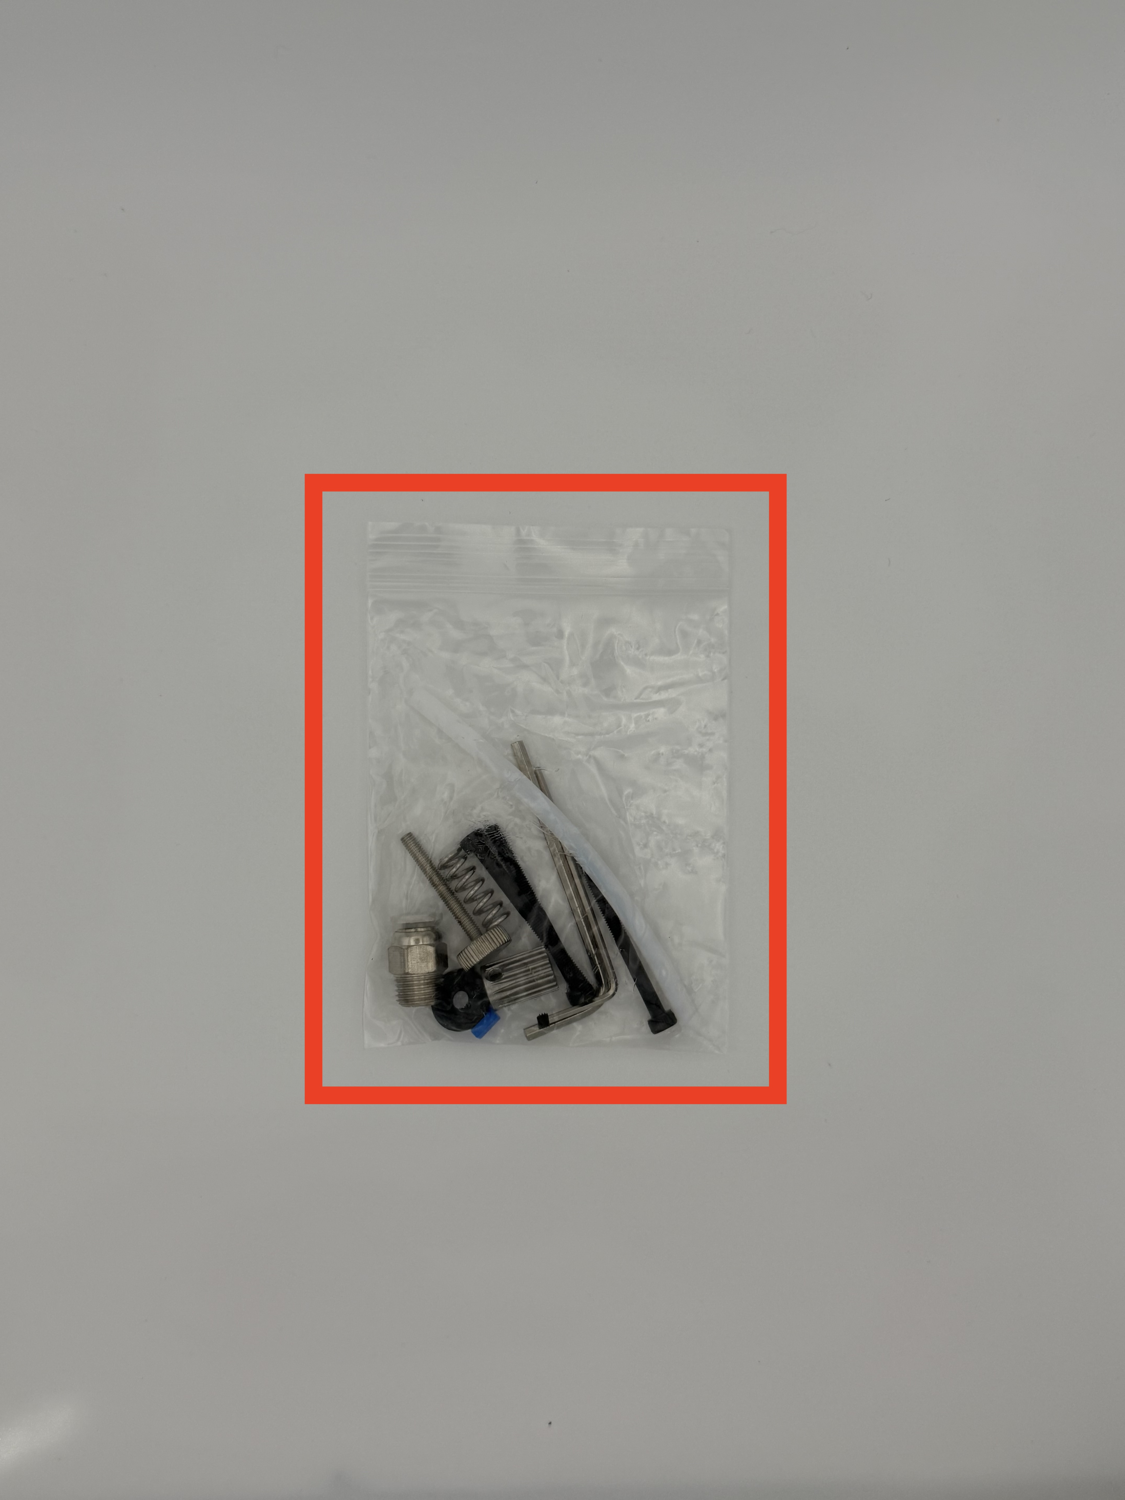
 Remove one extruder internal set from the bag.
Step 2 Preparing the Stepper Gear
-
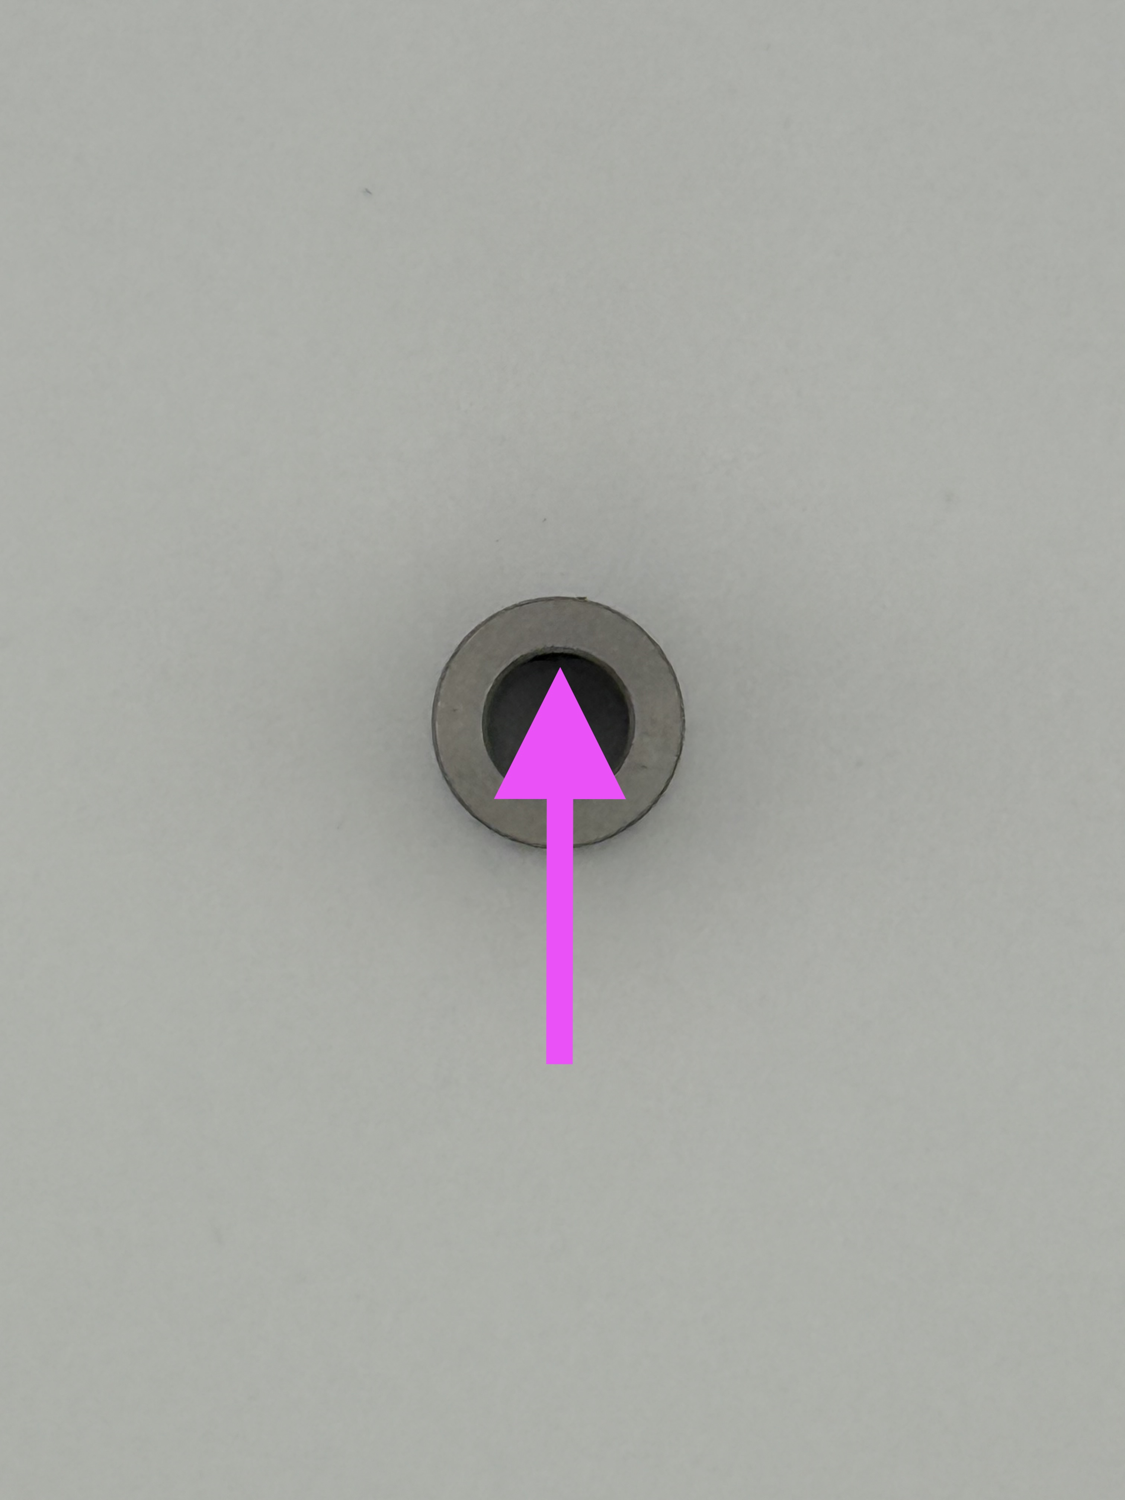
-
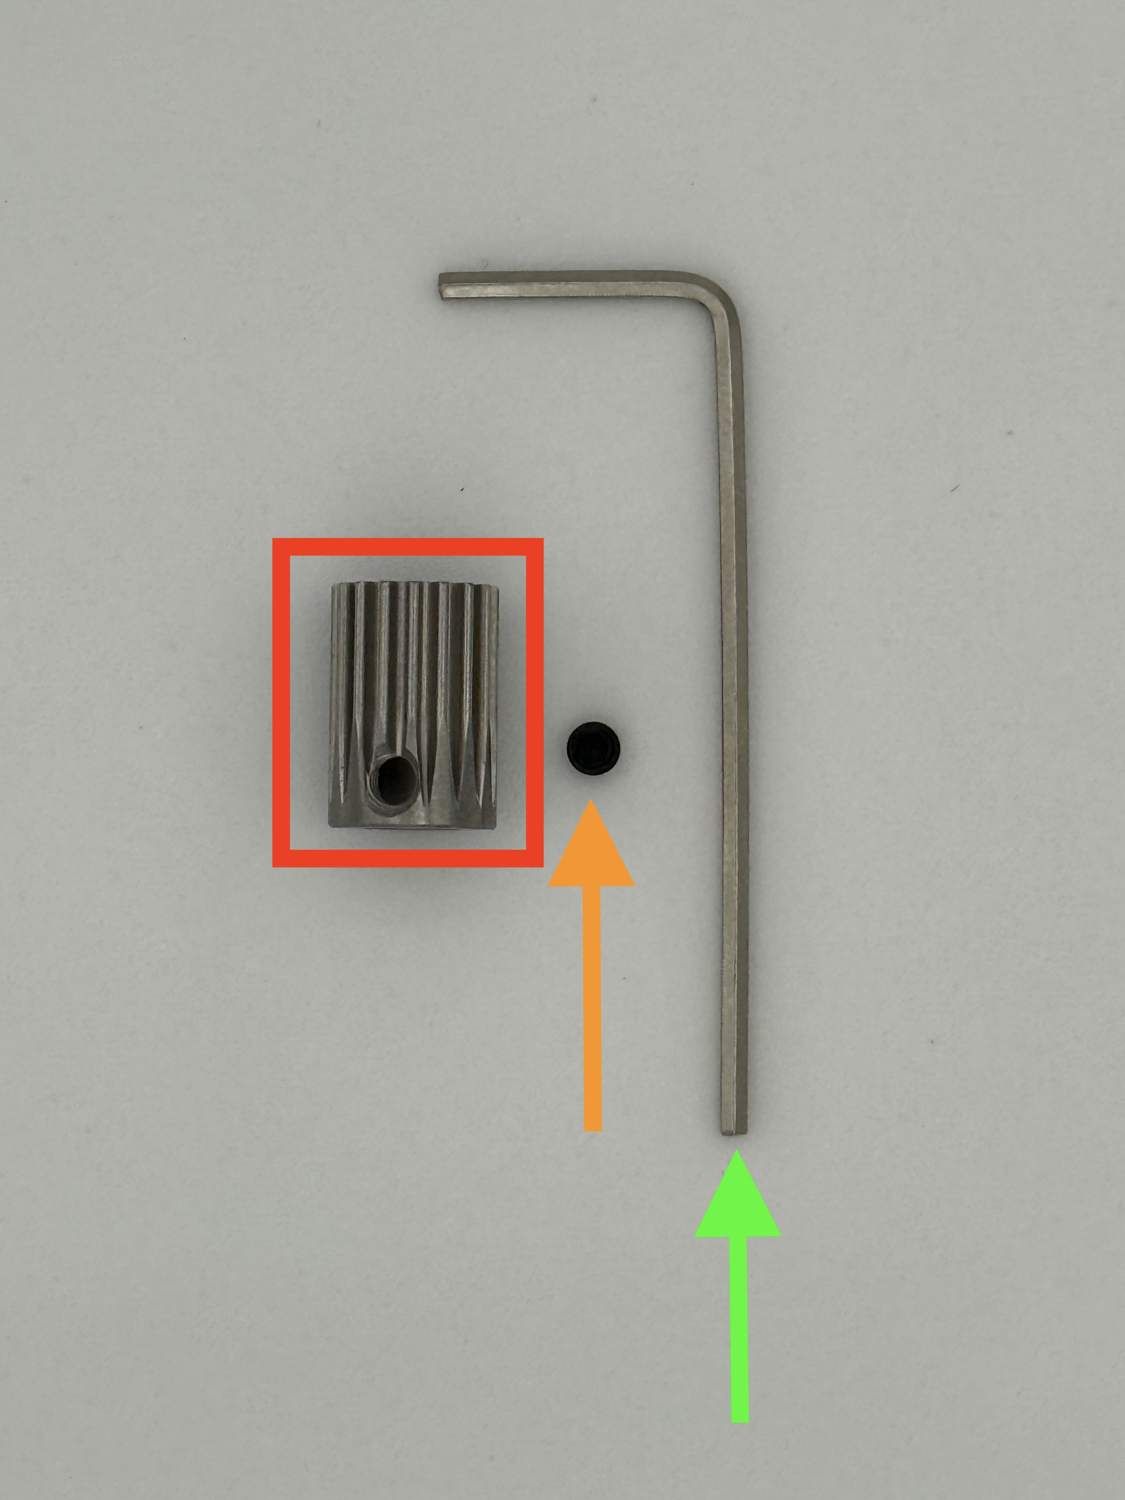
Prepare the following for this step:
Stepper gear Stepper gear screw
 1.5mm Hex key
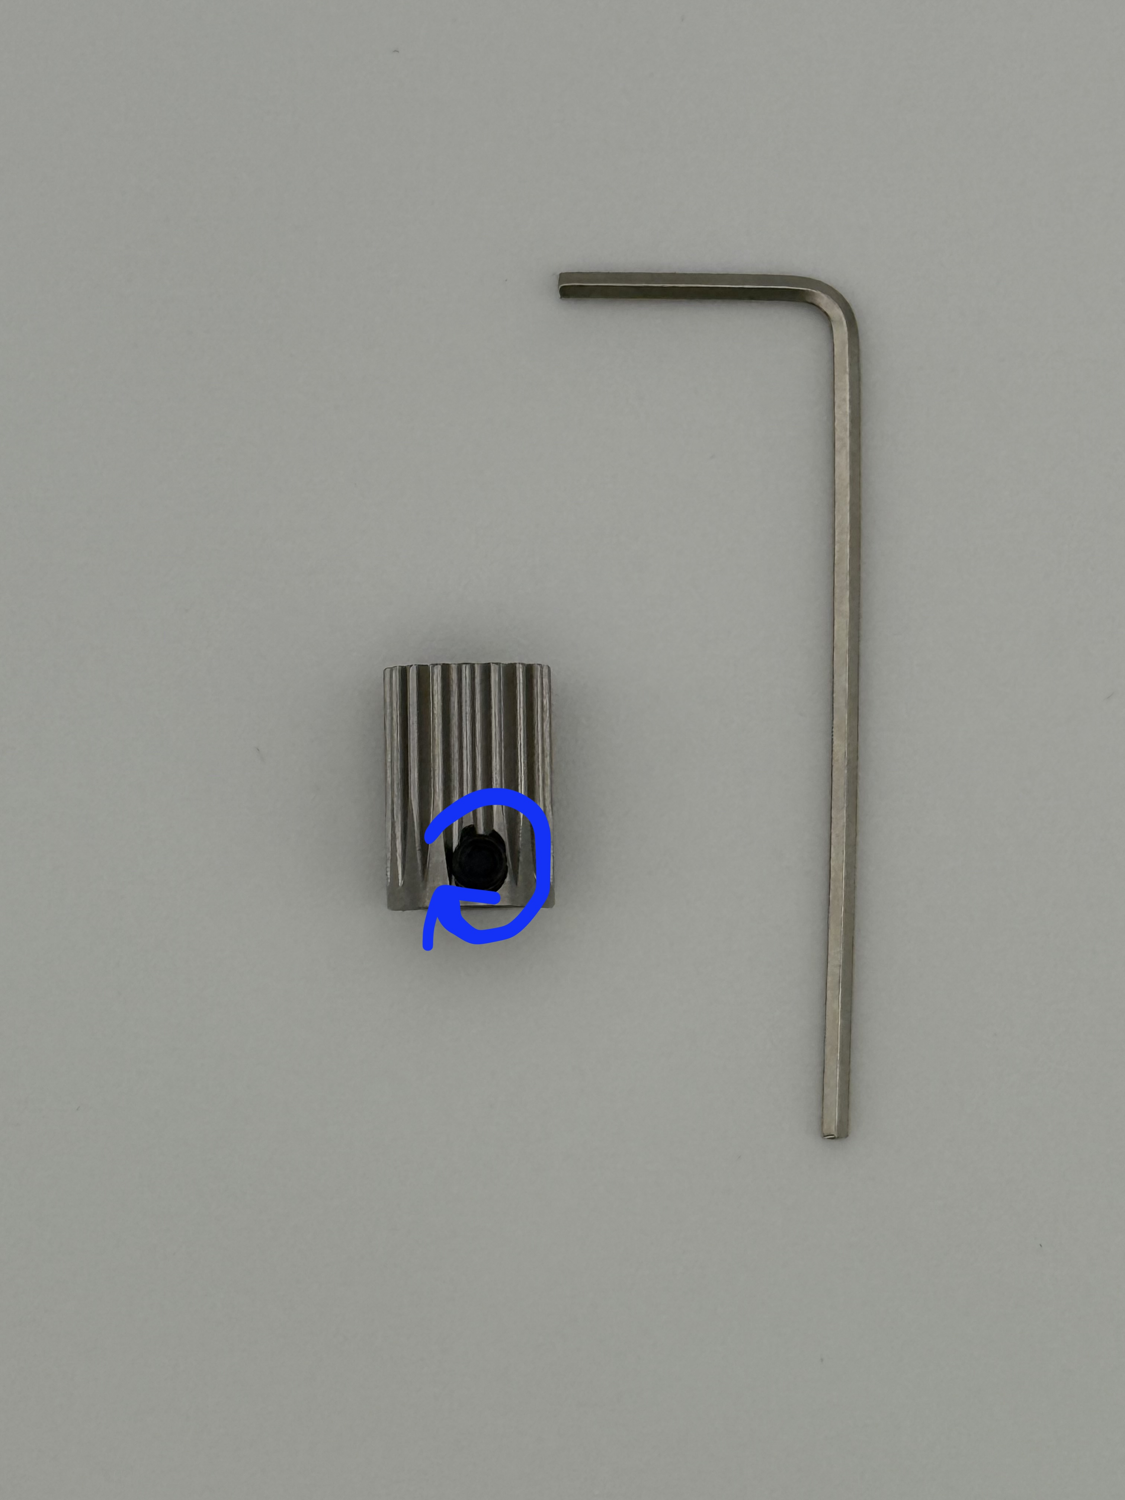
 Using the 1.5mm hex key, screw the stepper gear screw into the stepper gear.
 Ensure the screw is slightly sticking into the gear.
Step 3 Attach the Stepper Gear to the Stepper Motor
-
-
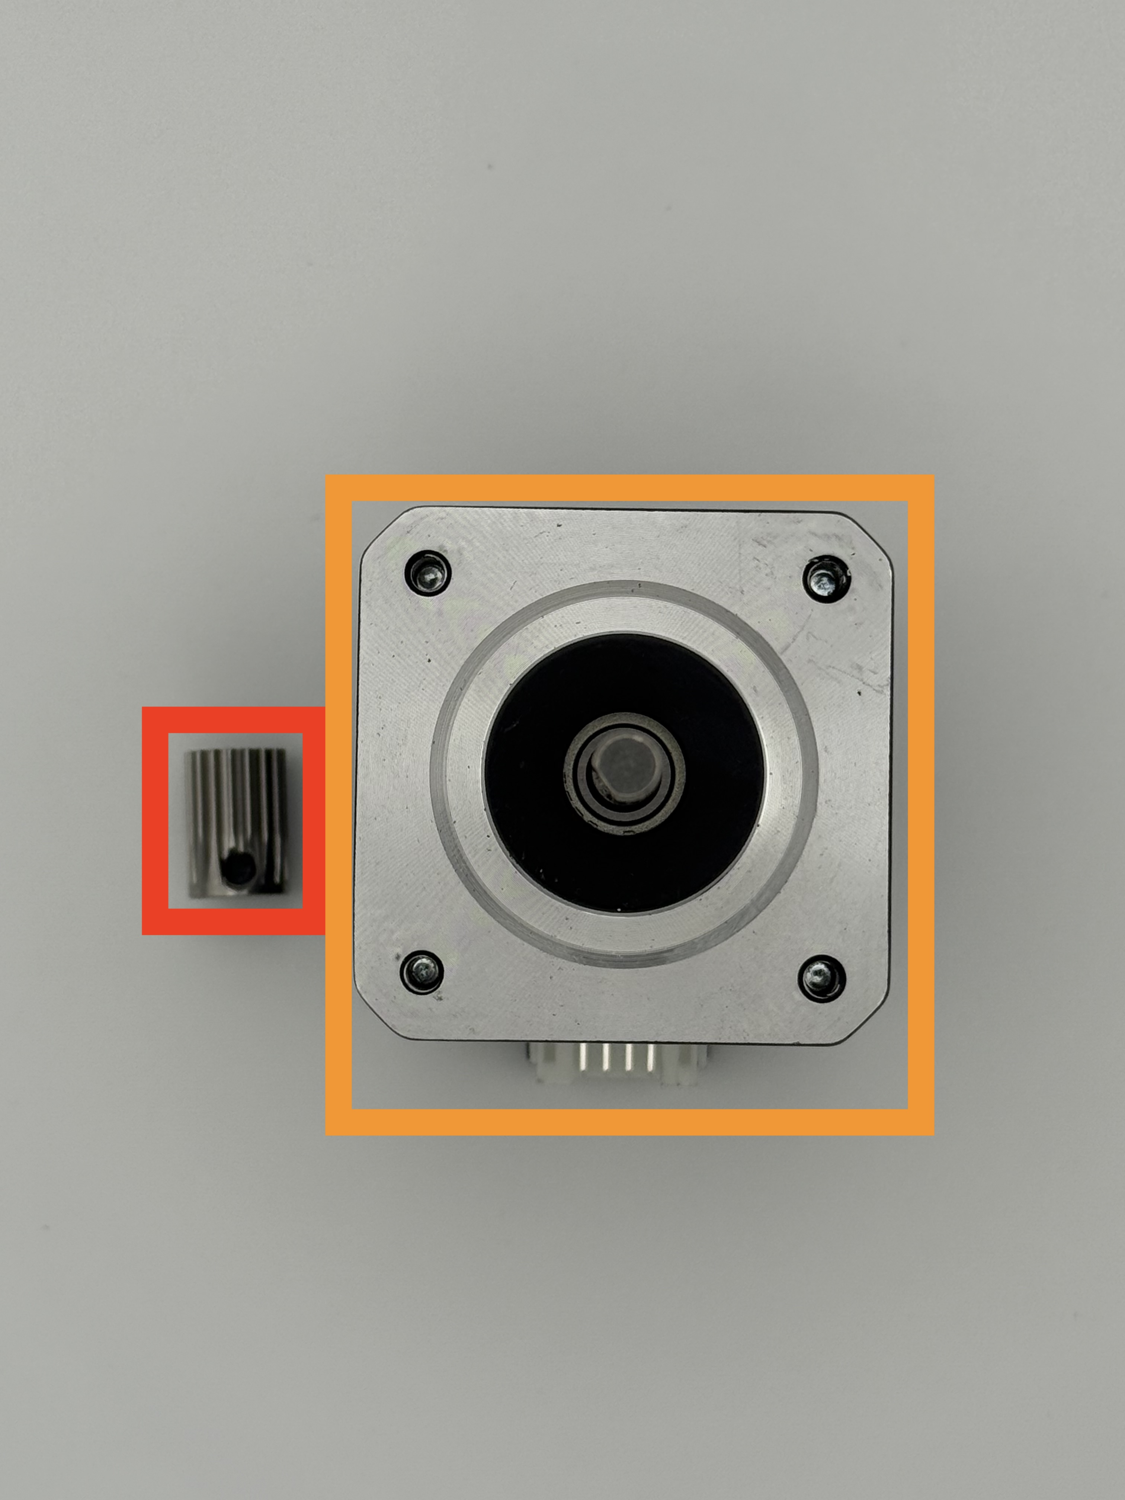
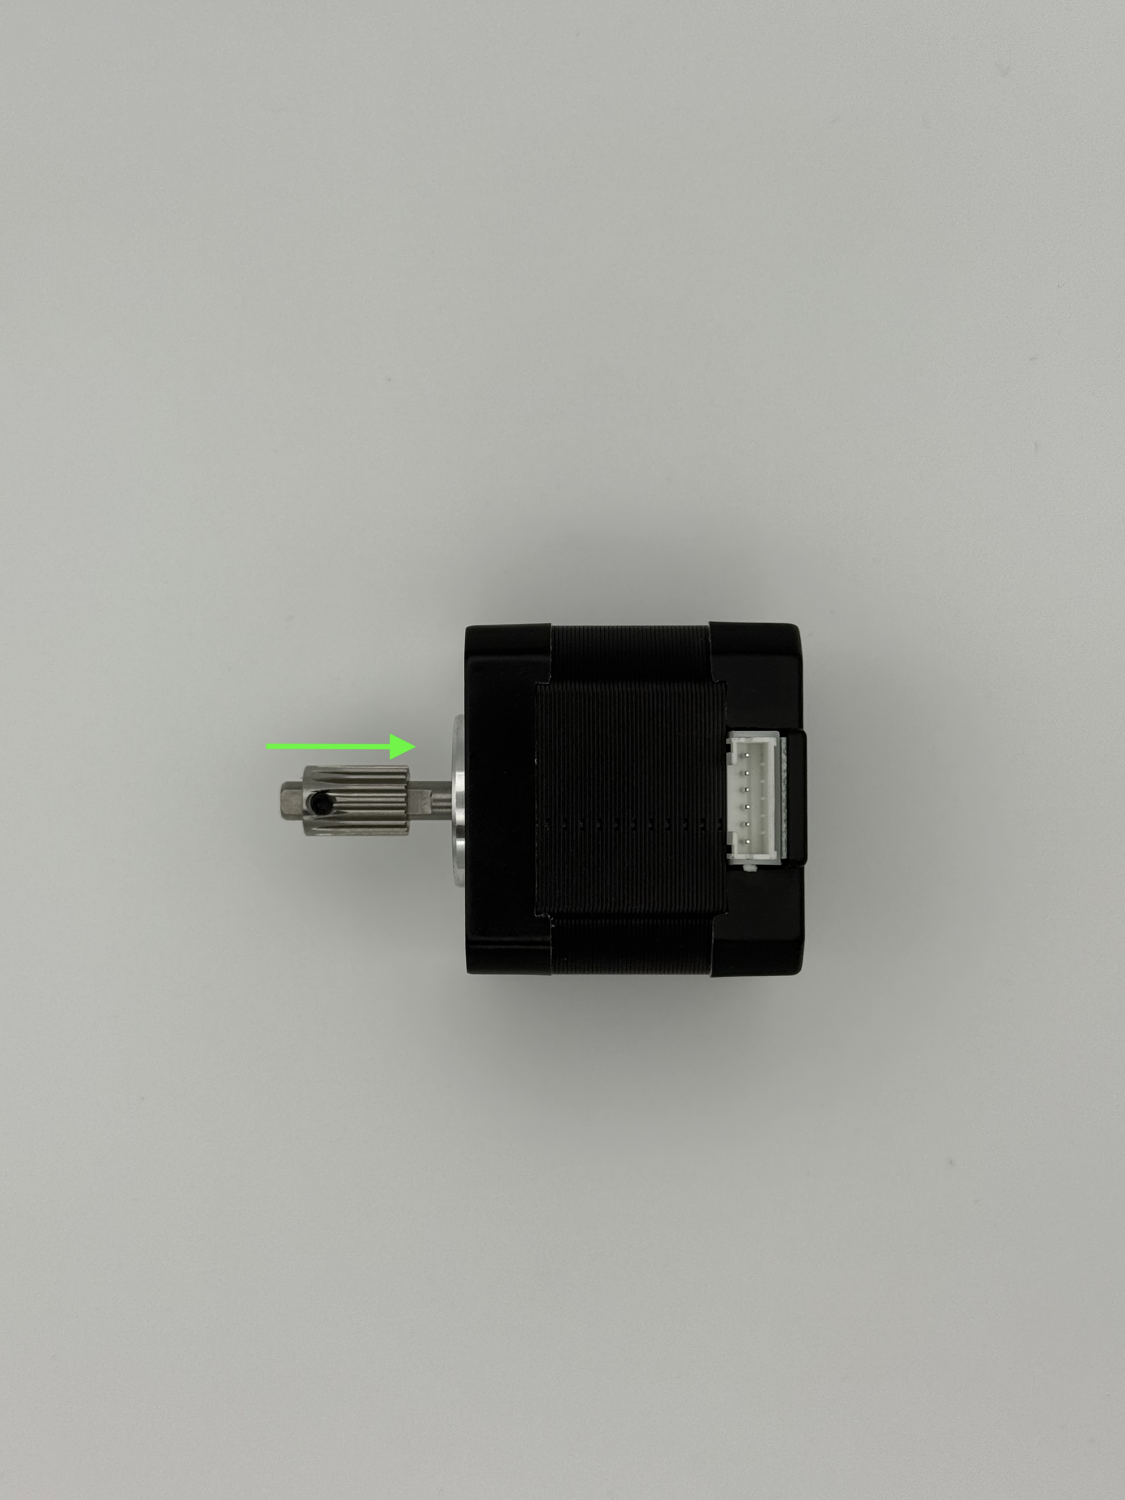
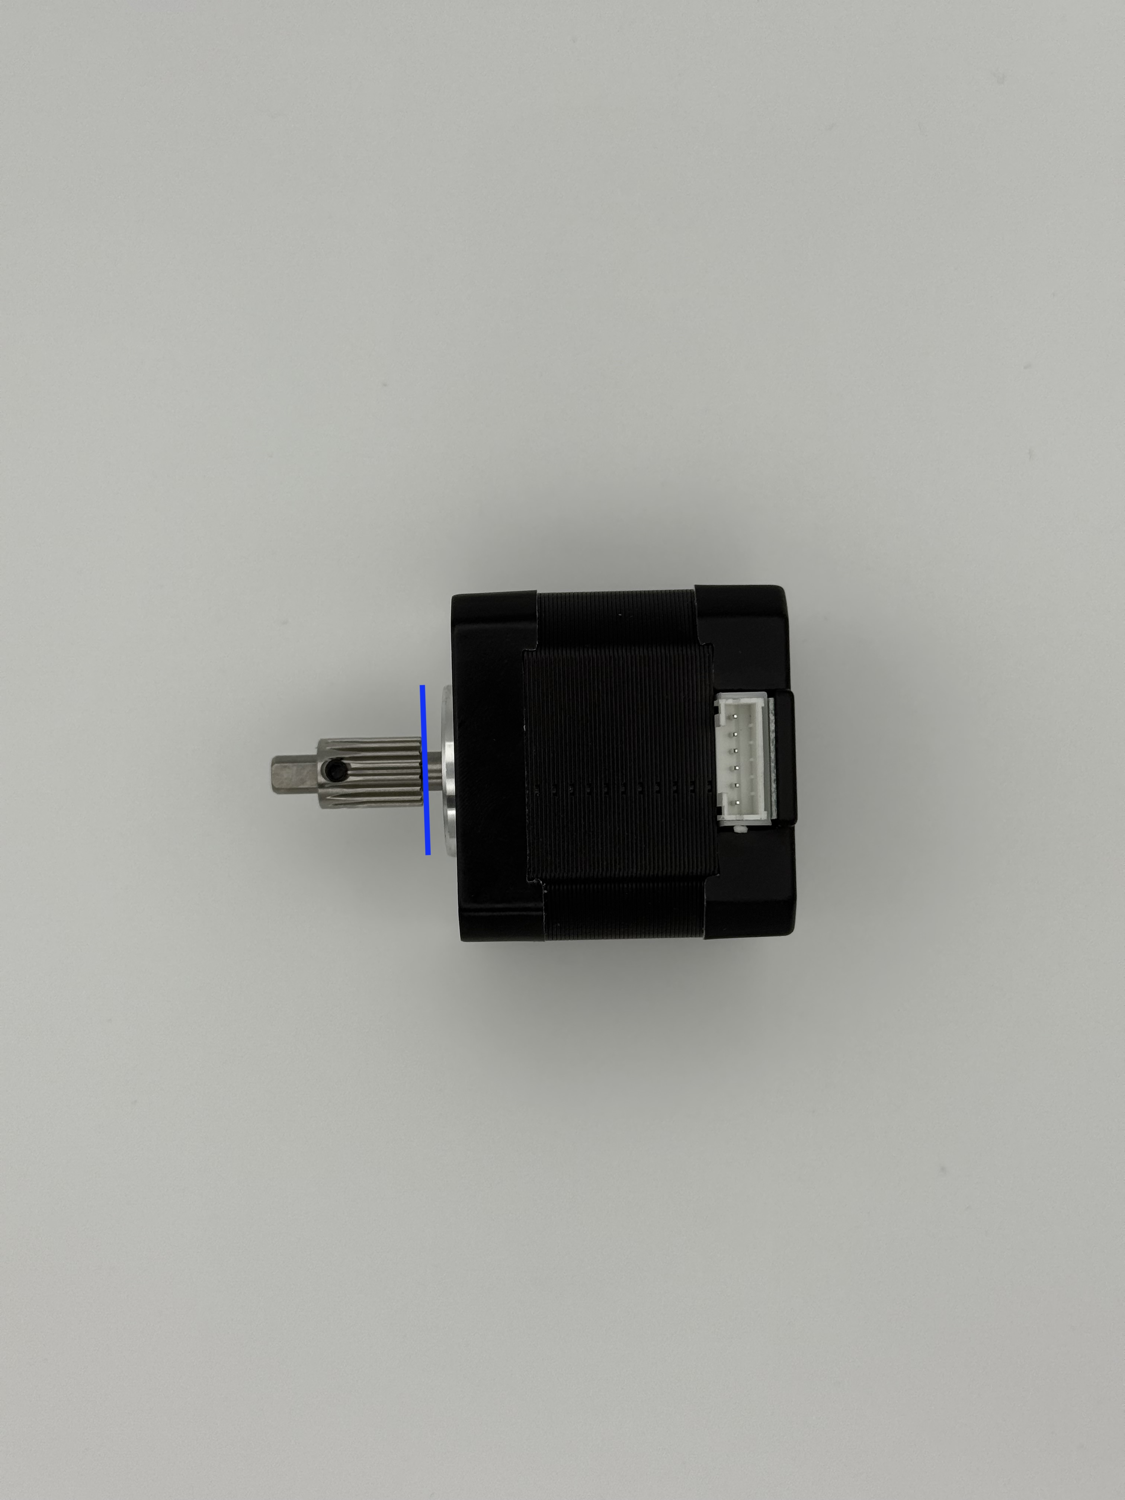
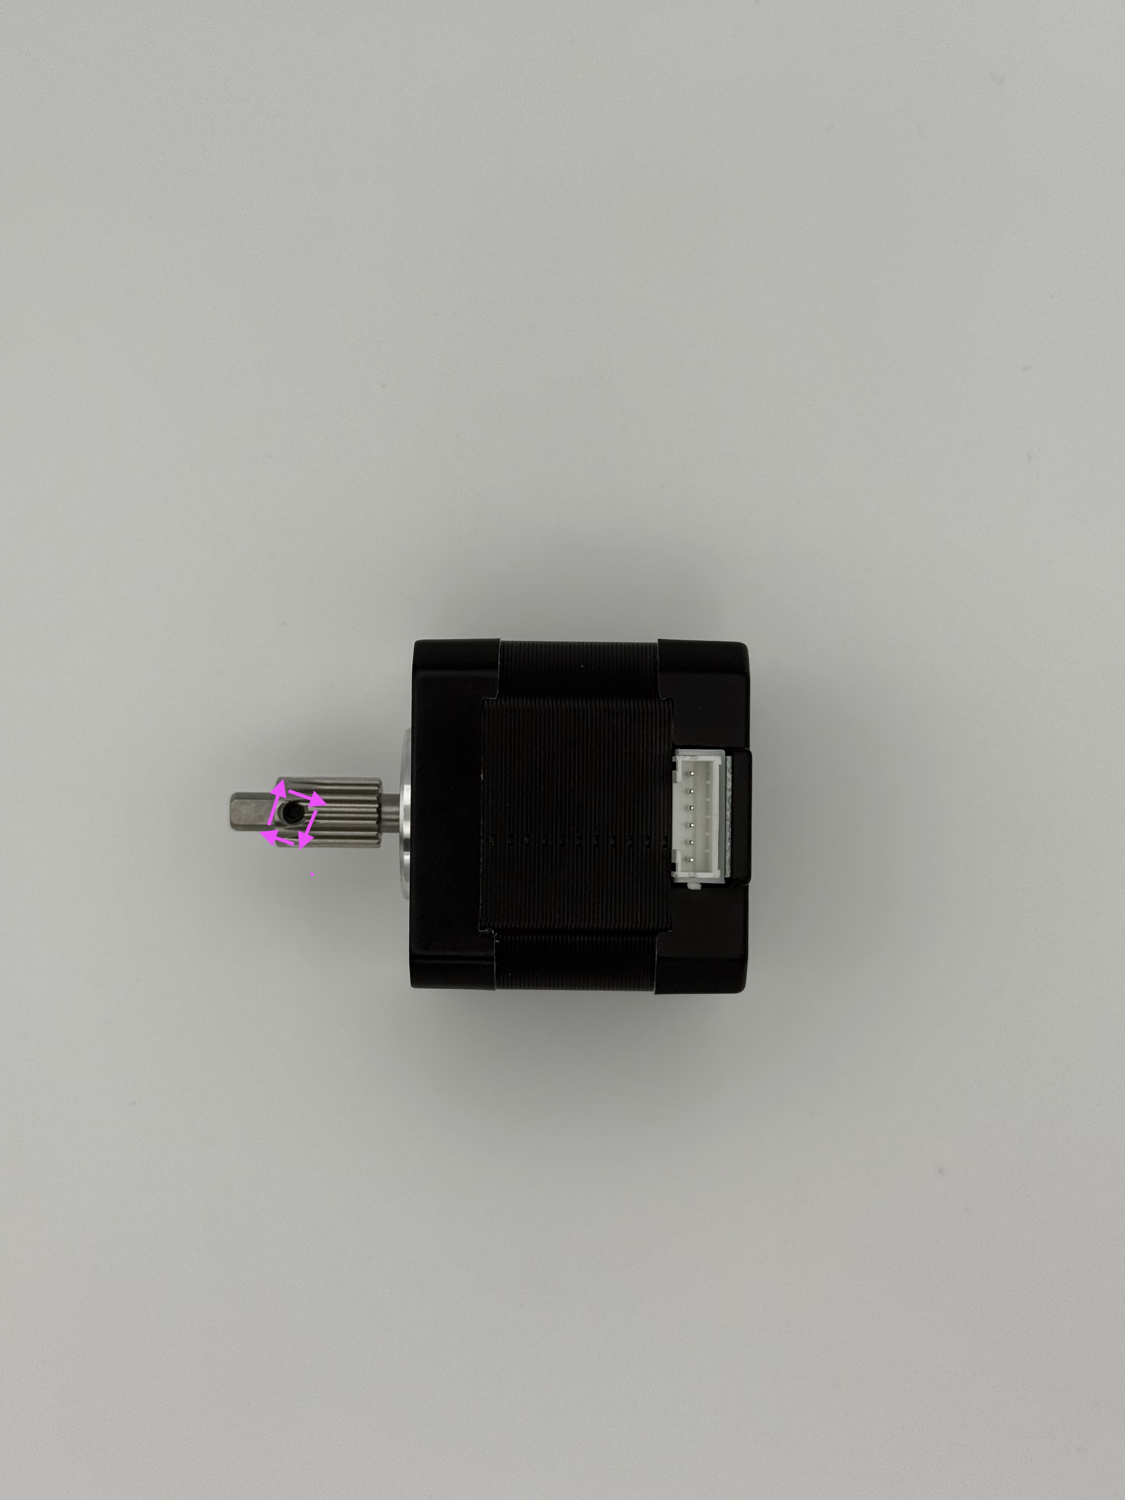
Attach the stepper gear to the stepper motor.
Prepare the following for this step:
Stepper gear (prepared previously) Stepper motor Slide the stepper gear onto the stepper motor shaft. Note the orientation of the motor. Ensure the stepper gear screw is on the same side as the flat-side of the stepper motor shaft. Slide the edge of the gear to the edge of the stepper motor shaft. Tighten the stepper gear firmly.Loctite
A bit of blue loctite here can help to ensure the grub screw doesn't work its way loose over time.
Step 4 Filament Unit Parts Preparation
-
-
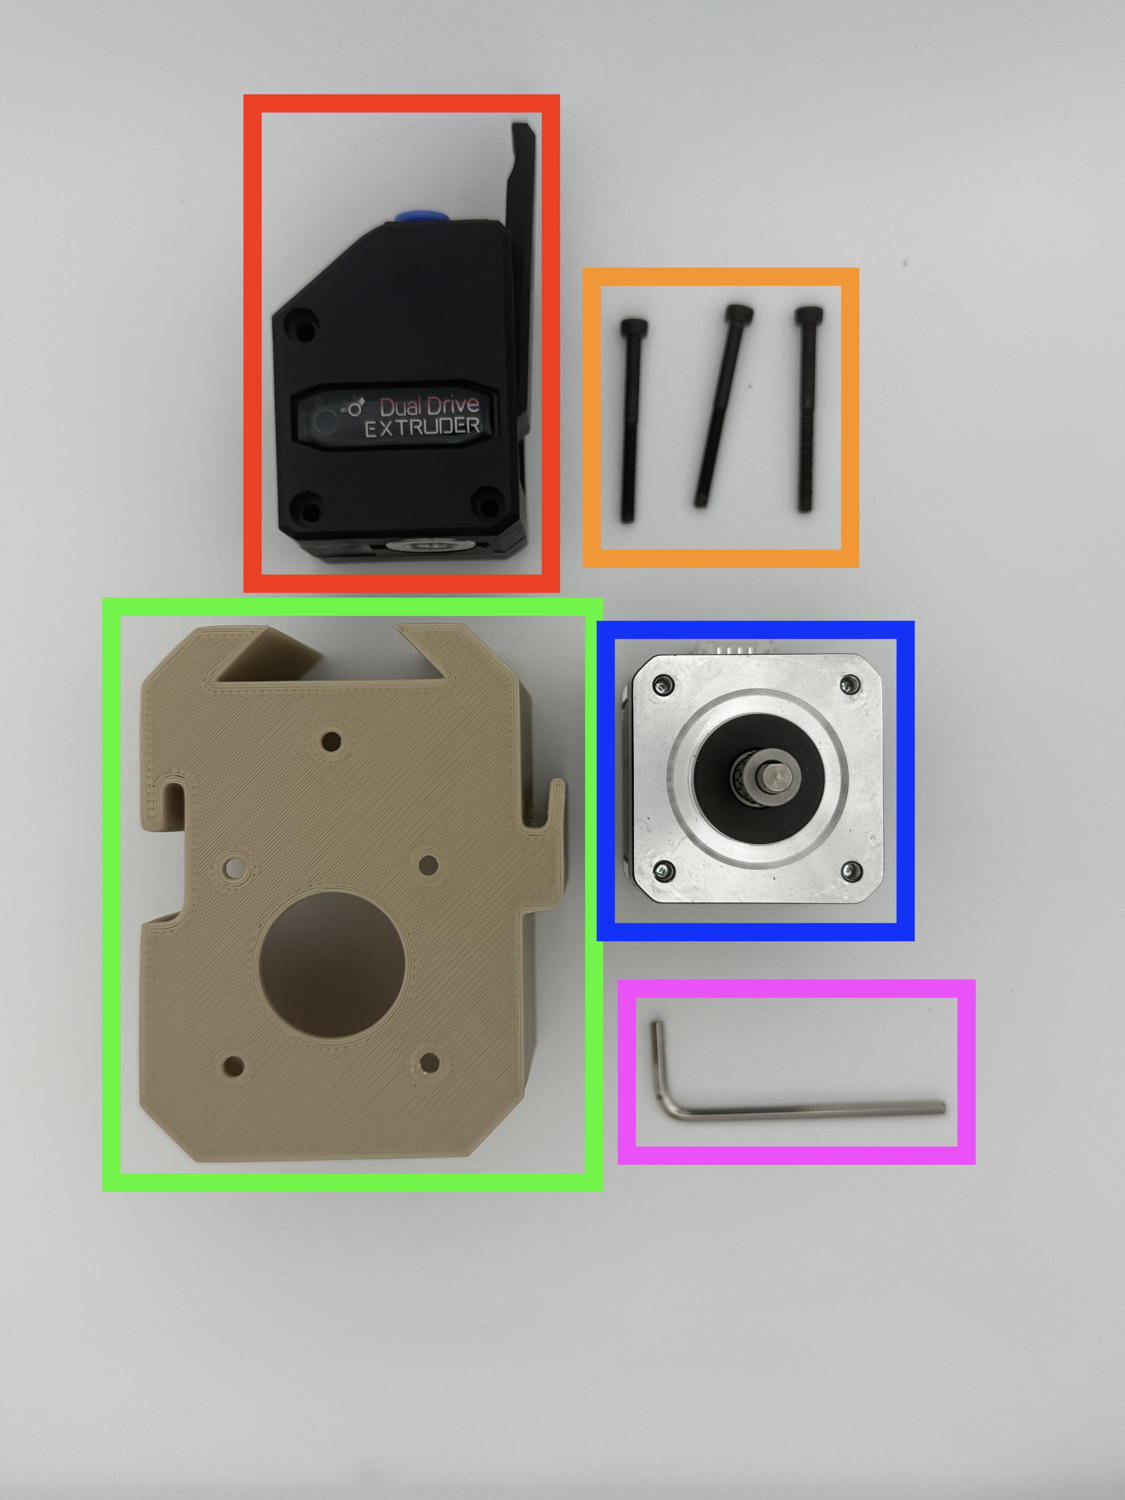
Prepare the following for the next steps:
Extruder 3x M3x30 SHCS (in extruders internals bag) Filament Unit for 3HOME NEMA17 Stepper motor (prepared previously) 2.5mm Hex keyLubricant
It's recommended to apply a small amount of a lubricant like SuperLube to the white extruder gear.
Step 5 Assembling the Filament Unit
-
-
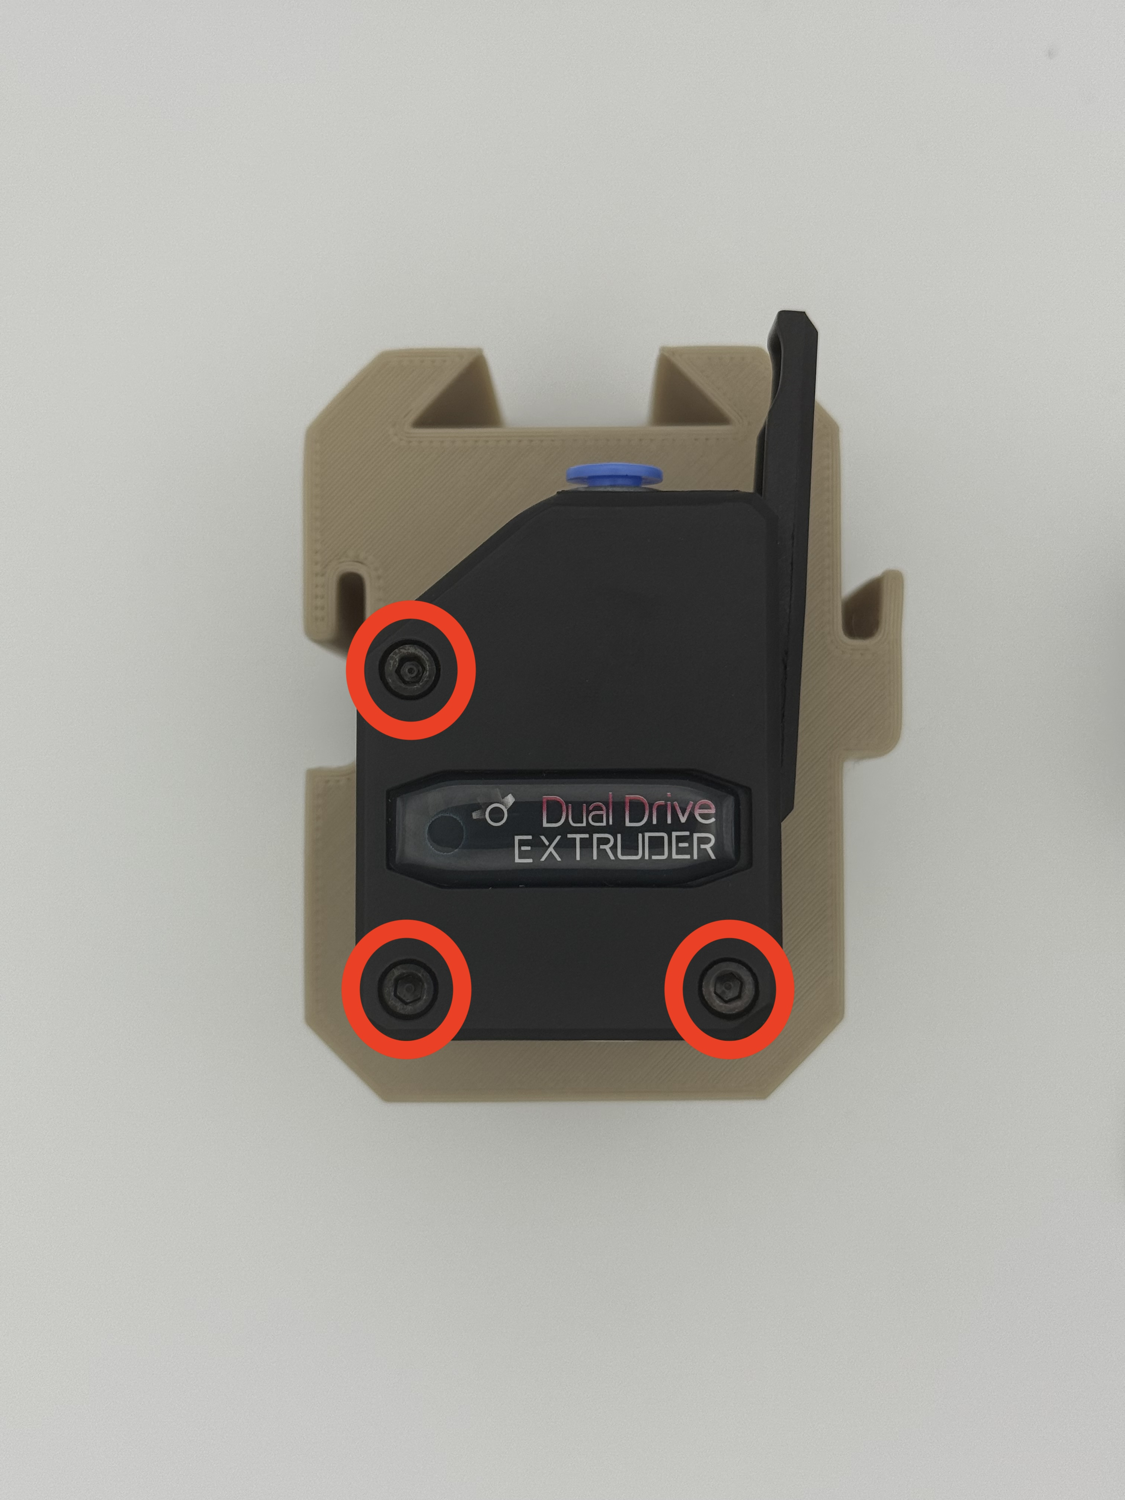
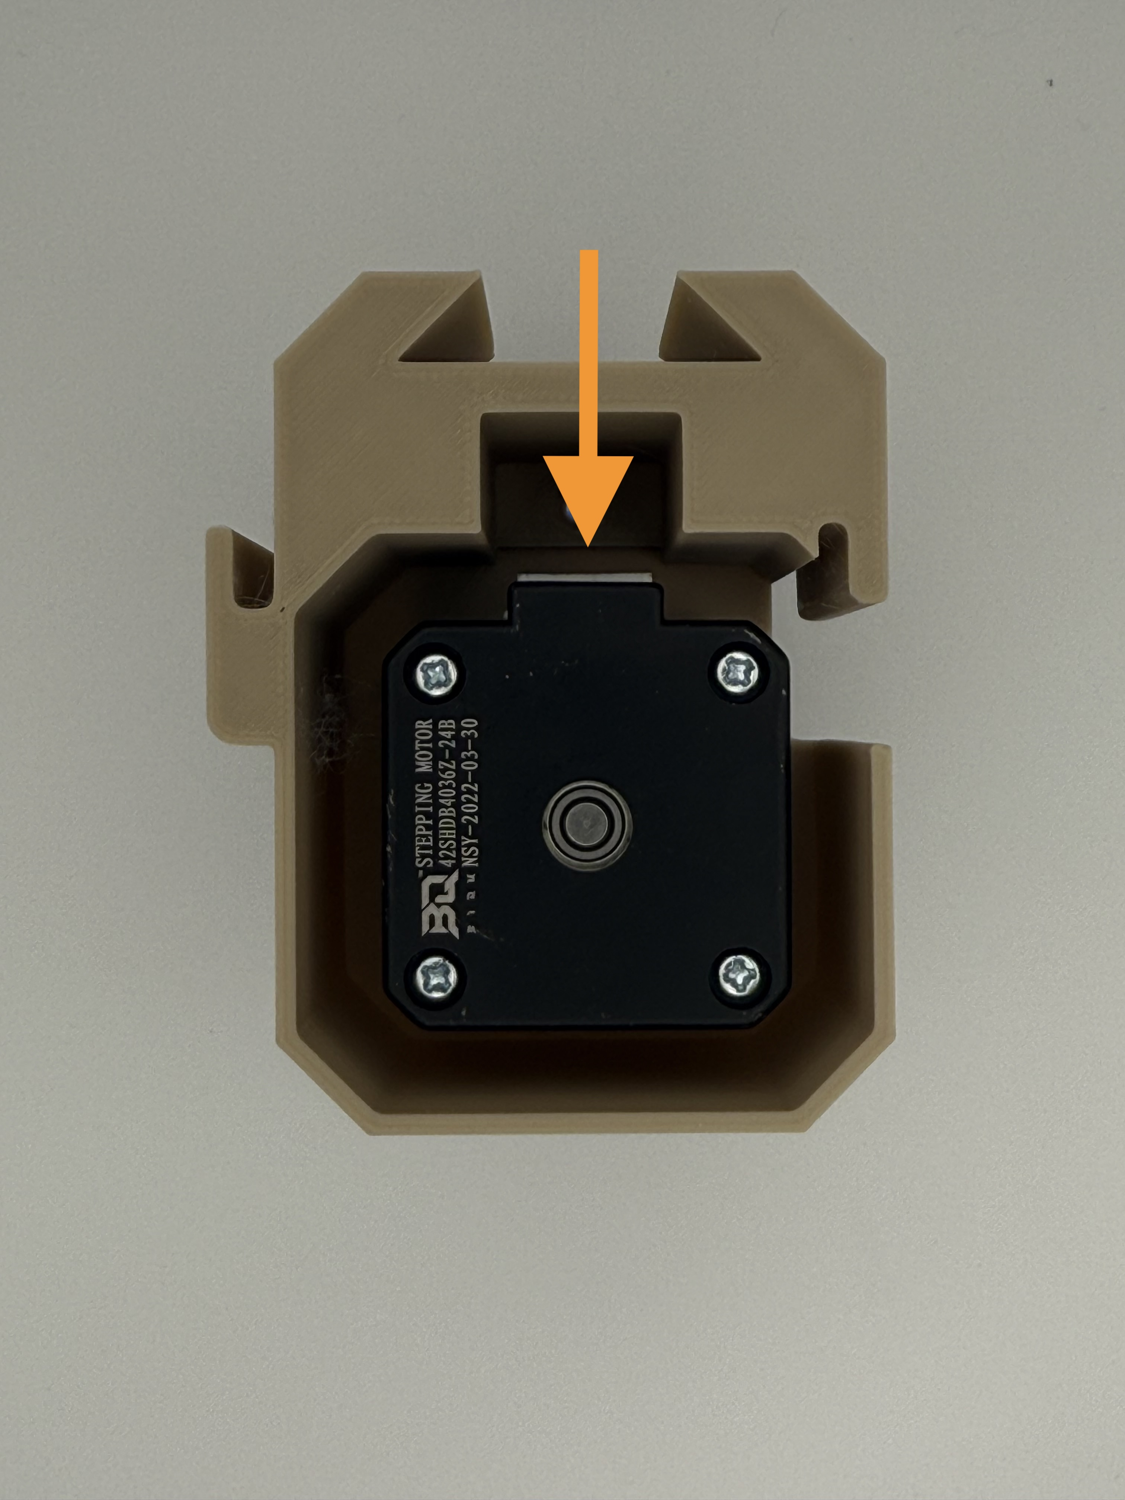
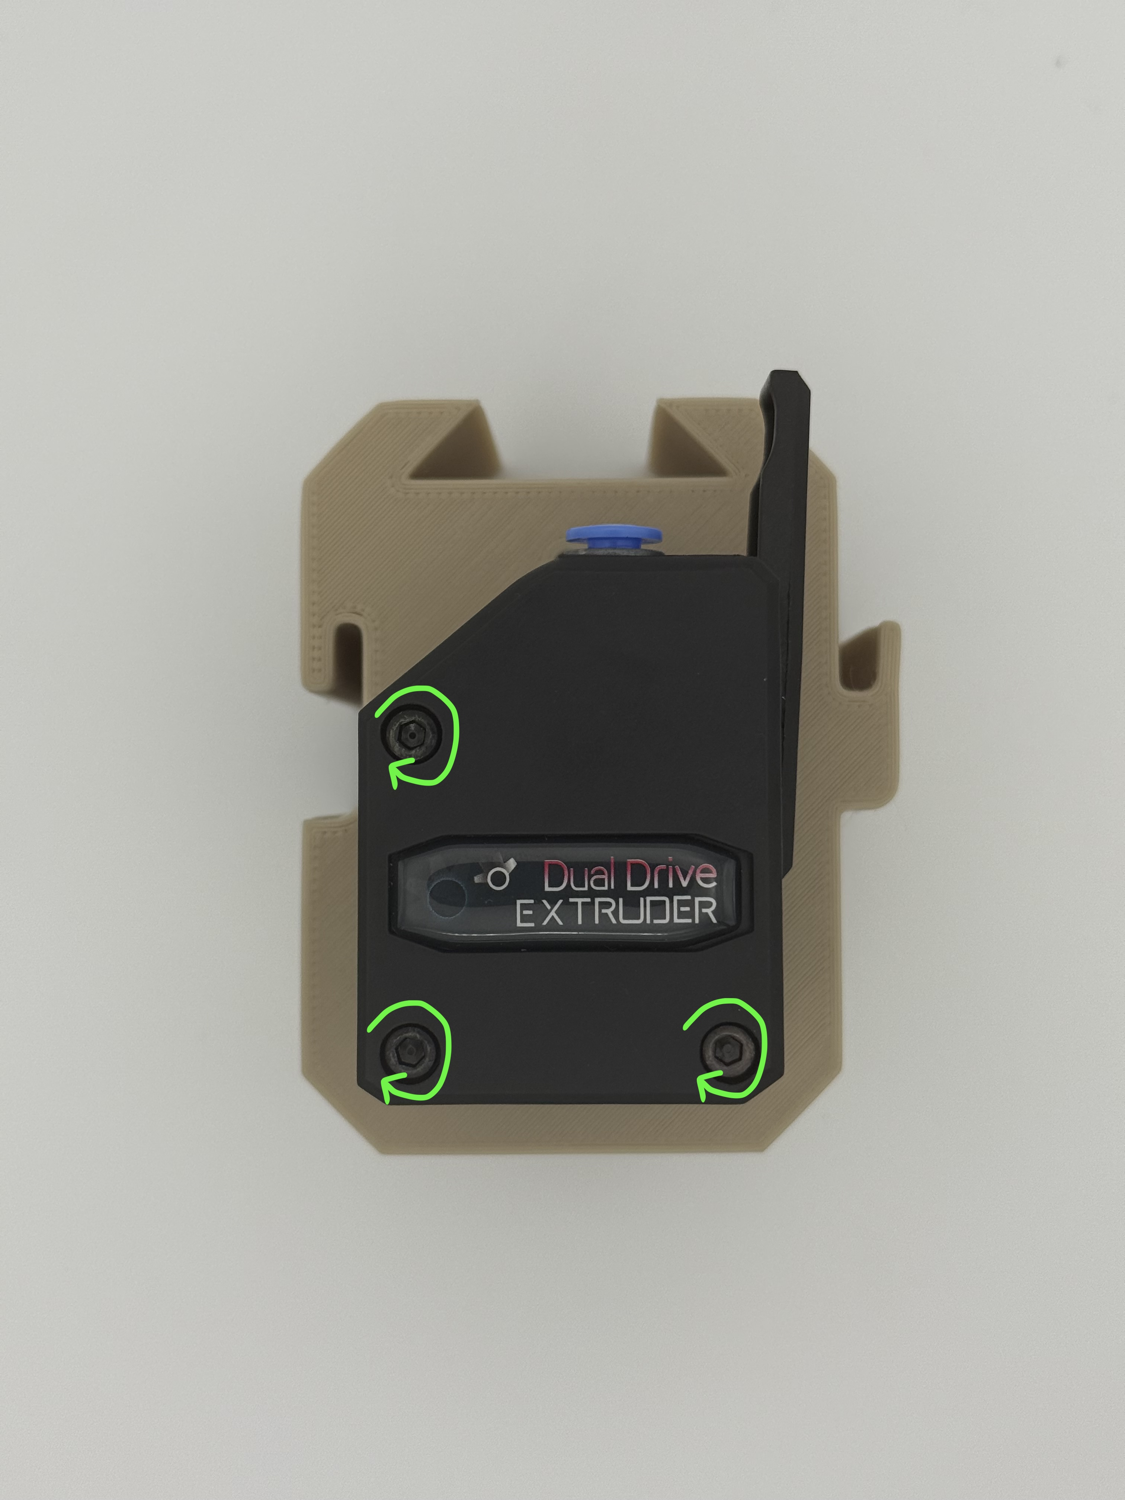
Assemble the filament unit.
Place the 3x M3x30 SHCS through the extruder into the filament unit. Note the orientation. Flip the filament unit over and place the NEMA17 stepper motor through the bottom. Note the orientation.- Even though the picture doesn't show it, it is recommended to plug the stepper cable before placing the stepper into the 3HOME.
Flip the filament unit over again and tighten the three M3 bolts.
Step 6 Installing the Tensioner
-
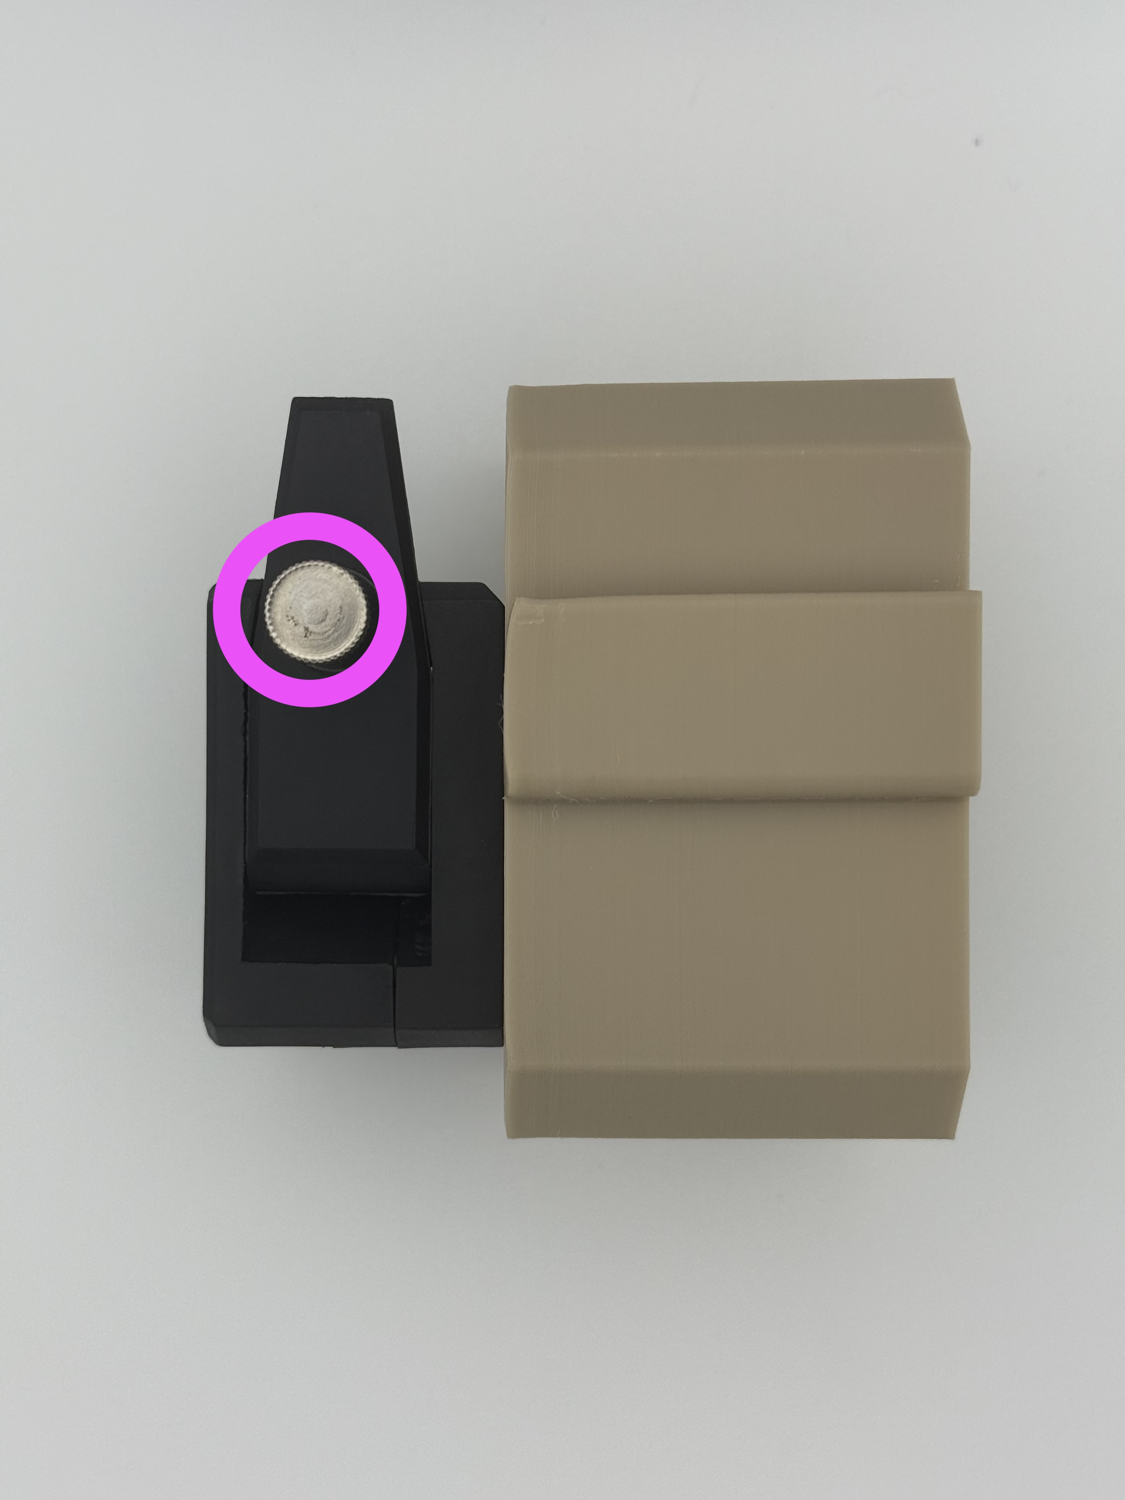
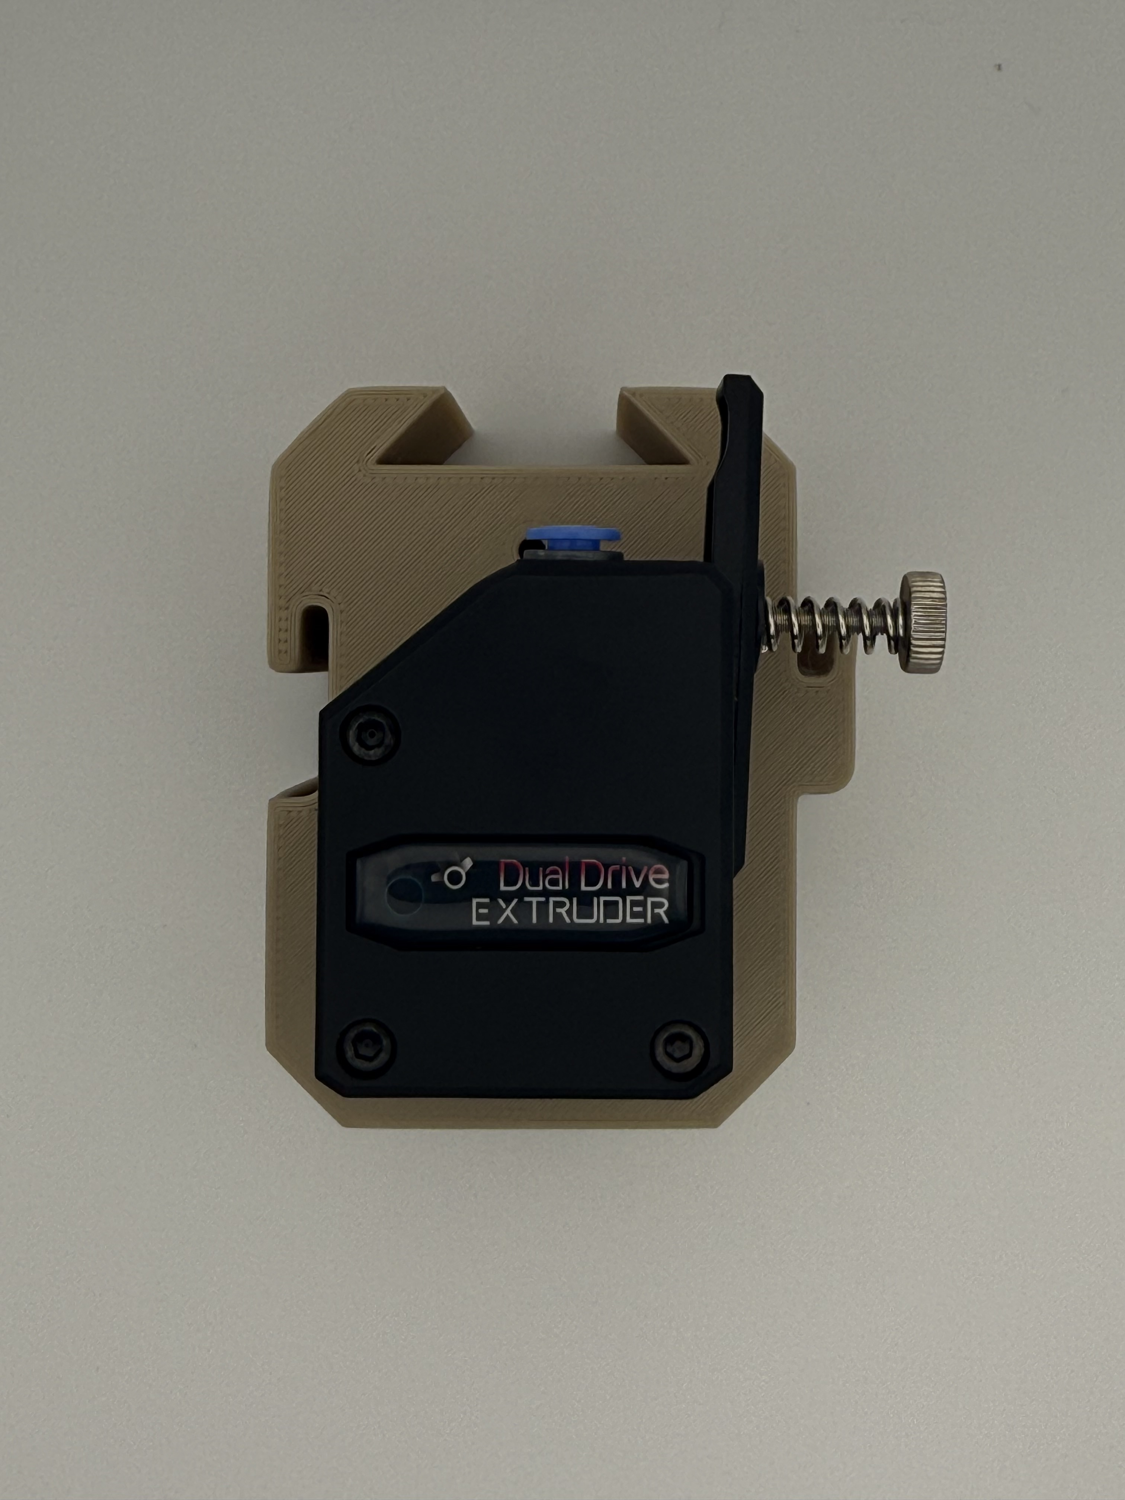
-
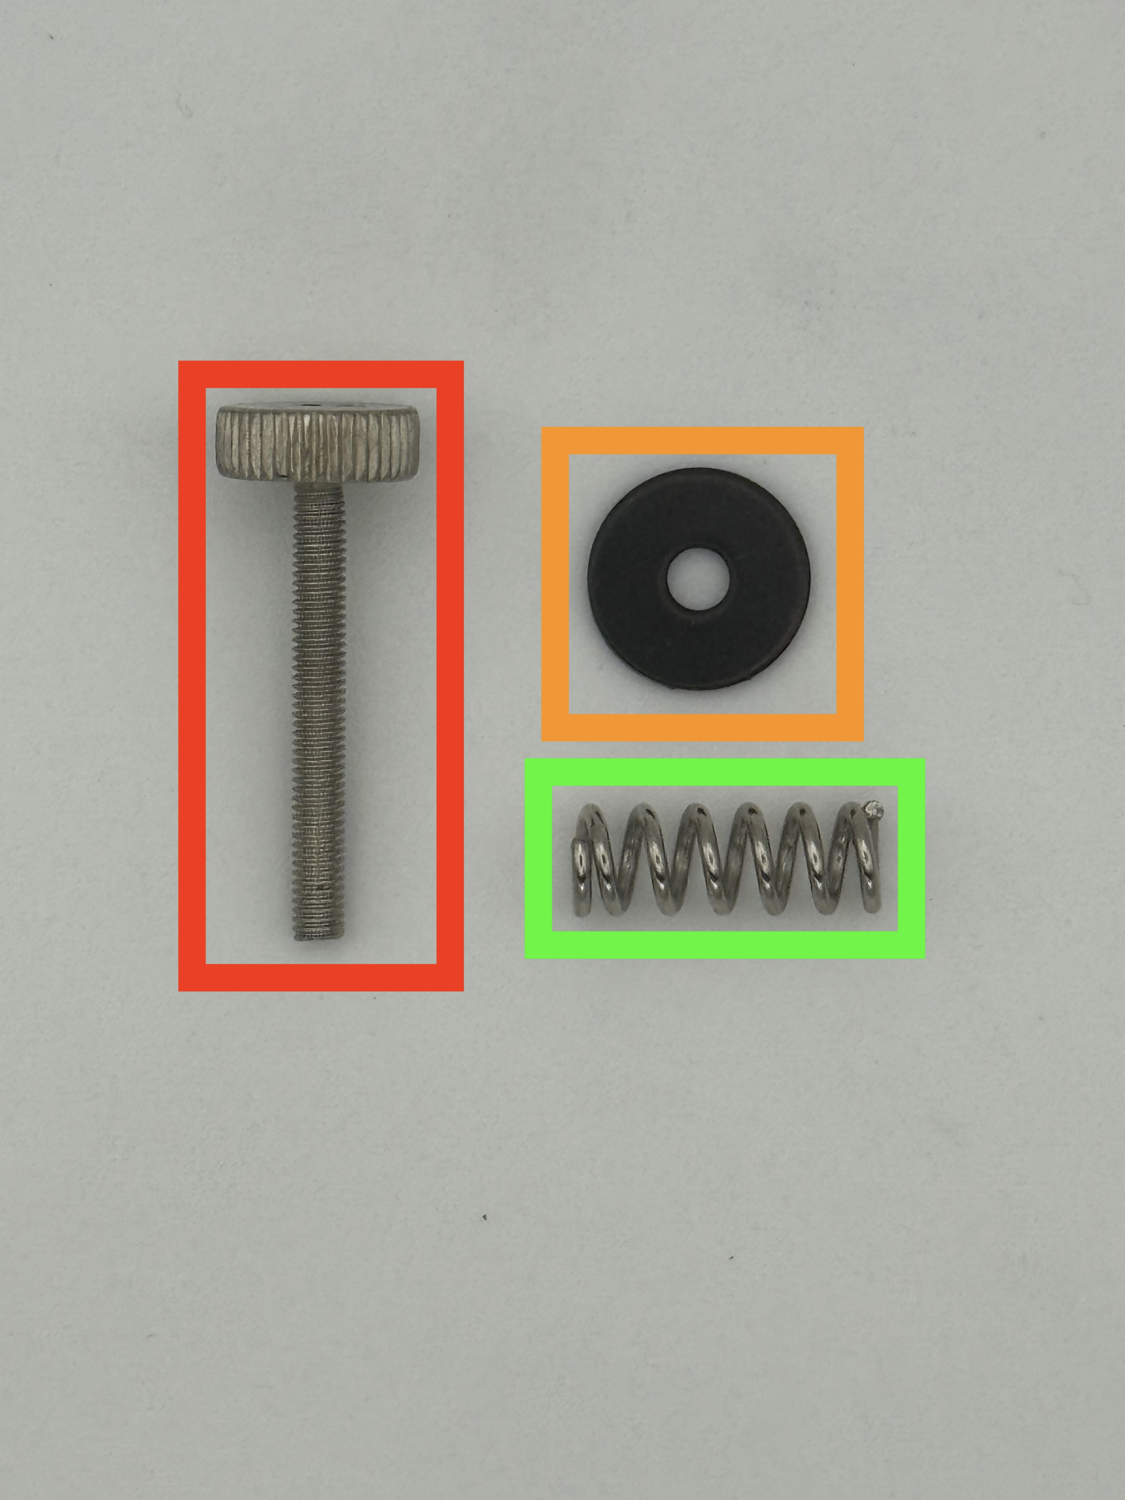
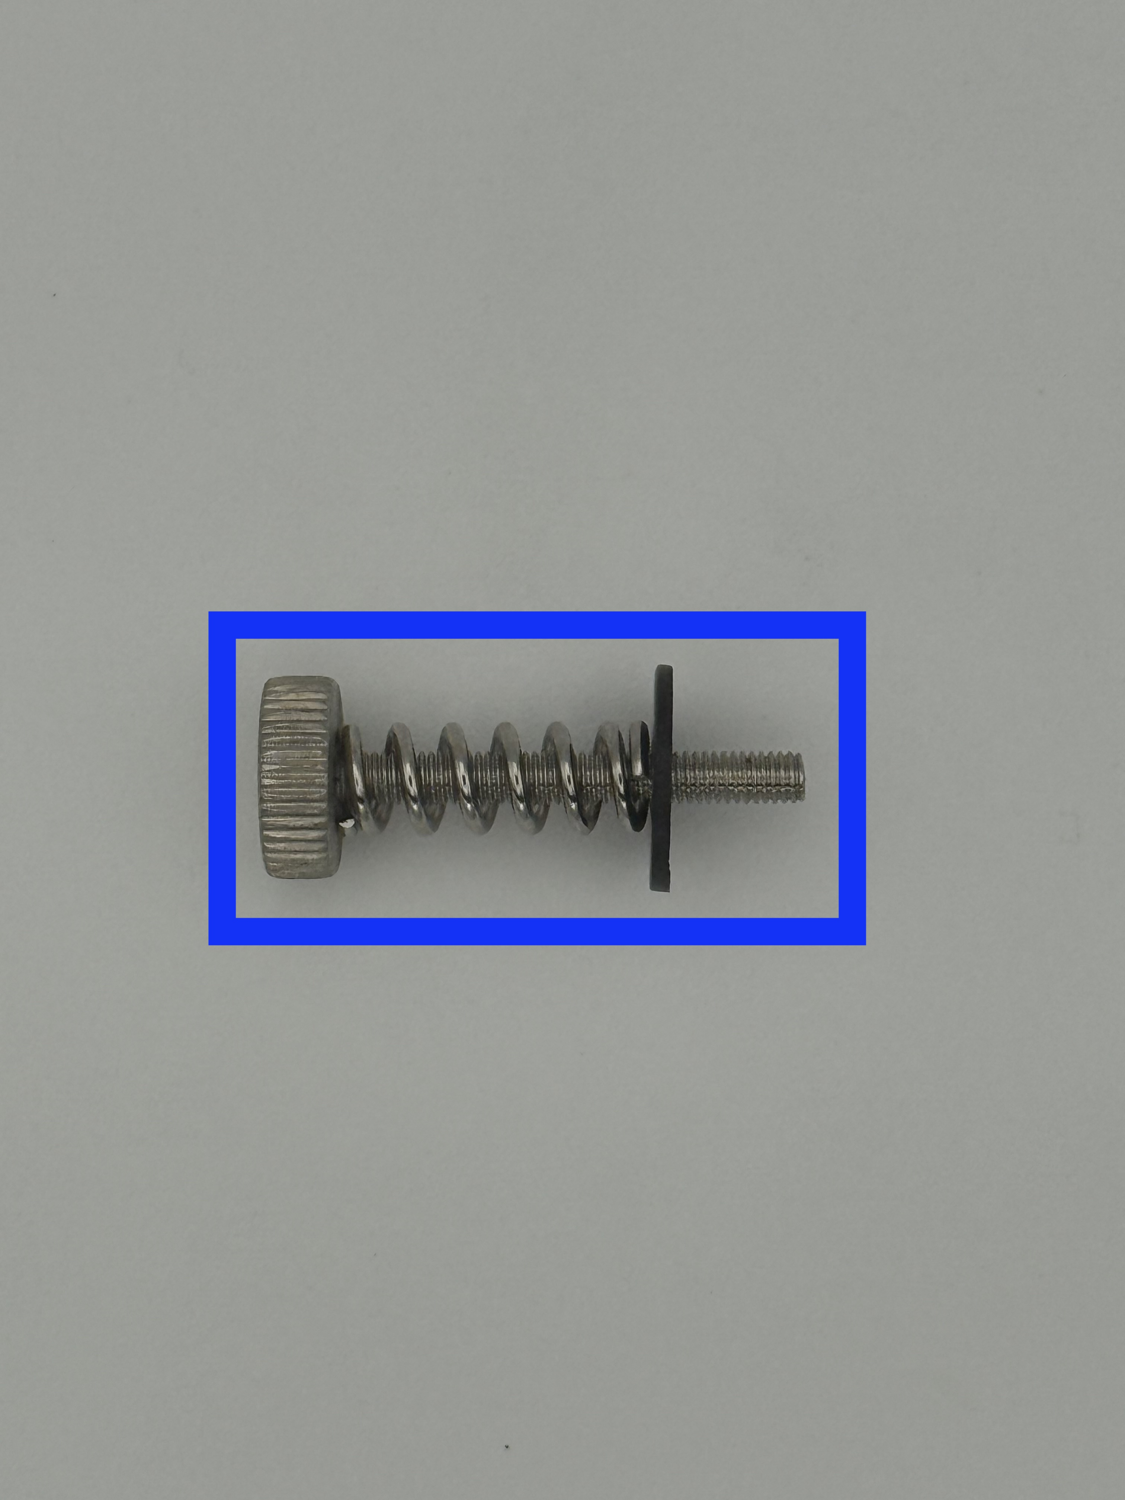
Prepare the following for this step:
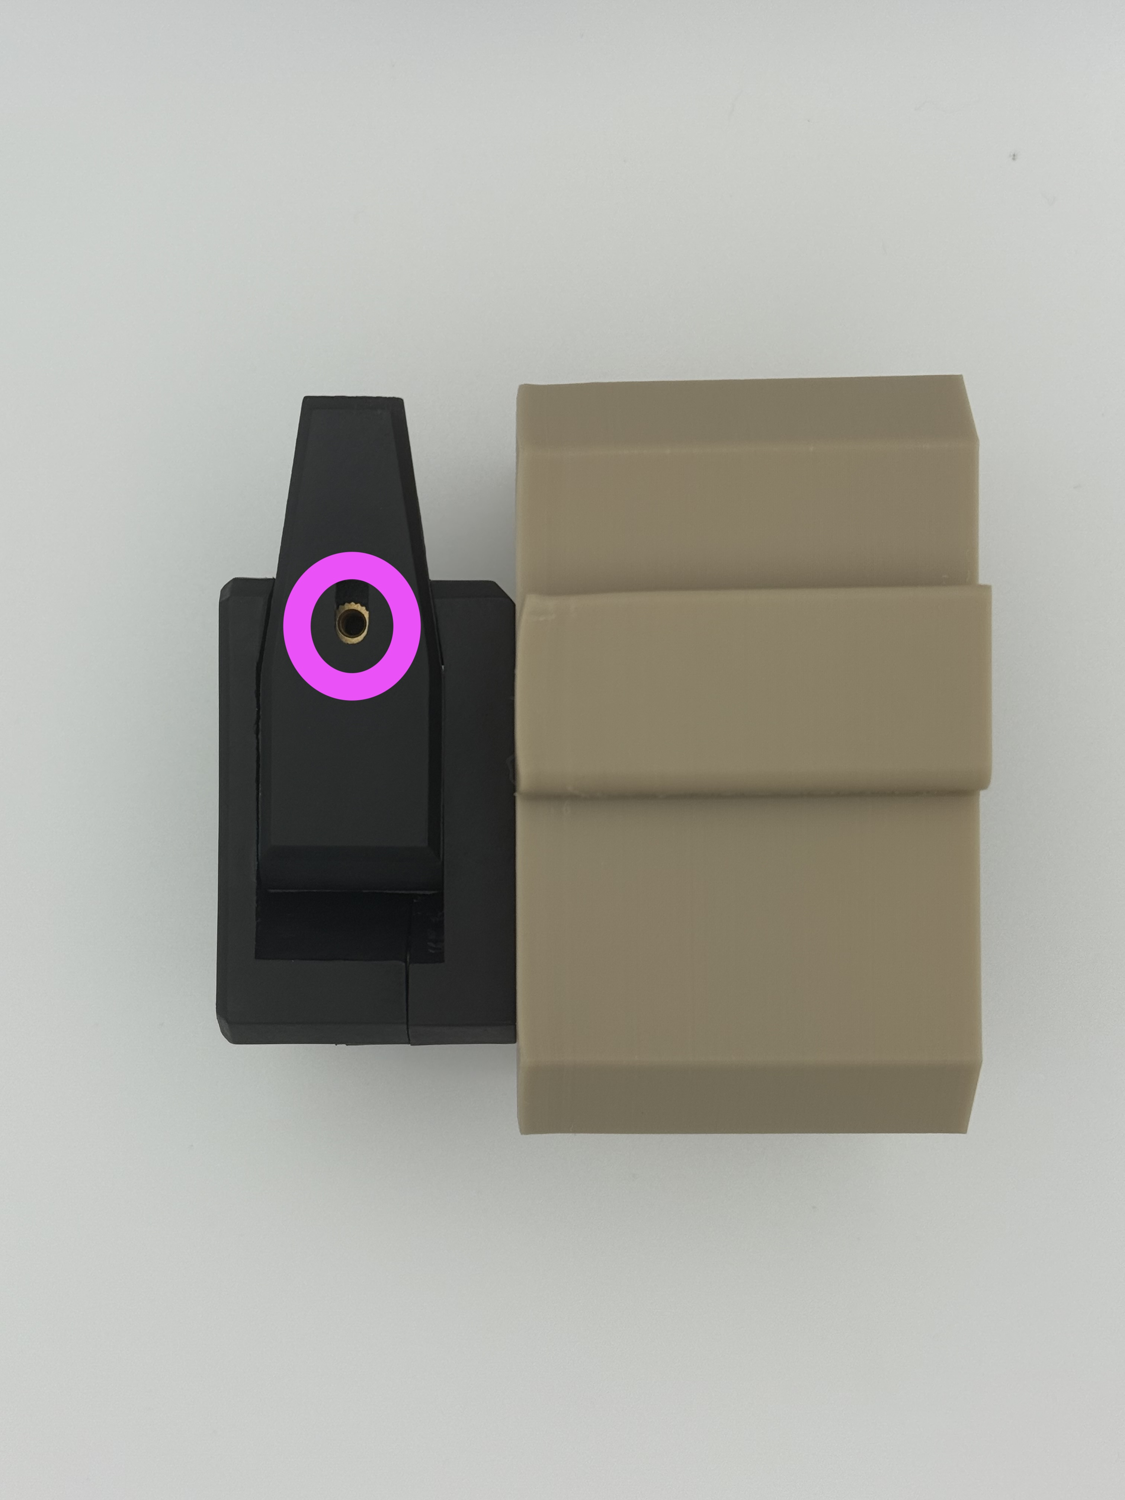
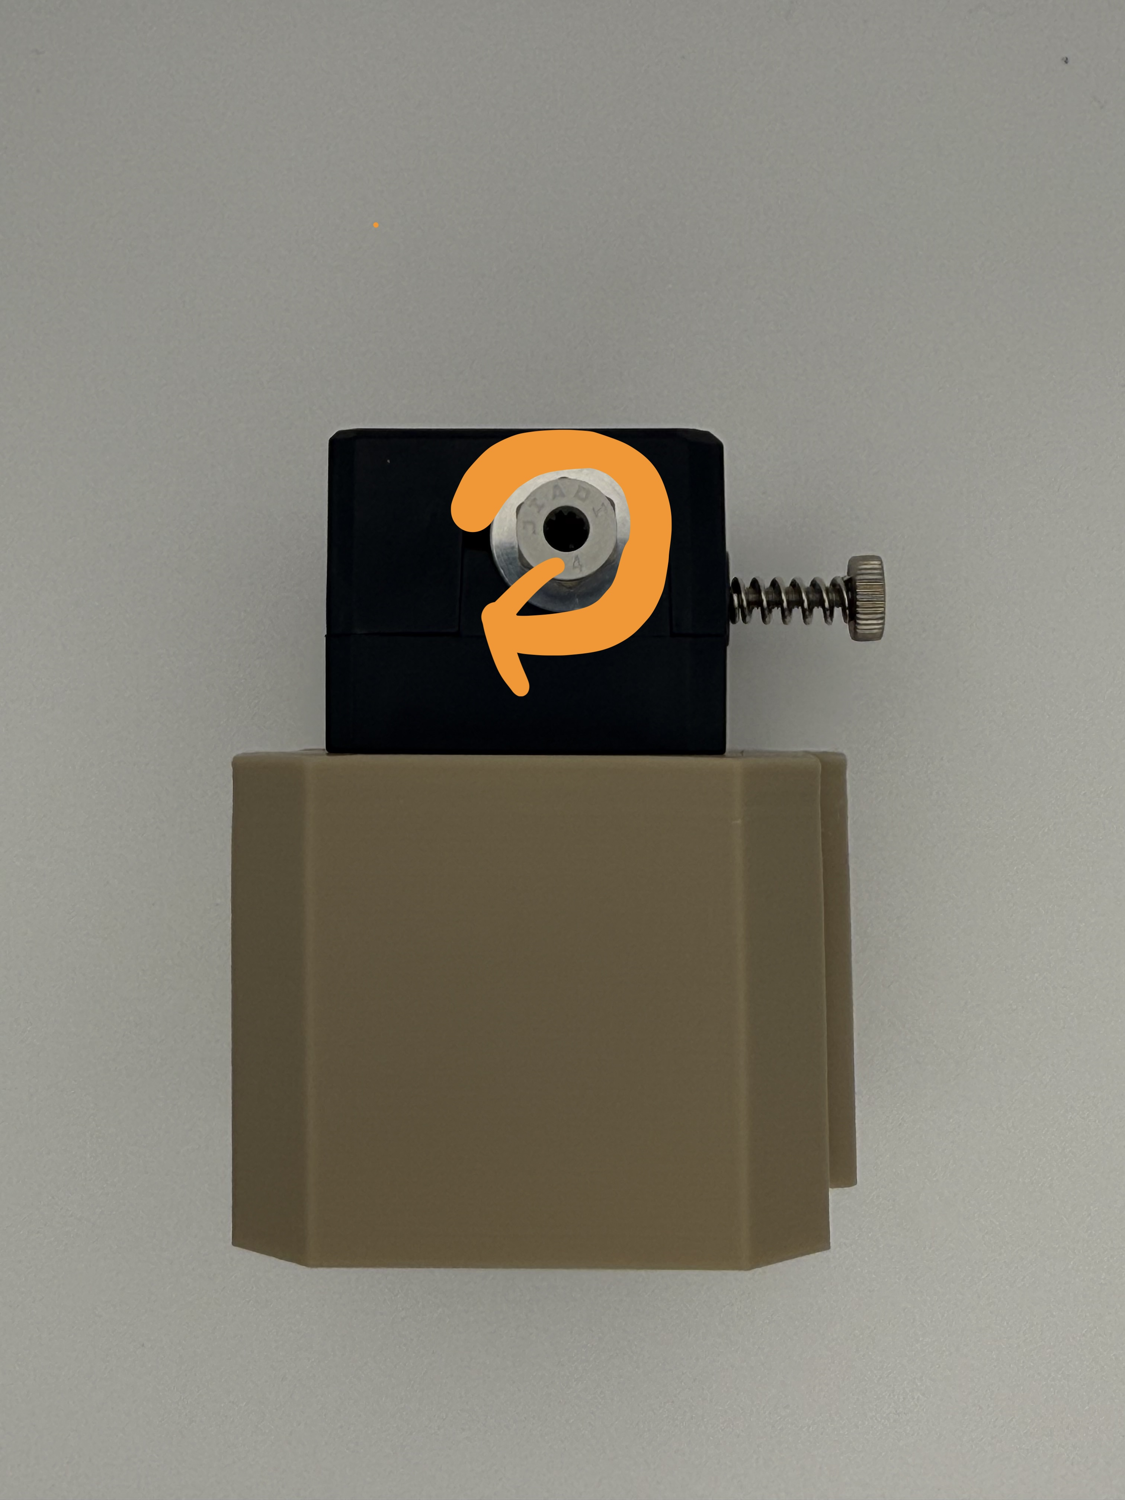
Tension screw (in extruder internals bag) Tension washer (in extruder internals bag) Tension spring (in extruder internals bag) Assemble the three as shown. Install the tensioner into the extruder through the hole on the side.
Step 7 Final Extruder Assembly
-
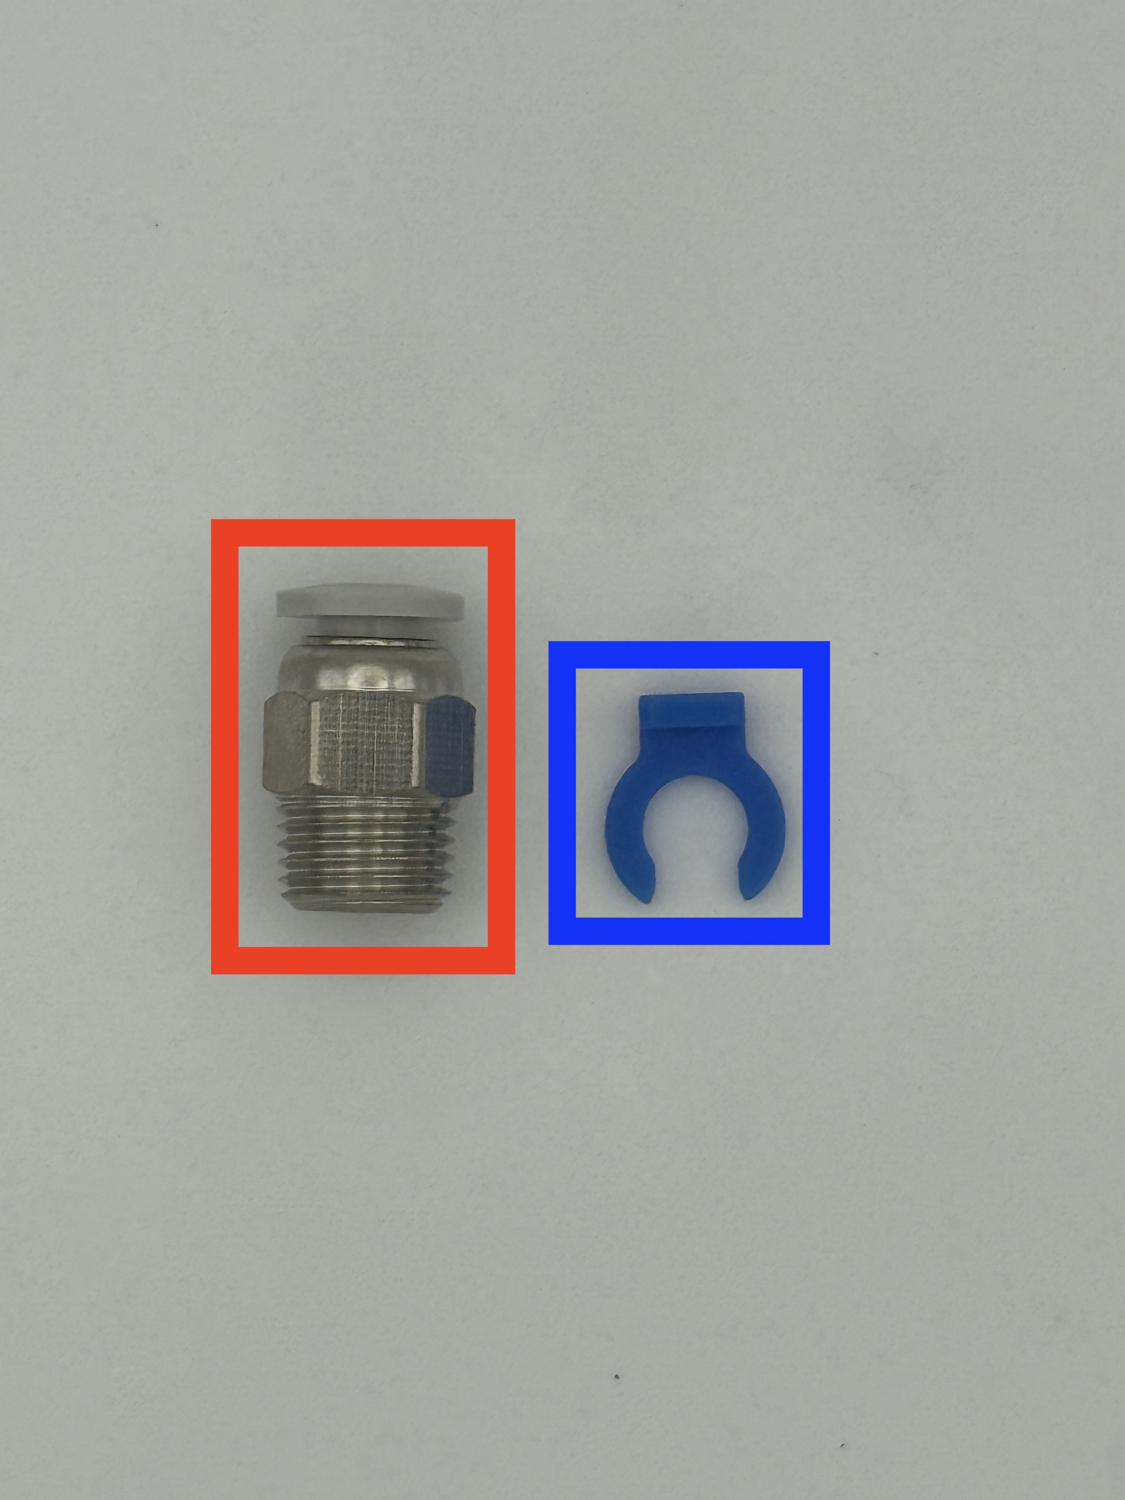
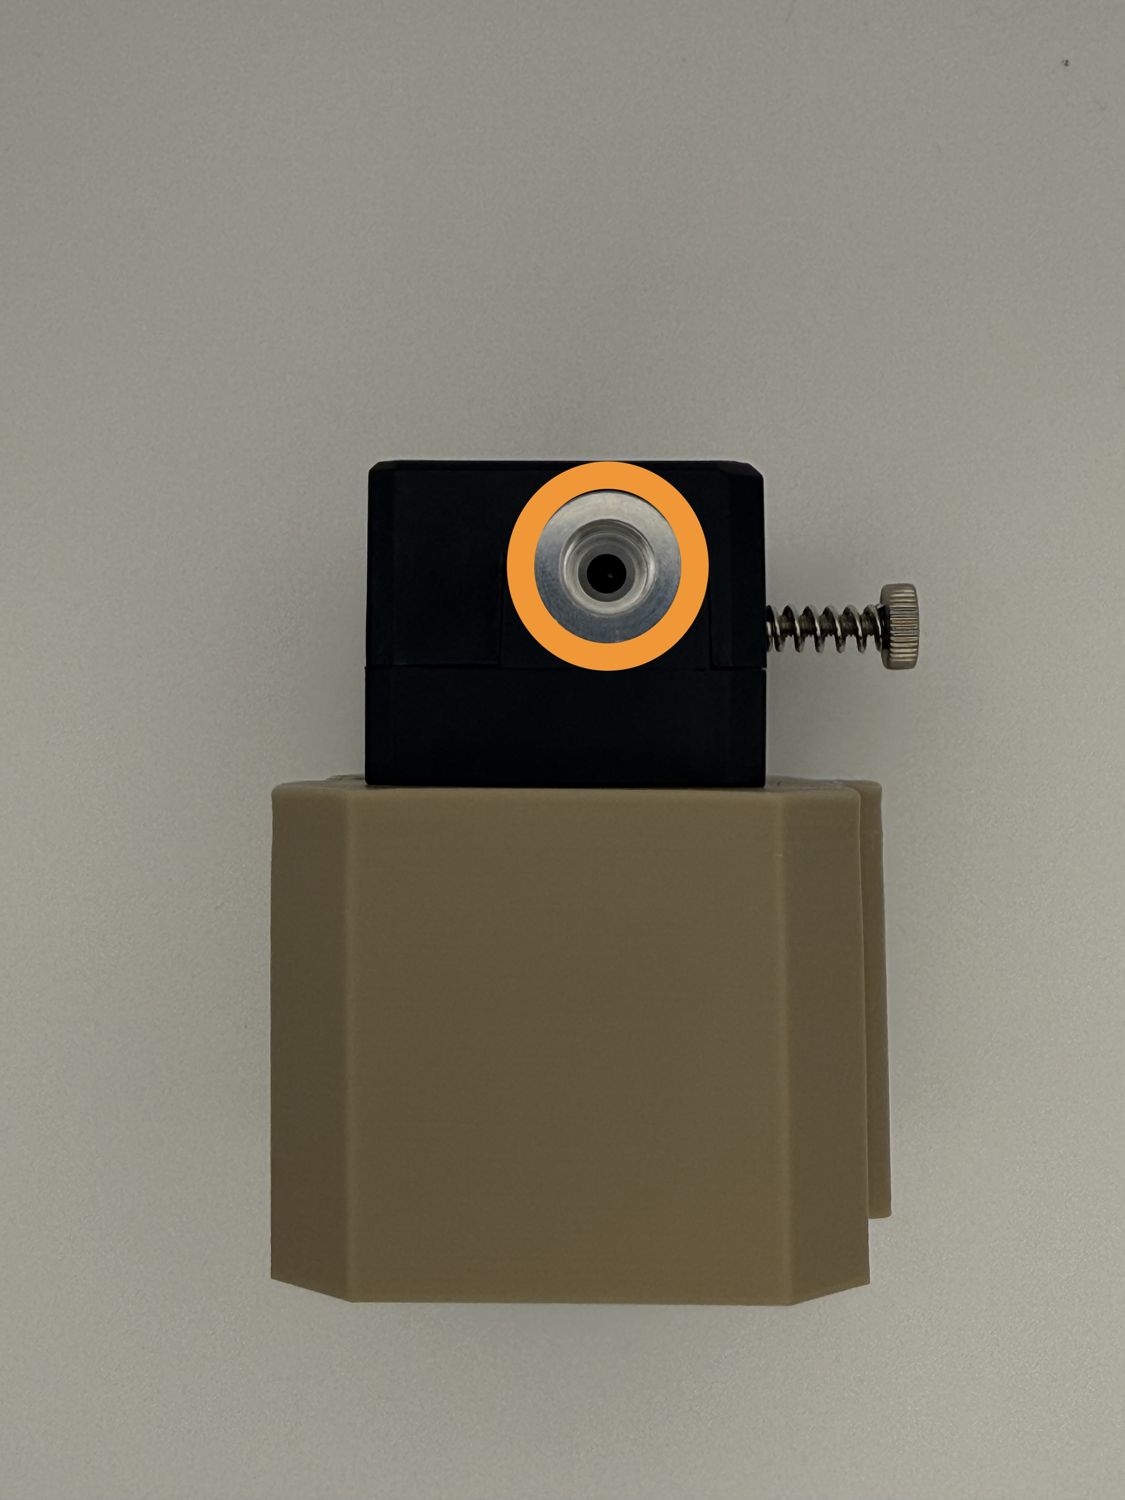
-
Prepare the following for this step:
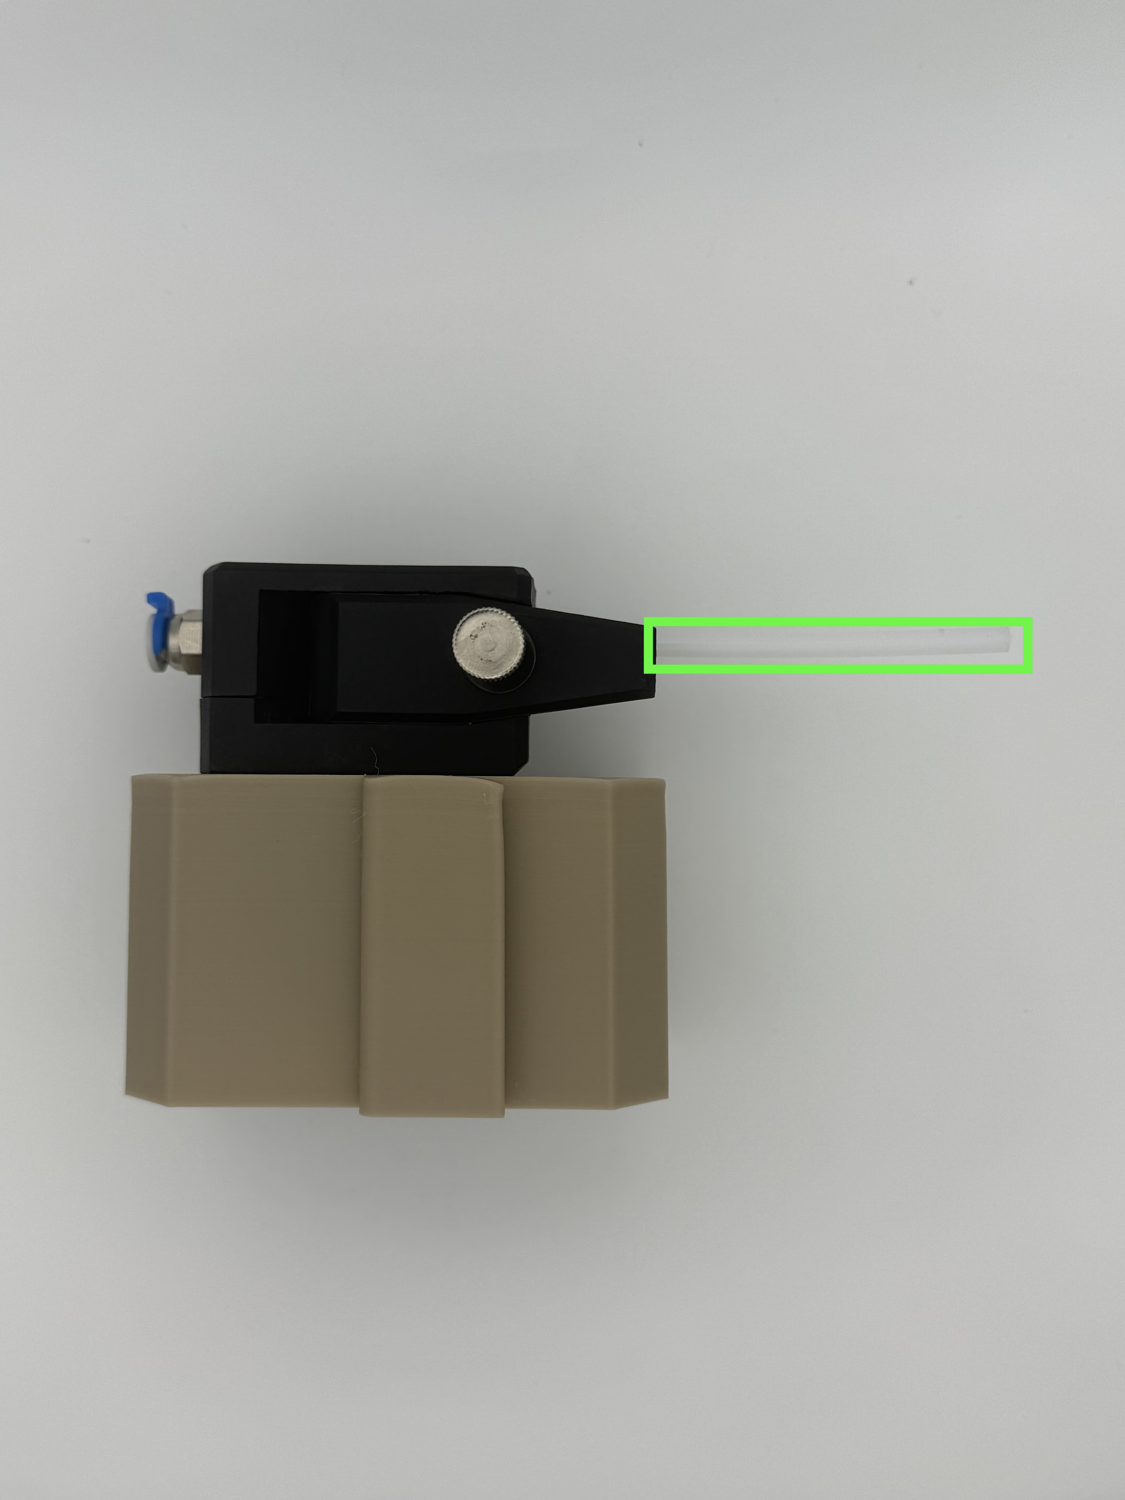
PC4-M10 fitting Blue Collet clip Locate the hole on the extruder and screw the PC4-M10 fitting into it. Insert the short length of PTFE into the ECAS fitting on the opposite end of the extruder.
Make sure to repeat this chapter a total of four times.
 You're done with extruders assembly!